ROS Q&A | How to start with OpenAI + ROS fast

ROS Q&A | How to start with OpenAI + ROS fast


A video describes an already set up online environment where to teach ROS based robots to do things using the Open AI Gym.
Everything is already set up and working. You just have to modify the environments to your necessities.

[irp posts=”8239″ name=”Using OpenAI with ROS”]

This video and the adaptation of OpenAI Gym Gazebo for the ROS Development Studio has been done by Vengatesan Govindaraju https://www.linkedin.com/in/vengatesang/

You can find this environment for free on the ROS Development Studio: http://rds.theconstructsim.com

If you need to learn more about OpenAI with ROS, watch this tutorial. https://youtu.be/o9FpZ1QQqcc


ROS Q&A | Create an obstacle that cannot be stepped in for Gazebo Simulator

ROS Q&A | Create an obstacle that cannot be stepped in for Gazebo Simulator


Let’s learn how to create an obstacle in Gazebo. Here you have the video response of how to do this test:

Here I leave the main things I used to test it and some system information:
Information System:
Ubuntu 14.04.5 trusty ROS Version: indigo Gazebo 7.4.0

I Created a Gazebo model with the code you posted: C:\fakepath\model.sdf And a “model.config”

Then I spawned it in a empty world: C:\fakepath\model.world

And then I used a simple spawn launch for sdfs: C:\fakepath\spawn_testobject_sdf.launchC:\fakepath\spawn_sdf.launch

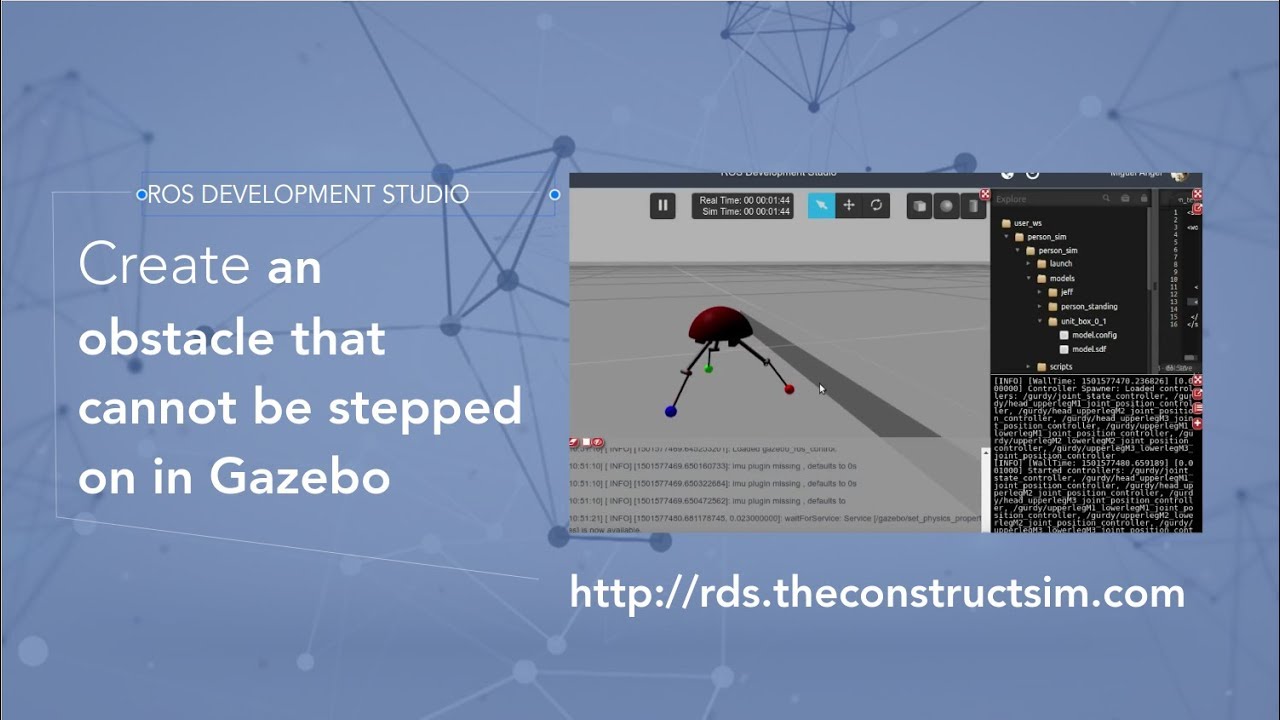
I then used one robot I had to test the interaction, and it intercated perfectly, it didn’t go through.

We need more info to get to the solution but, definetly is not the box. The problem may come from some world parameters, or from the robot itself. Maybe the meshes of the feet are to simple or don’t have enough subdivisions in the mesh. Maybe its ultra heavy or maybe its something configured that avouds colisions with certain elements.


Answer response to the gazeboanswer question:
http://answers.gazebosim.org/question…

ROS Q&A | How to create an actuated Hexapod with PID in Gazebo? (Video)

ROS Q&A | How to create an actuated Hexapod with PID in Gazebo? (Video)


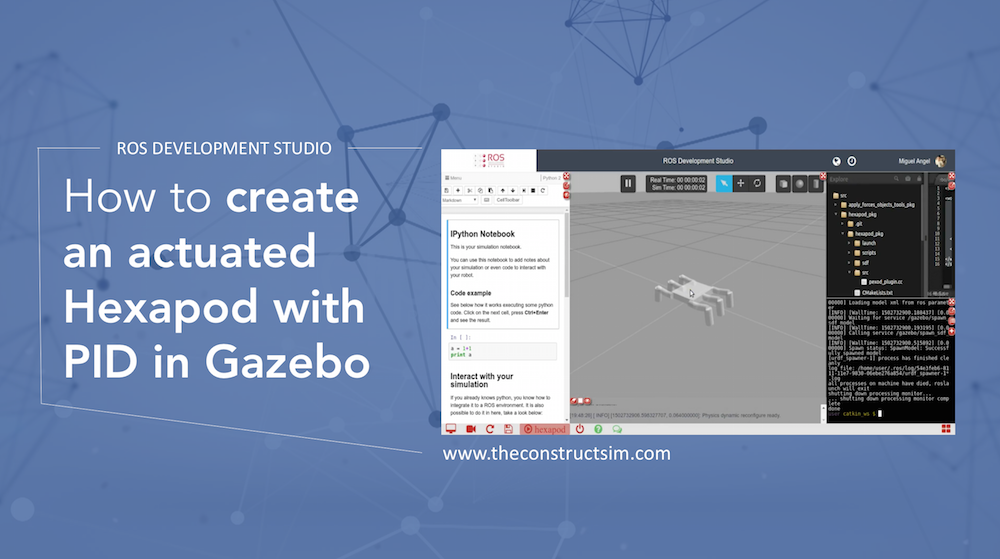
I know this is an old question but I think even now because knowing how to create an hexapod with plugin that moves the robot around and with an SDF model not a URDF might be useful to someone.

Check this video answer which explaining a bit the process and the result:

So I there wasn’t anything wrong with the model. It must have been something related to the plugin or some strange library error.

I essentially created a gazebo plugin that moves the joints using SetPosition and PIDs and it works just fine. I’m posting here the code I can.

Hope this is useful for you. 


Answeing the question made in GAzeboAnswers:
http://answers.gazebosim.org/question/12044/hexapod-simulation-not-working/

Here you have some sources used for this micro tutorial:
http://gazebosim.org/tutorials?cat=guided_i&tut=guided_i1
http://osrf-distributions.s3.amazonaws.com/gazebo/api/dev/classgazebo_1_1physics_1_1JointController.html

ROS Q&A | Treating quaternions for 2D navigation

ROS Q&A | Treating quaternions for 2D navigation

Are you having problems to make your robot navigate because of the kind of data you have to treat? It’s very common to get stuck when we have to work with quaternions, instead of RPY angles. Quaternions are used in robotics to represent the rotation, in 3 axis, of a rigid body in respect with a coordinate frame. But sometimes it’s too much for what we want to do.

In this post, we are going to see how to get only the necessary data from a quaternion for a 2D application. It is very helpful, since robotics algorithms works with quaternions, but user’s interface, RPY angles.

Let’s start with a robot, to make it clear. In this post, we are going to use the Turtlebot simulation, available in ROS Development Studio (RDS).

Turtlebot Simulation

Turtlebot Simulation

We have provided by the robot sensors a /odom topic, which publishes messages of the nav_msgs/Odometry type. See below a single message example:

Odometry message

Odometry message

Now, unless you have a path described using quaternions, we need to convert this quaternion to RPY. To do the following, we will use the TF library. In the image below, you can see the program in charge of this task:


#include <tf/tf.h>
#include <nav_msgs/Odometry.h>
#include <geometry_msgs/Pose2D.h>

ros::Publisher pub_pose_;

void odometryCallback_(const nav_msgs::Odometry::ConstPtr msg) {
geometry_msgs::Pose2D pose2d;
pose2d.x = msg->pose.pose.position.x;
pose2d.y = msg->pose.pose.position.y;

tf::Quaternion q(
msg->pose.pose.orientation.x,
msg->pose.pose.orientation.y,
msg->pose.pose.orientation.z,
msg->pose.pose.orientation.w);
tf::Matrix3x3 m(q);
double roll, pitch, yaw;
m.getRPY(roll, pitch, yaw);

pose2d.theta = yaw;
pub_pose_.publish(pose2d);
}

int main(int argc, char **argv)
{
ros::init(argc, argv, “conversion_node”);

ros::NodeHandle nh_;

ros::Subscriber sub_odom_ = nh_.subscribe(“odom”, 1, odometryCallback_);
pub_pose_ = nh_.advertise<geometry_msgs::Pose2D>(“pose2d”, 1);

ros::spin();

return 0;
}

First, we are creating a node and subscribing the /odom topic. In the callback of this subscriber, we are getting the information that matters for us, which are the X, Y and Yaw data. To have the Yaw angle, we are using the quaternion data and converting to RPY (We need a Matrix3x3 object in the middle process). Since our robot has only three degrees of freedom (linear in X and Y, angular in Z), we are not considering Roll and Pitch, the Pose2D message type is enough for us. This is a simplification for a ground robot navigating in a planar scenario.

ROSDS | How to put your simulations publicly available in RDS

ROSDS | How to put your simulations publicly available in RDS


Are you interested in sharing your robot simulations with other people? Would you like to have them used by many people?
Then the best thing you can do is to have it available in RDS!

The ROS Development Studio (RDS), is a web and cloud based application where you can simulate and develop ROS programs for any kind of robot. If you have a simulation in RDS, everything people will need in order to test and work with your simulation will be a web browser! So, by having your simulation in RDS, you will be providing a 1-click access to your simulations to many people. Sounds interesting, right?

RDS Public Simulation List

But… what do you need to do in order to have your simulation in RDS? Let’s break it down into some easy steps:

1. Create the simulation

First of all, you will need to create a new simulation in RDS, and upload your simulation packages to it. Bear in mind that RDS
supports Gazebo 7, so your simulation must be compatible with this simulator. Check that your simulation works properly, and that you can launch it using the launch files.


post1

post2

post4

post5

post6

post8

If you get stucked in this step, you can send us your simulation files, or send us the address of the repository containing the
simulation to the following address: simulations@theconstructsim.com.
We will help you with this process.

2. Create the Notebook

Once the simulation is working properly, it is time to create a Notebook for it. This notebook should consist of some basic
tips about how to use your simulation. For instance:

– What are the most important topics to look at.
– How to move/control your robot.
– Important services/actions available in your simulation.
– A basic script in order to interact with your robot.

The notebooks is the documentation for the users that want to use your simulation. This notebook is very important, since it will
guide users that want to work with your simulation.

You can have a look at the notebooks attached to any of the Public simulations that are already available in RDS in order to see
an example of how it should be.

Once the notebook is created, you can then click the Save button of the Notebook, in order to Save the changes. Finally, click the Save button in the bottom menu in order to save the whole project.

post10                     post9

3. Share your project with us

Share your project with us. For that, you just need to click on the Share button related to your project, and share with the user
simulations@theconstructsim.com.

post12            post13

We will receive your whole project, and evaluate that everything is correct. Finally, we will publish your simulation in RDS as
Public, so anyone will be available to access to it.

Pin It on Pinterest