
Case Studies – How HKPC learns ROS for their new division of Self-Driving Cars
HKPC is the Hong Kong Productivity Council, a multi-disciplinary organization which is tasked with promoting and assisting the Hong Kong business sector through the introduction of more efficient and updated business and technological methods.
We interviewed Yiu Chi Wai – Senior Engineer at their Automotive parts and accessories R&D center. We talked about why they were learning ROS and why did they choose to use the Robot Ignite Academy as the way to learn it.
What does your company do?
More than a company we are an organization. We provide technical support to Hong Kong companies that want to improve their technology methods.
Why are you learning ROS?
We decide to create a new line of research on autonomous cars, and we believe that self-driving cars are going to be ruled by ROS. Since our team did not have knowledge on ROS, we had to start by learning it, so later we can apply it to the cars.
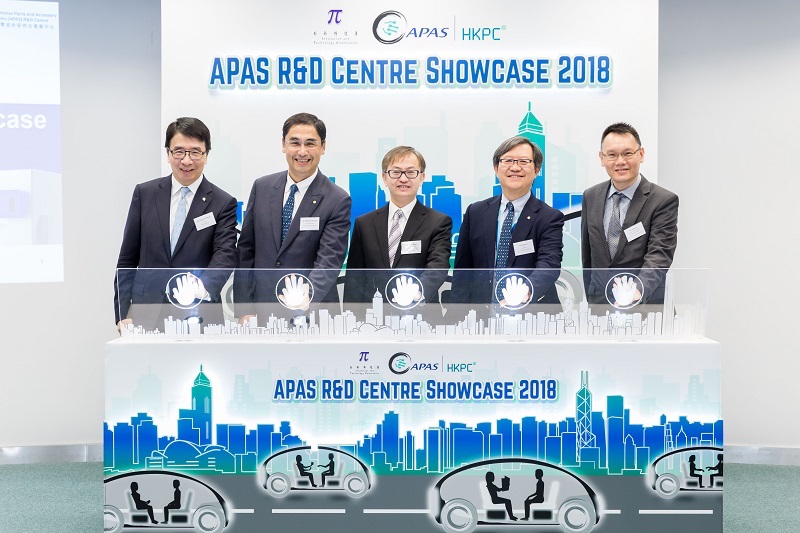
(photo credit: HKPC)
Which ROS methods have you tried?
We used the official ROS wiki page provided by ros.org and some videos scattered around.
What were you struggling with those learning methods?
The main problem is that the wiki tutorials do not provide a step by step sequence that allows you to understand a subject. It is kind of scattered parts that you later have to put together. And that is difficult as a beginner.
Why did you choose to learn with Robot Ignite Academy?
Mainly for two reasons: one is the interactivity. Since the academy provides simulations of the robots, we can see the result of our programs in real time. Another one is that the tutorials are very well done, step-by-step. The tutorials shows how to do every step until you get the program running on the simulated robot.
I would also say that we liked very much the amount of tutorials that you have showing how to apply ROS to some application (like drones or autonomous cars).
What are you missing at Robot Ignite Academy?
Nothing yet. We started to learn some weeks ago and so far, it has been a nice experience. Actually is not only me who is learning with your academy. We have three other people that started learning ROS in your academy before myself. And next week, another colleague is going to start learning.
Which ROS subjects are you interested in?
At present we are concentrated on learning the ROS basics. Later we may be more interested in learning how to apply ROS to autonomous cars.
Which computer type (O.S.) are you using to learn ROS?
We use Linux machines for programming, but for the learning, we are using Windows computers. It is nice to run ROS on Windows!
Have you applied what you learned to real robots? Which ones?
Not yet. As I mentioned, we are still in the process to build the pieces that we need for the creation of autonomous cars. We already have some cars that we will use in the close future for experimentation, and we will use our ROS skills with them.
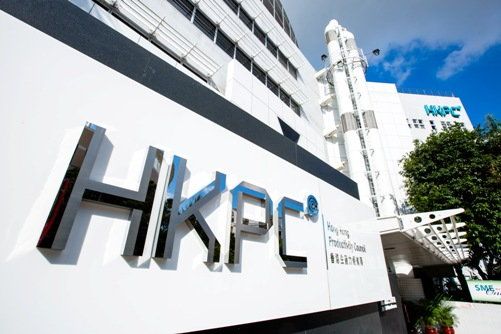
(photo credit: HKPC)
Thank you for your time!
And for all of you reading this case study, consider the amount of time you will save if you use the Robot Ignite Academy to train your engineers on ROS based robotics. We have courses for learning the basics of ROS, but we also have more advanced courses that teach how to apply it to self-driving cars, drones, deep learning with robots, Reinforcement Learning applied to ROS robots, industrial robots and many more. Just check our current list of courses in this page and give it a free try.
Other companies that use our academy to train their teams

![[ROS Q&A] 156 – JointPositionController does not post on /joint_states topic](https://www.theconstruct.ai/wp-content/uploads/2018/09/ROS-QA-156-JointPositionController-doesnt-post-on-joint_states-topic.jpg)
![[ROS Q&A] 155 – How to use callback function in ROS Subscriber](https://www.theconstruct.ai/wp-content/uploads/2018/09/ROS-QA-155-How-to-use-callback-function-in-ROS-Subscriber.jpg)
![[ROS Q&A] 154 – How to Detect Collisions with static objects in Gazebo](https://www.theconstruct.ai/wp-content/uploads/2018/09/ROS-QA-154-How-to-Detect-Collisions-with-static-objects-in-Gazebo.png)
![[ROS Q&A] 153 Use ROSjects locally](https://www.theconstruct.ai/wp-content/uploads/2018/09/ROS-QA-153-Use-ROSjects-locally.jpg)
![[ROS Q&A] 152 – Publish on a topic for a certain period of time](https://www.theconstruct.ai/wp-content/uploads/2018/09/ROS-QA-152-Publish-on-a-topic-for-a-certain-period-of-time.jpg)