ROS is becoming mainstream. But let’s face it, its ability to generate a revenue for ROS Developers is very low.
In this post, I propose you a simple way to generate a stable revenue by delivering online ROS Workshops.
Everything done from your location. The only thing you need is a good internet connection and good knowledge of ROS or related subjects.
What are ROS Workshops?
ROS workshops are 5 hours live sessions where the instructor explains a given ROS/Robotics/AI subject to the audience (students that attend the workshop).
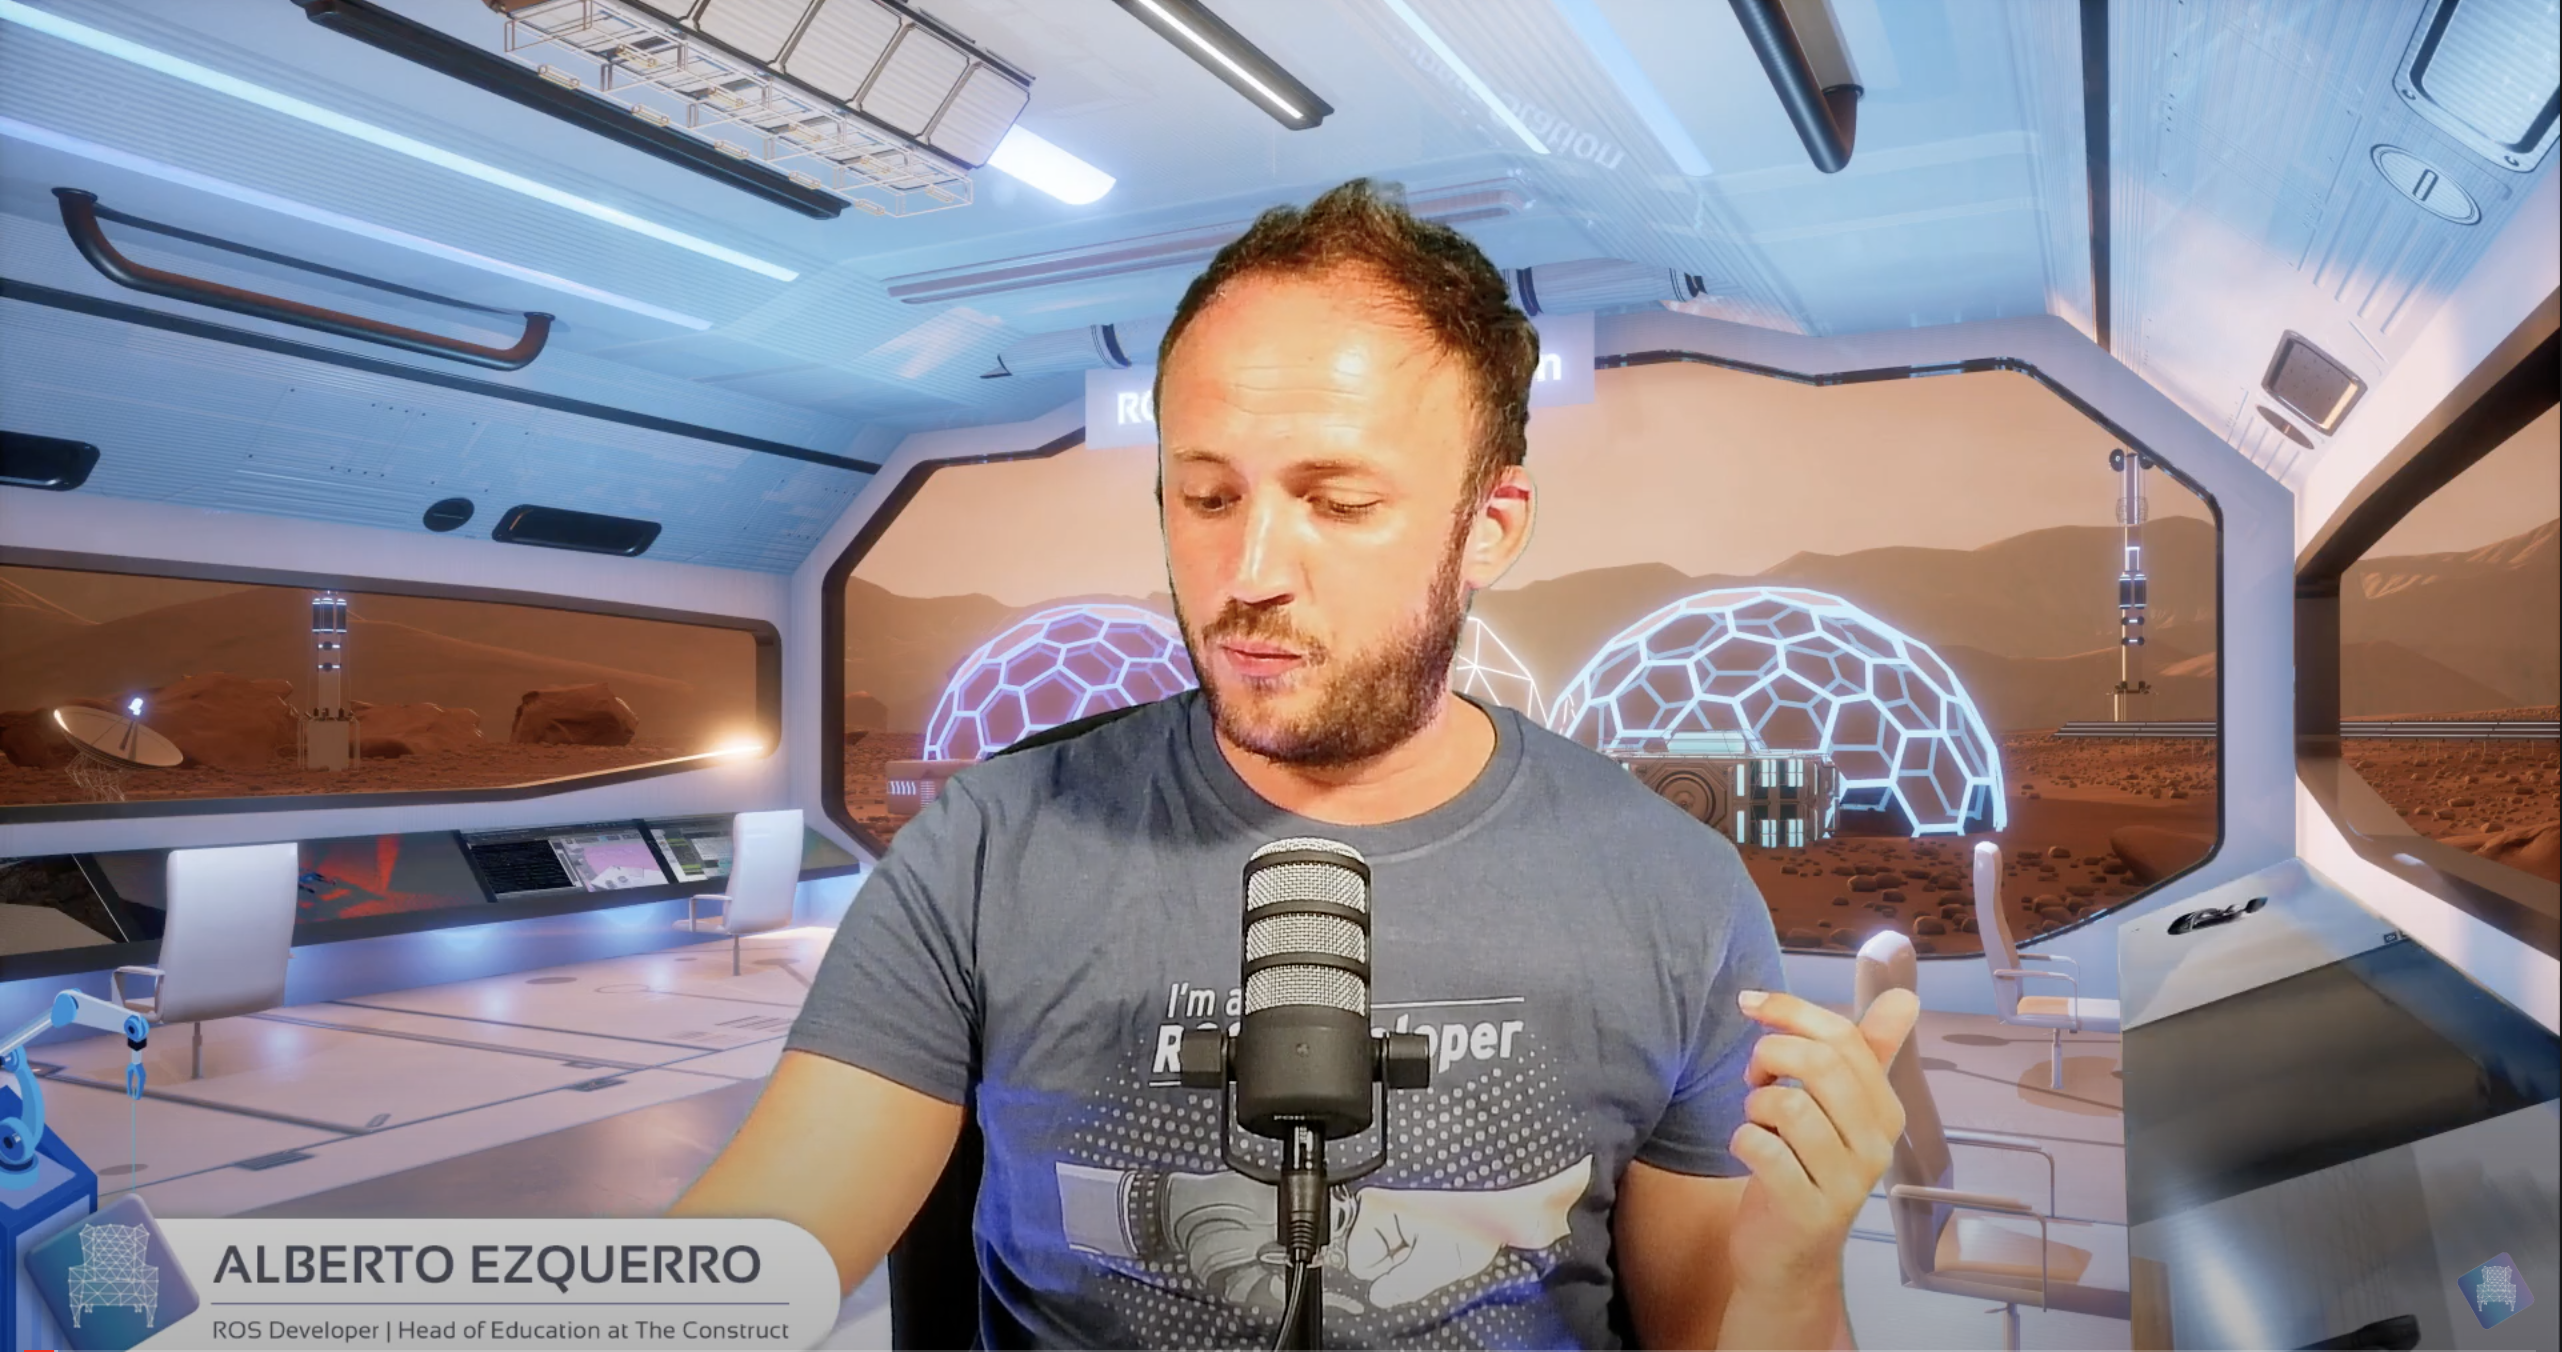
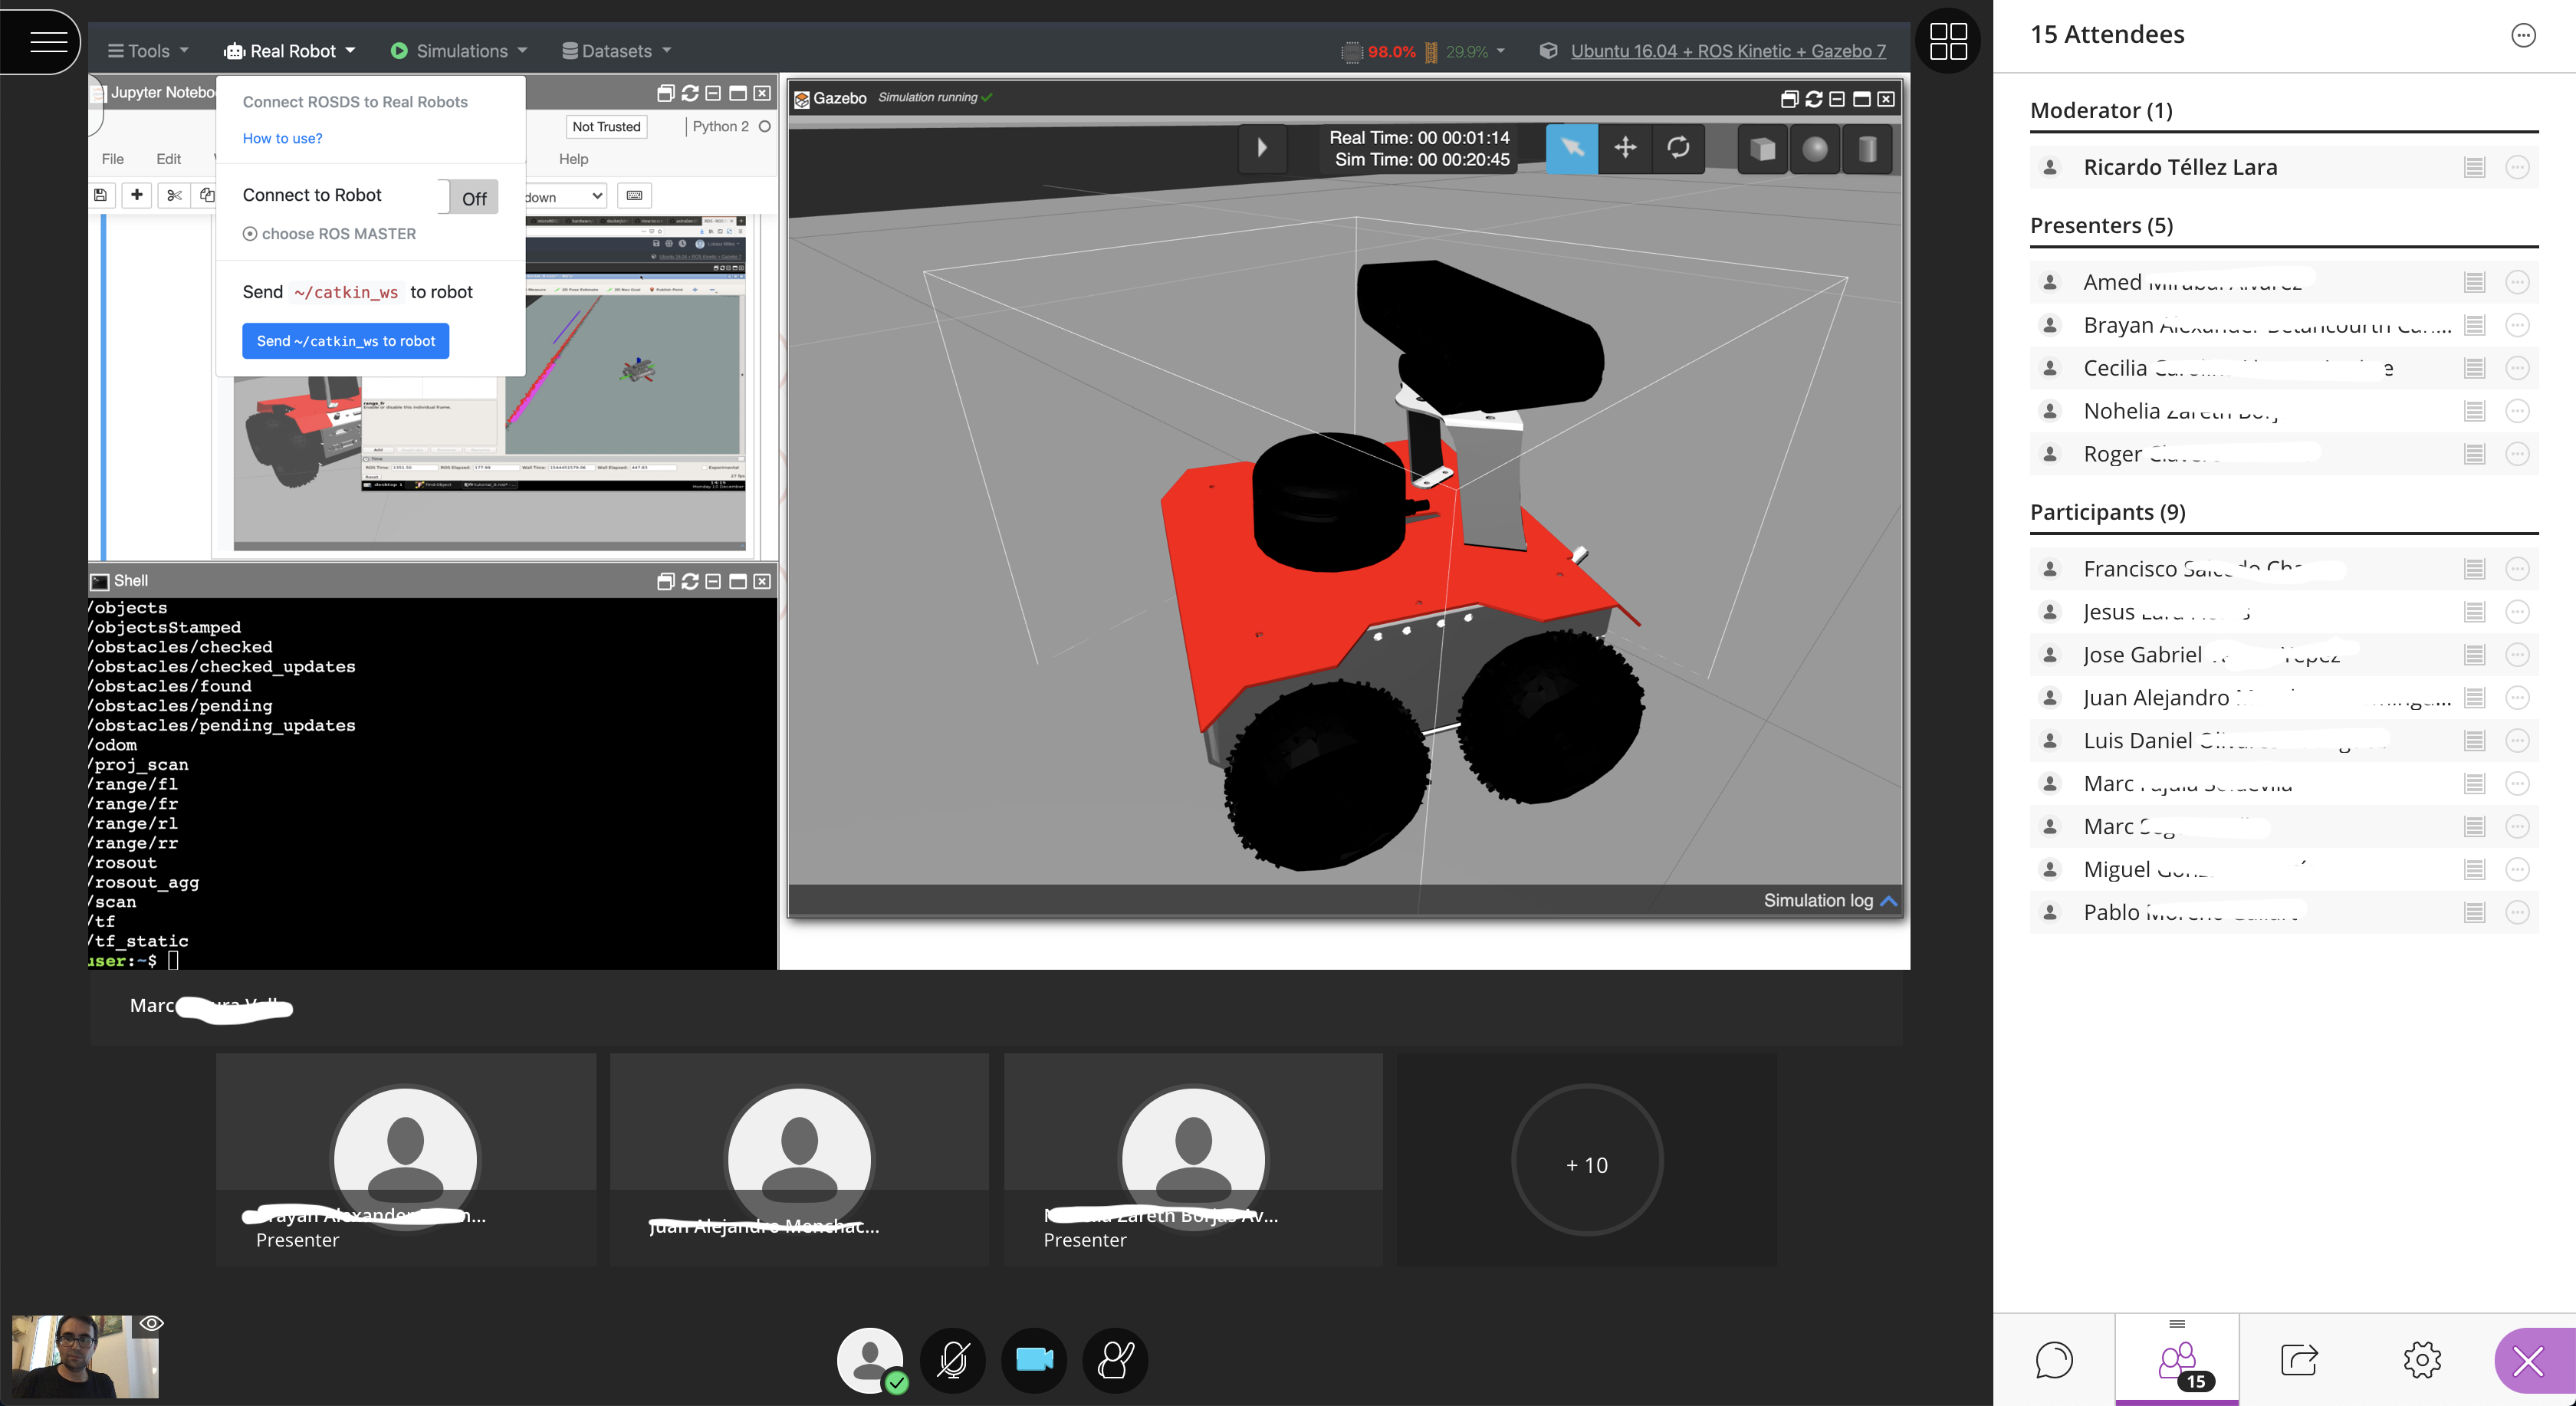
The video is streamed to the audience. It will include instructor’s face as well as computer screen
The workshop is based on practice
To deliver the workshop, the instructor will create a rosject that contains the documentation, code, simulations, etc…
The audience will have a copy of the rosject prior to the workshop.
Workshops have a pause in the middle of it of 20 mins.
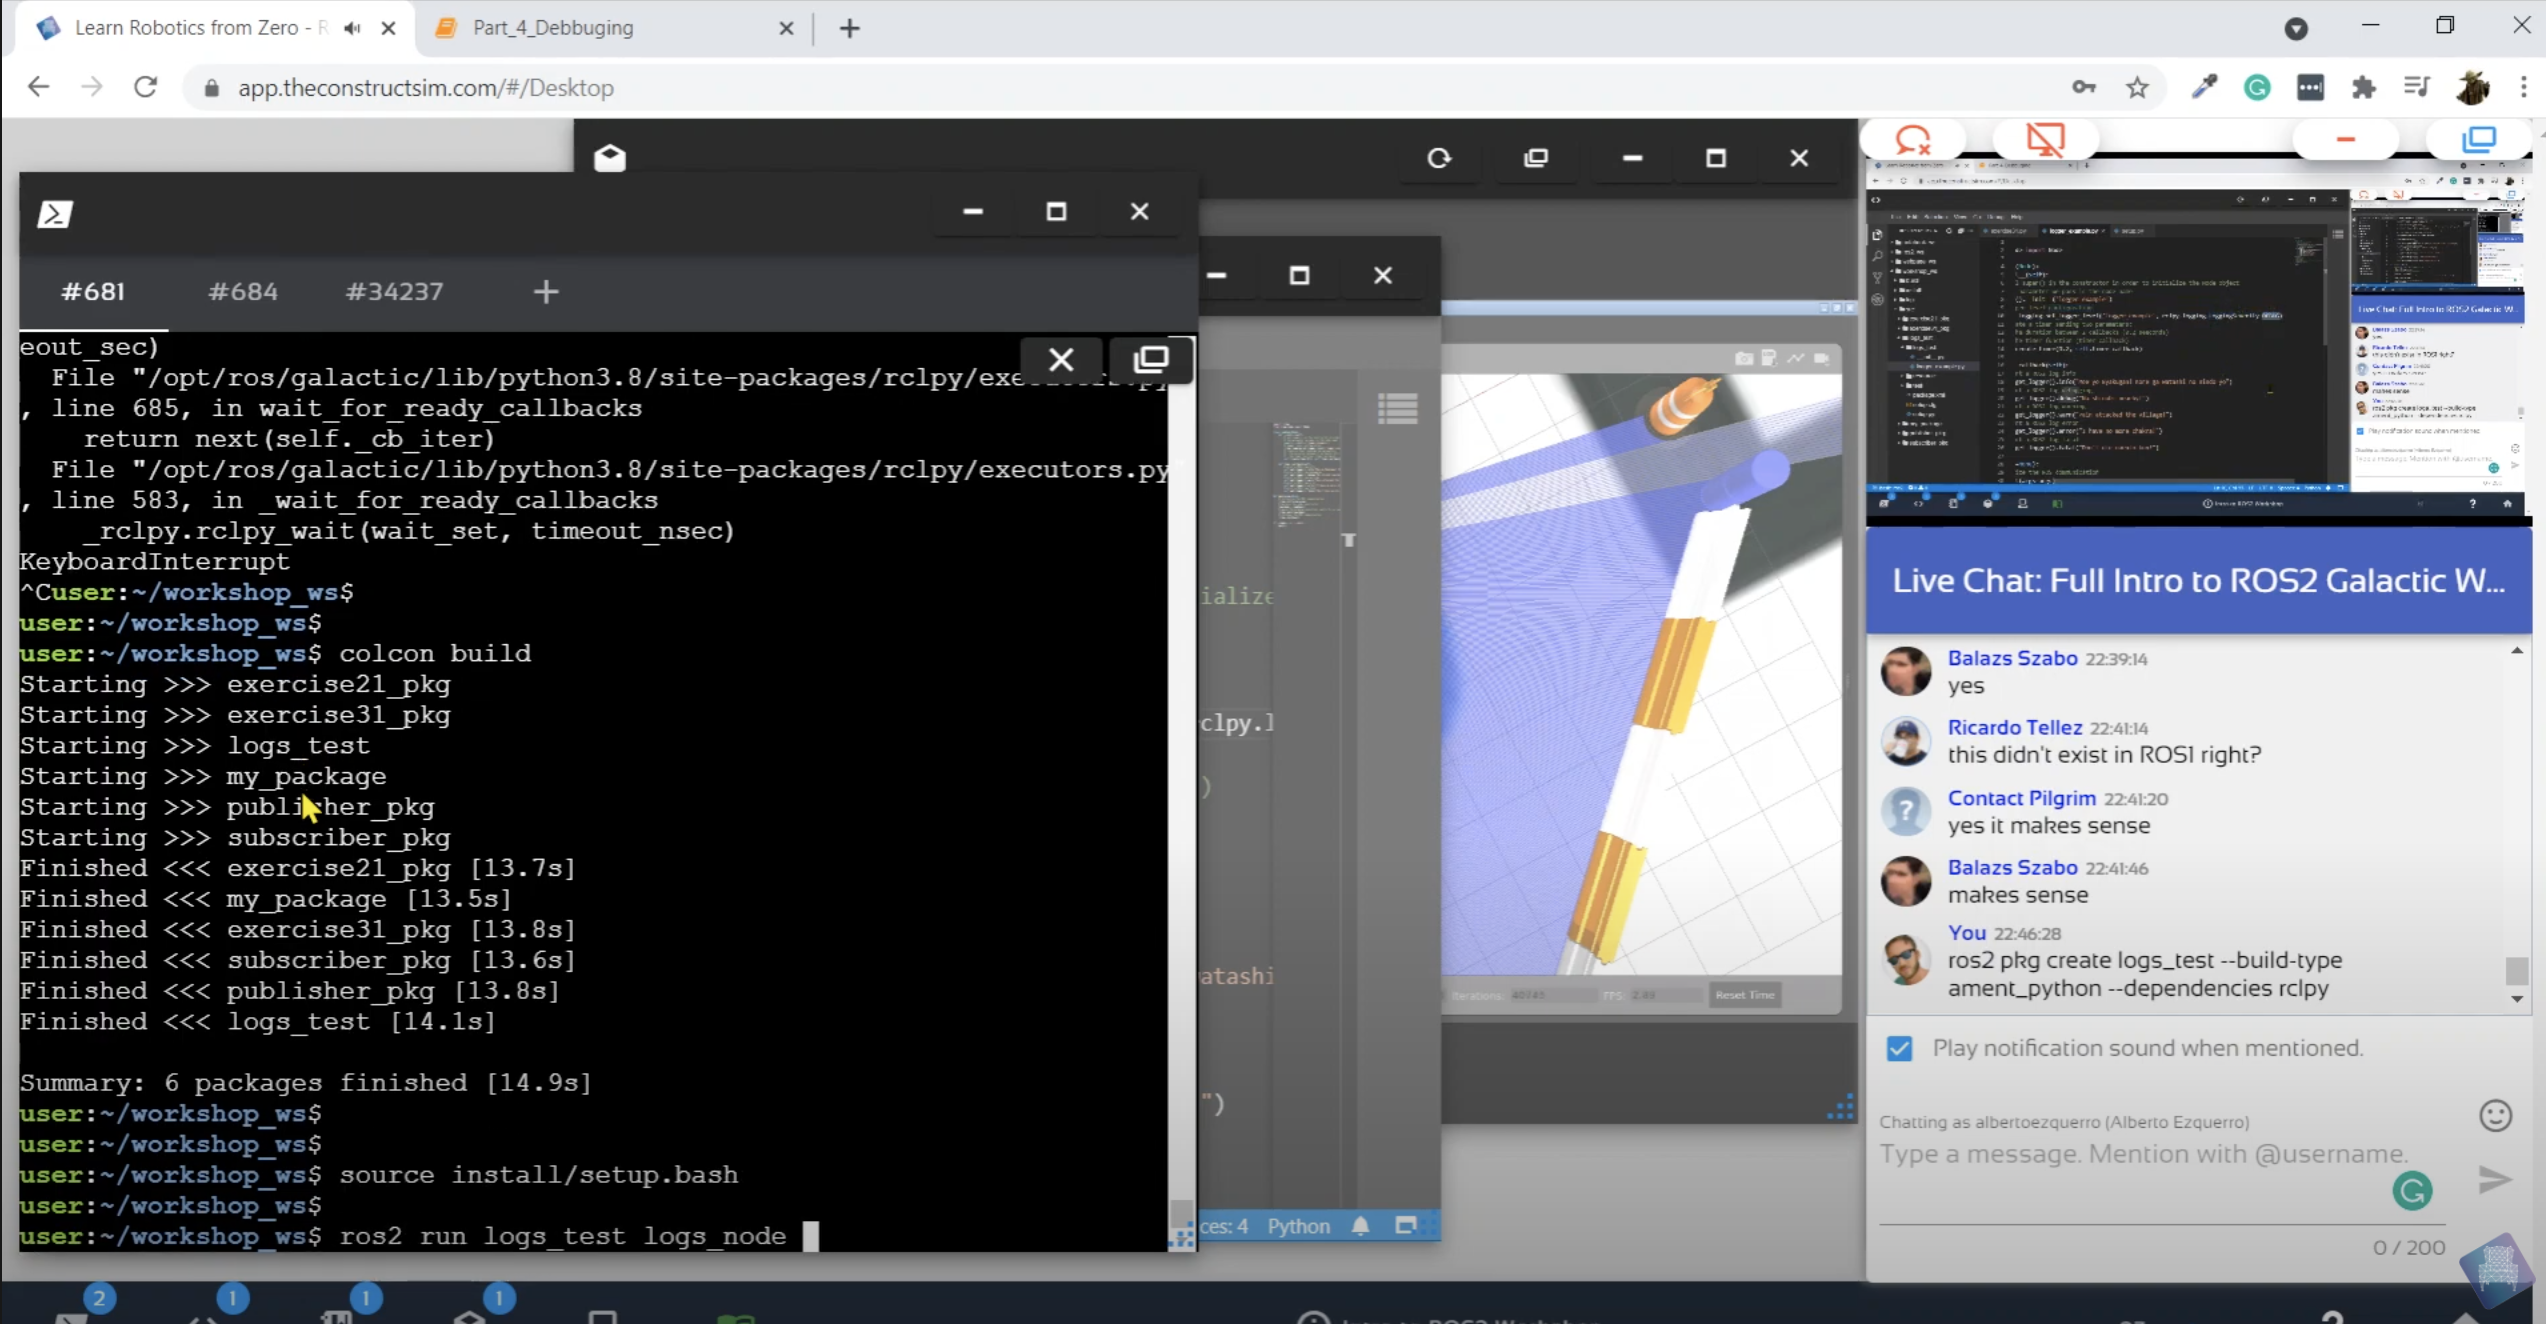
Audience will be practicing with the instructor at the same time
After the workshop is done, the attendants will have forever access to the rosject and video.
People who were not able to enrol and attend the workshop, can still buy its recording and rosject.
Workshops Must Be Based on Practice
Even if you can deliver a workshop just by opening a Zoom account and streaming live, the aim when delivering a workshop at The Construct is different. You should provide a fully practical workshop. That is a requirement. This means that the attendants must be practicing with you while you explain.
The way of allowing practice during the workshop is by using a rosject. A rosject is a ROS project executed on The Construct cloud.
A rosject contains all the documentation of the workshop in the form of a Jupyter notebook
It also contains the ROS packages for the simulations to be used
It may contain other code required for the workshop
It doesn’t depend on the attendant computer (Linux, Mac or Windows)
The rosject must be created by the instructor prior to the workshop. Then, it will be shared with all the attendants by The Construct platform.
This means that:
The instructor must prepare the rosject prior to the workshop
The instructor and the attendants will launch the rosject and follow it along during the workshop
Attendants will keep a copy of that rosject forever, including the workshop video recording
Why to use a rosject?
Because the attendants need to learn by practicing with the instructor. This is The Construct motto.
Instructor cannot ensure all the attendants will have a proper setup for the lessons (may be even doesn’t have a Linux computer).
Instructor doesn’t want to be dealing with computer configuration related issues during the intensive workshop
A rosject ensures that all the attendants will be able to reproduce instructor’s lessons the same exact way he planned from minute one of the workshop.
IMPORTANT: rosjects content can be downloaded by attendants anytime to their local computers. They have no special format, just current Linux files.
Instructor earnings
Every workshop is limited to 15 students maximum. This limitation allows a good quality of the workshop.
Price of the workshop starts at 199€, but the instructor can set any other larger price above that if he considers it (for instance, for very specialised subjects).
This means, with 199€, every workshop can generate up to 2985€. The Construct will keep 50% off it and provide the other 50% to the instructor (1492.5€).
Why this earnings split? Remember that every time a student launches the rosject, a cloud computer is started. The money is required to pay that cost.
Additionally, after the workshop has been done, a package containing the video and the rosject will be sold on The Construct platform, so anybody can reproduce the workshop at will. Sales of this workshop will also be split by half for The Construct and the Instructor. Workshop recordings with code and notes are expected to be sold 100€ more expensive than the live event.
This means that the workshop can become a passive income revenue for you. You can be generating money by selling that workshop for a long time.
Remember that you can create as many workshops as you want!
That is what we call a ROS Passive Income! 😉
How to deliver a workshop at The Construct
At The Construct we want you to make a good living delivering your workshops, but we care even more for the students. Workshops delivered at The Construct must have high quality. That is why we put a lot of attention to some details necessary to control the quality of the workshops, to make students learn a lot.
Please follow the following steps carefully to prepare your workshop.
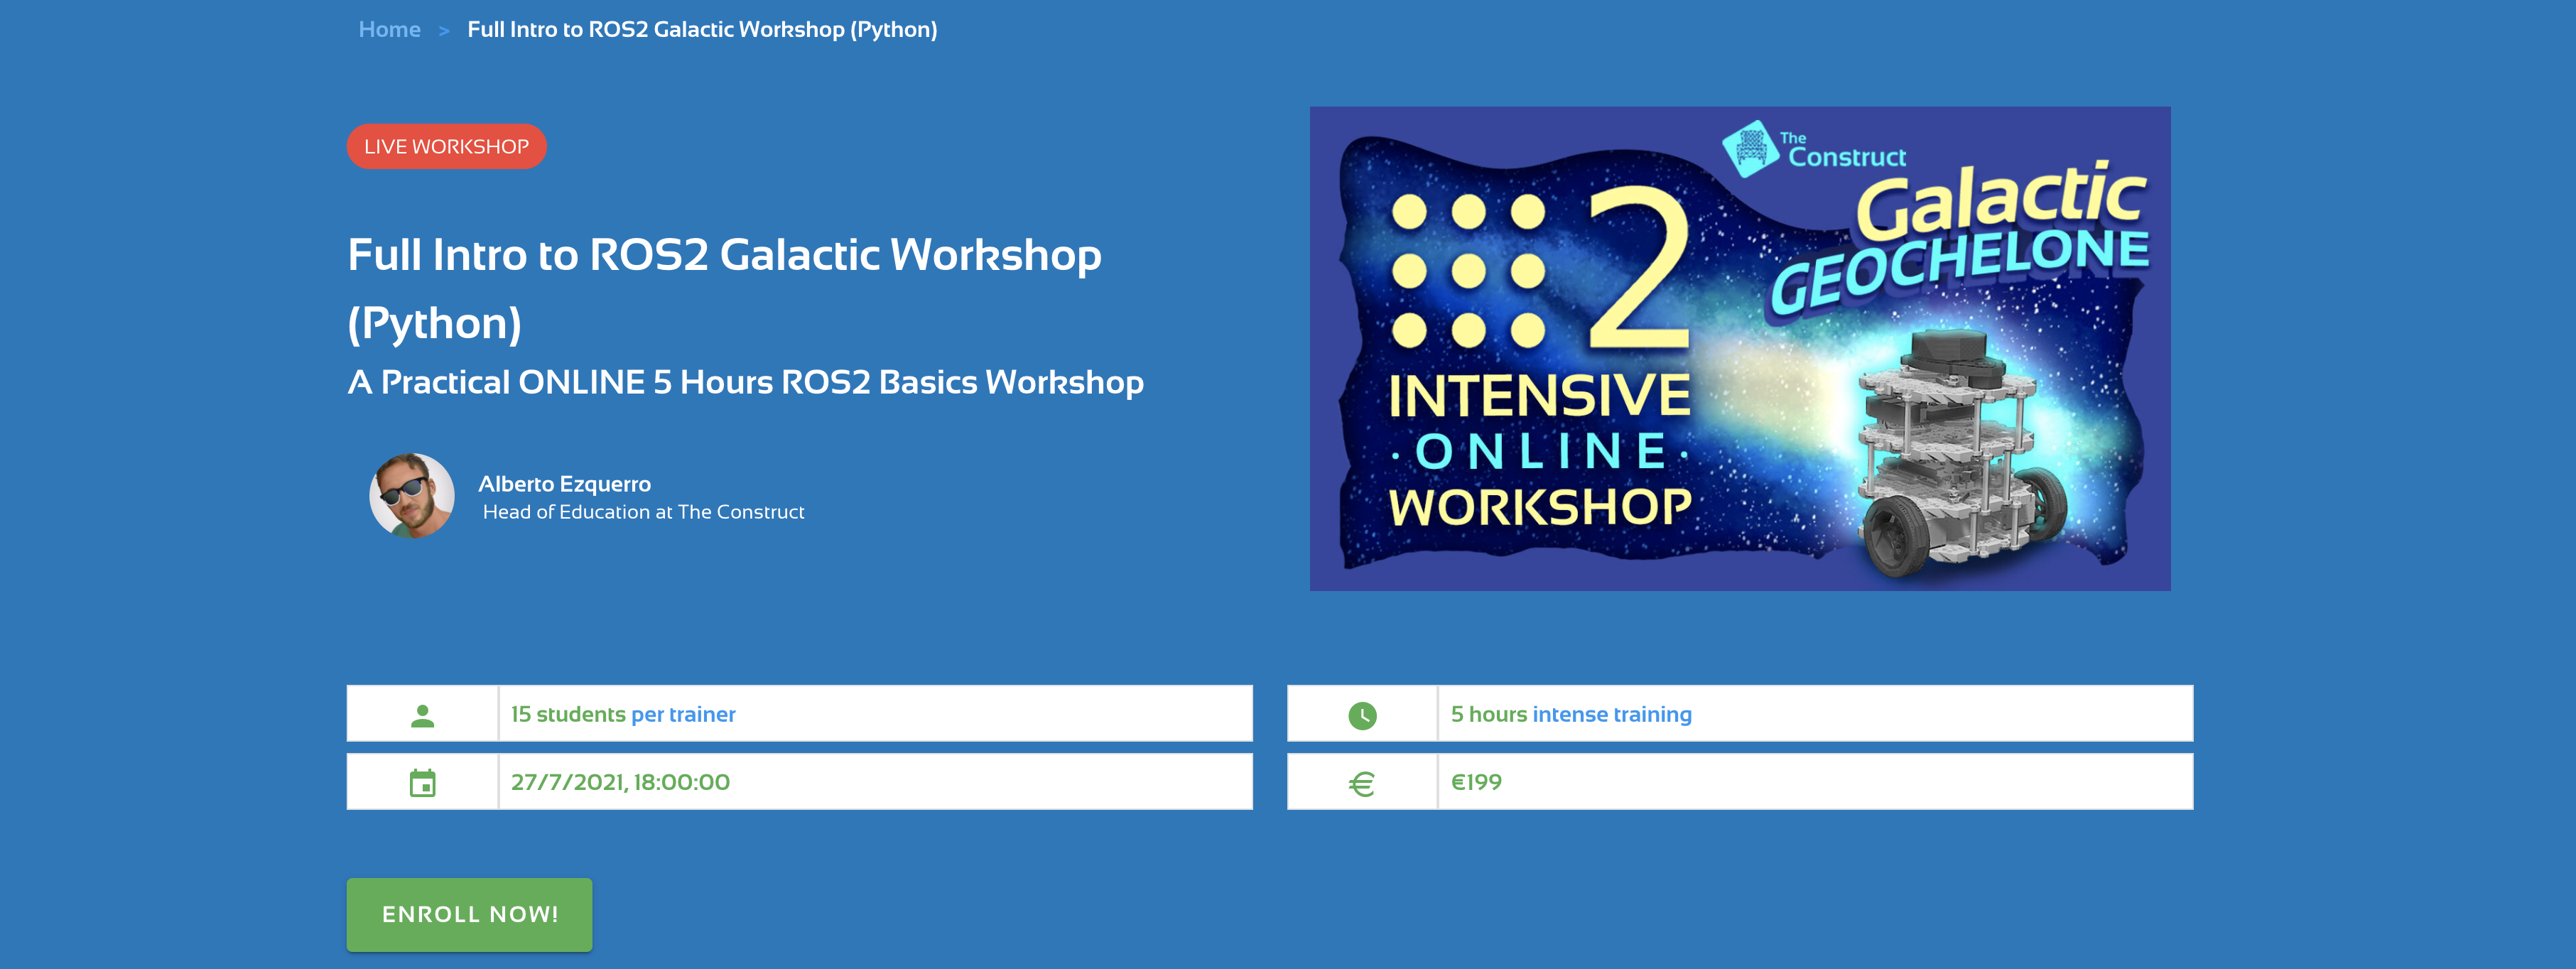
Let’s take as an example our last Workshop about ROS2 (Full Intro to ROS2 Galactic Workshop)
1st Step: Decide your workshop’s subject, agenda, date and time
Create a small text file with the following data:
Name and title of the instructor. Instructor must have a profile in The Construct with picture and details filled (there is a link to the instructor’s profile so attendants can check the background of the teacher before deciding to enroll).
Day and time you will deliver the workshop (indicate time zone!)
Ex. : 27/7/2021, 18:00:00 CEST
Price for attending (at present only € amounts are accepted)
Ex. : 199€
Workshop title (the shorter the better)
Ex. Full Intro to ROS2 Galactic Workshop (Python)
Workshop short description, a sentence describing what the workshop is about
Ex. Master in only 5 hours ROS2 Basics with Python
Workshop full description. What is this workshop about
Ex. : Completely practical workshop, using simulated robots No configuration required. Everything provided ready to work
List of topics that will be covered
Ex. :
How to create ROS2 packages
How to access to the motors of a ROS2 robot (publishers)
How to access to the sensors of a ROS2 robot (subscribers)
How to build an obstacle avoidance application for a ROS2 robot
How to manage nodes (executors and callback groups)
How to debug ROS2 programs
Who should attend the workshop. What is the audience for this workshop
Ex. : ROS Developers that want to start transitioning to ROS2
Prerequisites (if any). A list of subjects that attendants must know prior to attend the workshop
Ex. :
A basic knowledge of Linux
A basic knowledge of Python
Agenda. List all times and topics delivered at each time. Remember to schedule for the 20 minutes break in the middle of the workshop
Ex. :
18:00-18:1027/07/2021 CEST
Intro to ROS2 Workshop
18:10-19:0027/07/2021 CEST
Creating ROS2 packages and code
19:00-19:5027/07/2021 CEST
Accessing robot actuators
19:50-20:4027/07/2021 CEST
Accessing robot sensors
20:40-21:0027/07/2021 CEST
Coffee Break
21:00-21:4027/07/2021 CEST
Obstacle Avoidance
21:40-22:2027/07/2021 CEST
Node Management
22:20-23:0027/07/2021 CEST
ROS2 Debugging
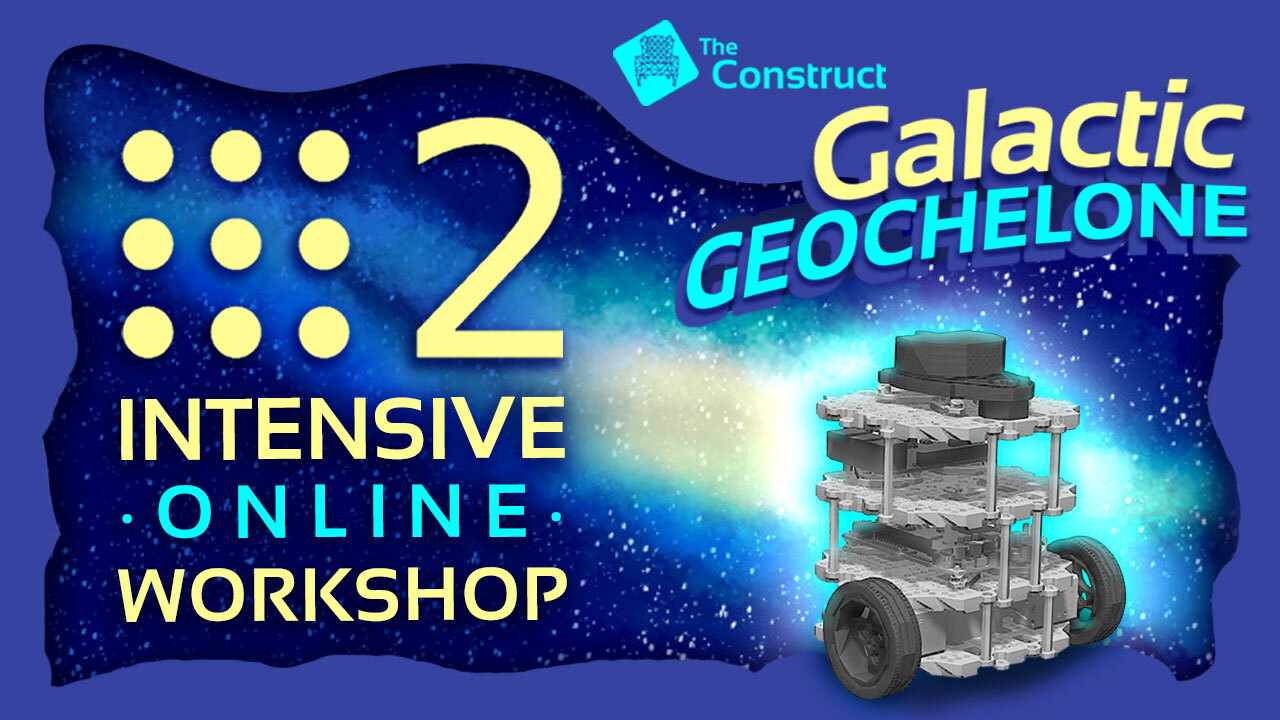
Workshop Cover Image
The Construct will take care of building a proper and nice image for your workshop. We will use that image to feature the workshop in our main page.
We will send you the Workshop Cover Image so you can use it to promote the workshop on your social networks.
Ex.
Workshop marketing
The Construct will promote the workshop over our community, but you should also take care of promoting it if you want it to be a success.
2nd step: create the workshop rosject
The rosject is the ROS project at The Construct that contains the material that you will share with the audience.
Inside the rosject, you should put the following:
Notebook with all the content the attendants will learn
Simulation code
Any extra code attendants will need during the workshop
You can get many ideas about how to create your rosjects from our Live Classes. Actually, our Live Classes follow the same principle. They are like workshops with a shorter duration (and everything is provided for free).
Watch some of our Live Classes to understand what to include in the workshop rosject and how to deliver one workshop.
IMPORTANT REMARK 1: Remember that each rosject has on average 2CPUs. So properly calculate the material that you are going to put there, otherwise your practice may be very slow.
IMPORTANT REMARK 2: Take into account that your rosject must be create as private (otherwise it will be publicly seen by other users of The Construct) . The free account of The Construct does not allow the creation of private rosjects, so you will need to get a private account which is only 9€/month.
Equipment
To start streaming you only require:
Have a camera (any webcam will do it)
Have a mic
Have a fast internet connection
On the day of the workshop, The Construct will call you through Hangouts and broadcast the call to the audience.
Final remarks
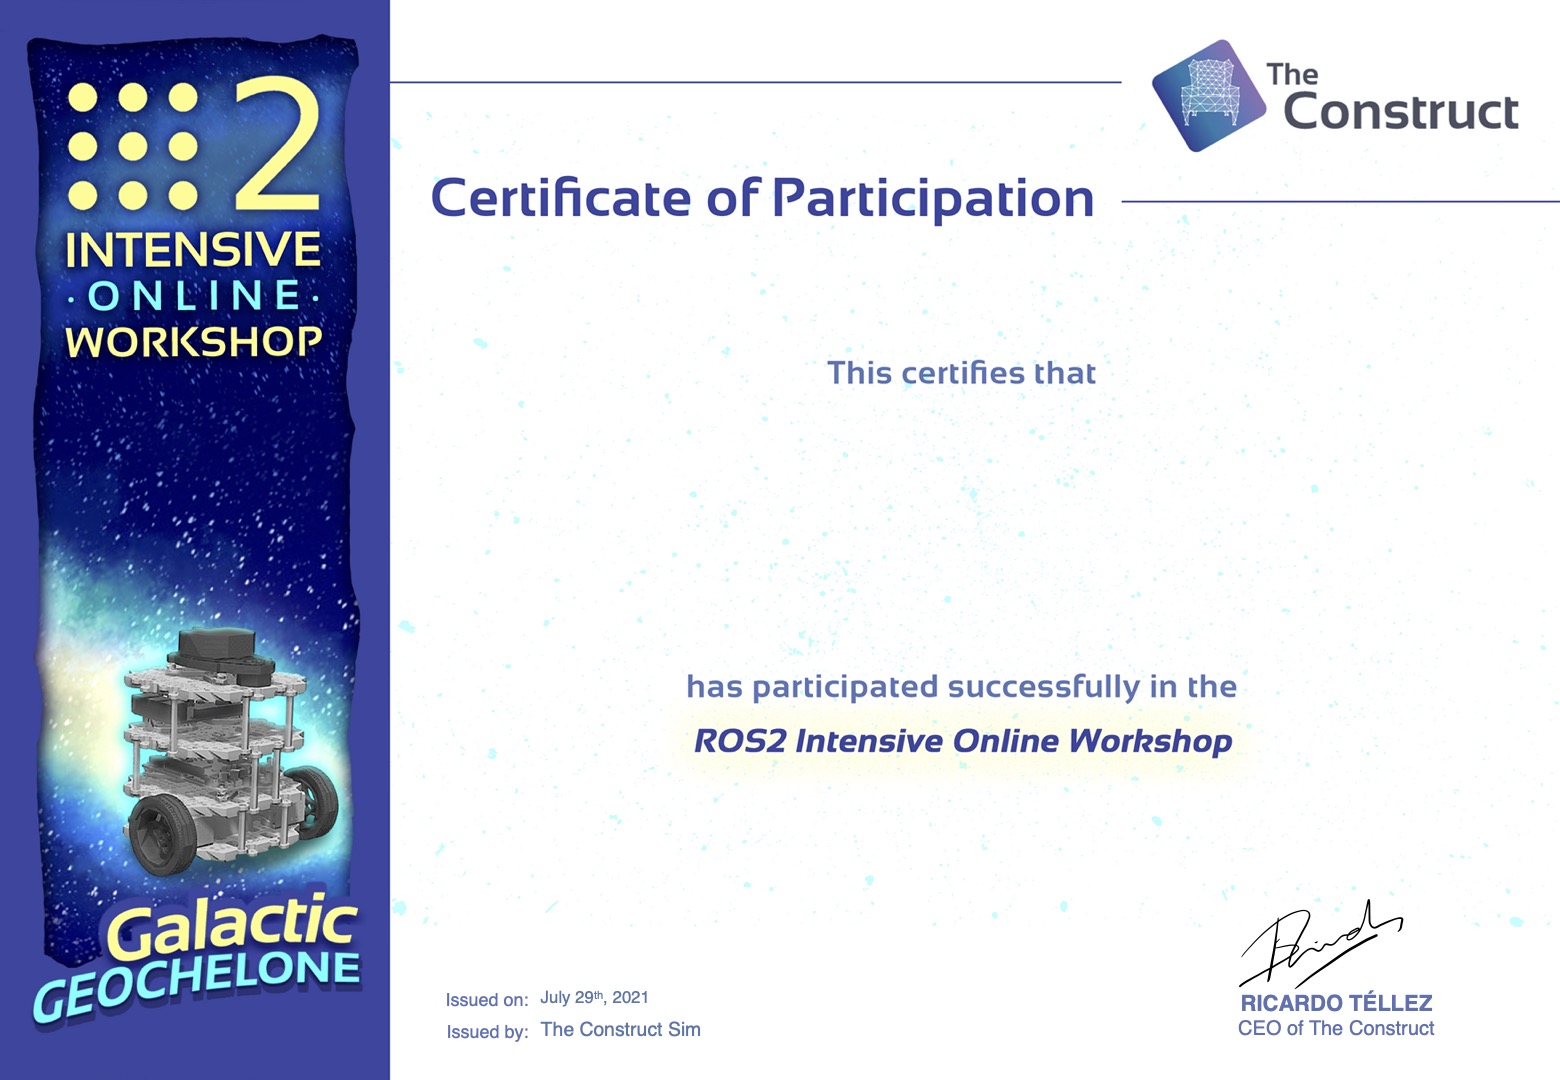
Workshop Certificate
The Construct will automatically issue a certificate of attendance to all the participants to your workshop, provided that they attended 3 hours or more.
Issue of the certificates is automatic. You don’t have to care about preparing it, but you should mention it during your marketing of the event.
Workshop Evaluation
Remember that workshops will be evaluated at the end by the attendants (only if they attended more than 3 hours). The evaluation will be shown in the page of selling workshops, as well as on the instructor profile. Getting a good review is necessary if you want that your workshop sales well after delivery.
Time Zones
Remember that people live in different time zones, so think carefully what time do you want to do your workshop so maximum amount of people will attend
What to do is just a few people register for the live workshop?
That is up to you. You can cancel the workshop by sending us a notice at least 24h before the workshop. If you cancel the workshop less than 24 hours to it, or simply do not deliver it as planned, you may be banned of the platform.
Conclusion
This is a new way of generating money teaching ROS. Different from building a course on Udemy or another video course platform because the attendants practice with the instructor.
Remember that your workshop will be displayed to hundreds of thousands of ROS Developers around the world, because of The Construct network. This increases your chances of getting more students interested in your workshop and hence, have more sales.
In case you want to know more, I will be delivering a Live Session on Youtube discussing all those ideas, next Wednesday the 4th of August 2021 here.
In case you are thinking about buying some robots for your class on robotics, here you are going to find a list of some of the most interesting ones, based on my own experience as teacher of robotics at University of LaSalle Barcelona.
The list contains a series of robots that you as a teacher can consider buying for making your students practice with real robots using ROS.
Disclaimer
We received no money, commission or any type of compensation for showing the robots of the list. It just expresses my personal opinion.
Criteria
They must be robots that run with ROS, either off-the-shelf or because the manufacturer provides the drivers. I’m not taking into account robots that the manufacturer does not provide ROS drivers, even if somebody else has created the drivers. The reason is that usually, drivers created by third parties are not properly maintained, so you may end with a robot whose driver only runs in ROS C-Turtle.
I have selected the robots that you can fully buy. I’m not including experiments that you may try based on a website with some list of materials. Basically, the criteria is that after bying, you will receive a box with the robot or pieces to build it.
You must be able to use the robot for your own purpose. So I’m not including ROS robots that are part of a robotics solution (like warehouse handling, stock control, …).
If the robot does not comply with those criteria, we are discarding the robot from the list.
It may happen that your robot does meet the criteria and is not included in the list. Please let me know my errors in the comments section below, and I’ll be happy to update the post.
Do It Yourself Robots
Those are robots that you buy online and receive all the pieces in a box, with the instructions ready to build. They are very small size (they fit on your desk) and are based on a basic sensor.
List of robots:
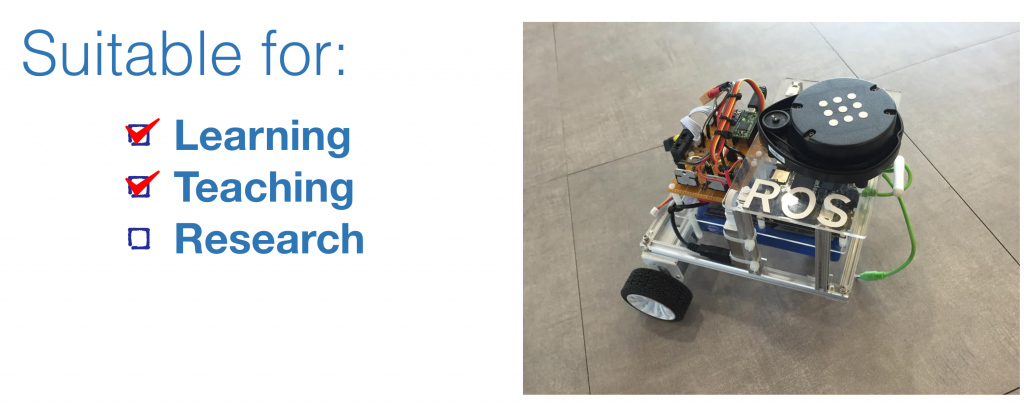
Linorobots, by Juan Jimeno: a series of build-yourself differential drive wheeled ROS robots with laser sensor created by Juan Jimeno. You can build several types of robots with them and learn about the basic concepts of robotics like robot kinematics, obstacle avoidance or robot navigation.
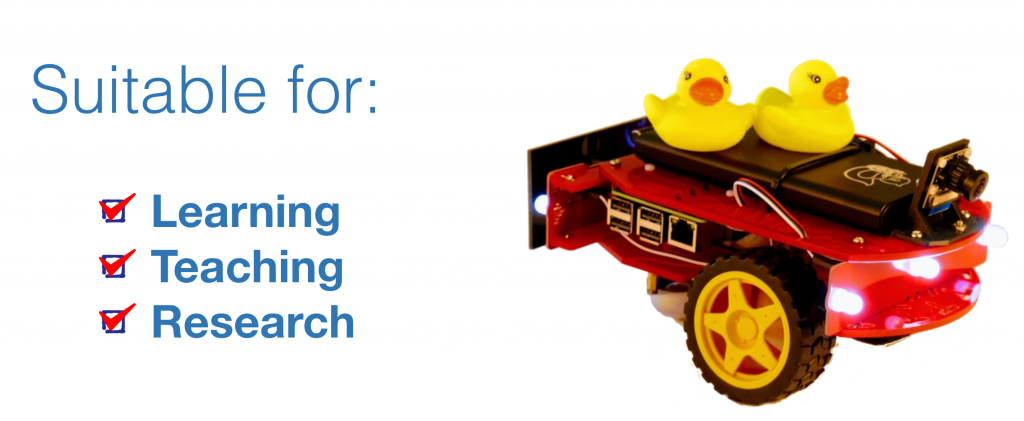
Duckiebot, by the Duckietown Project: very simple ROS robots based on differential drive and camera to learn about visually based navigation. Those robots are part of the Duckietown project, a larger project that builds a complete city where those robots must learn to navigate around, taking into account traffic signals, and other robots around.
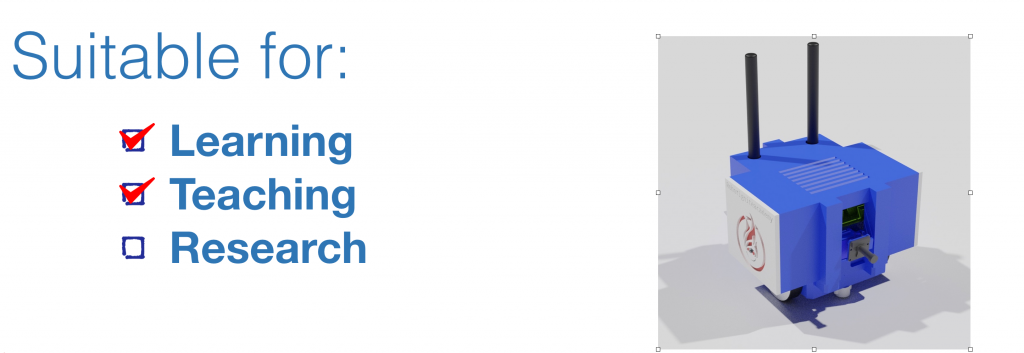
JetBot CUDA robot: this is a small wheeled robot based on a Nvidia Jetson Nano card. This makes the robot an interesting option if you want to use deep learning with your robot since the card is equipped with CUDA cores.
Small Wheeled Robots
Those are robots of small-medium size that have wheels to move around. They are best suited for learning or teaching.
List of robots:
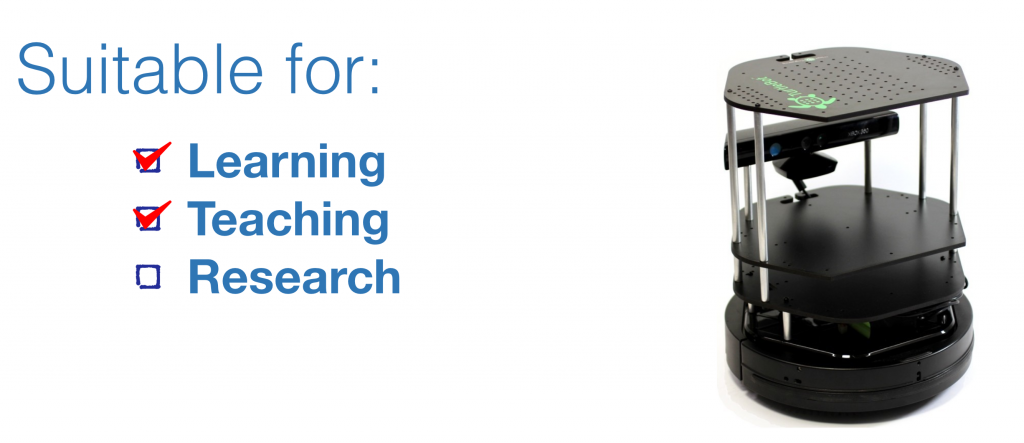
Turtlebot 2: this the most famous robot in the ROS world. Almost everyone learning ROS has used this robot for testing. It is a midsize robot with a differential drive, bumpers and a point cloud device. This robot allows practicing robot navigation. It is a good tool for teaching robotics navigation and kinematics.
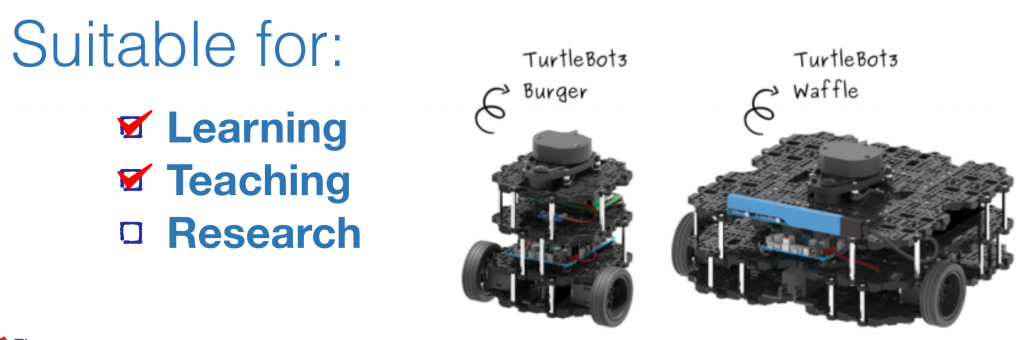
Turtlebot 3, by Robotis: the next generation of Turtlebot, in a smaller size and in two different configurations and includes a 360º laser. This robot is small enough to fit on your desktop. They include multiple wholes in their structure so you can add your own structures on top. This is one of the few robots that works with ROS2.
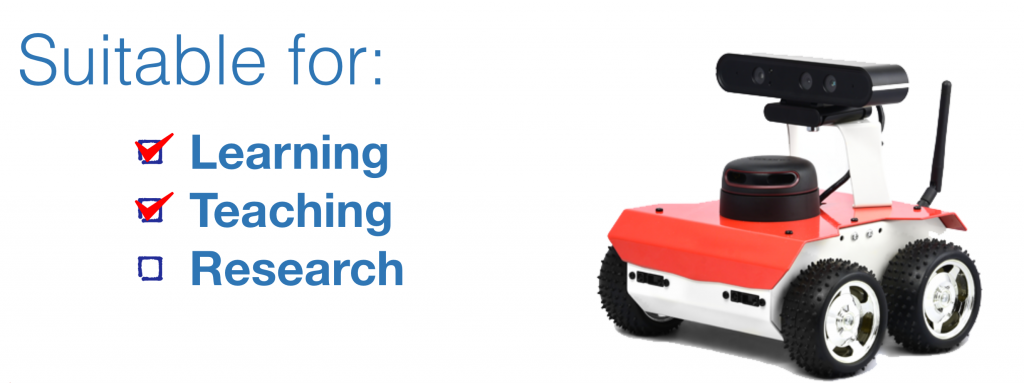
ROSbot by Husarion: the ROSbot is a very compact robot including several sensors: lidar, point cloud device and infrared sensors. Very good for learning and teaching. This robot also works with ROS2.
Robot Manipulators
Those are robots arms that may or may not include a gripper. Robot manipulators are usually attached to a fixed platform, but can also be combined with a mobile platform to create a mobile manipulator. By the way, I refuse to call them cobots
List of robots:
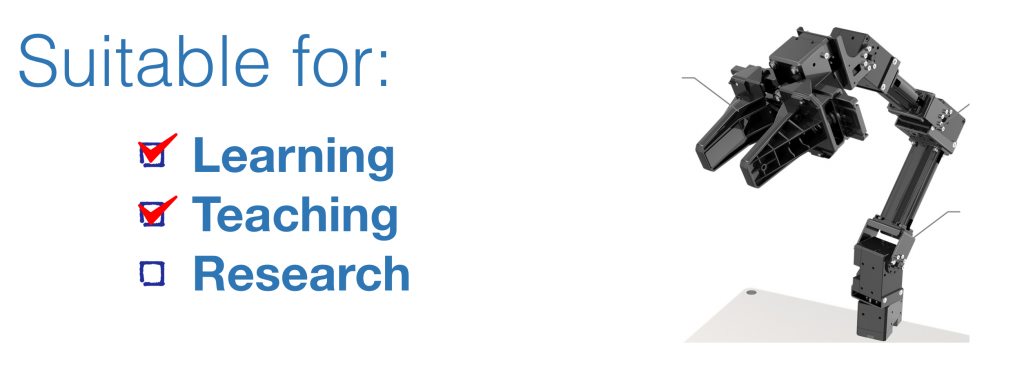
Open Manipulator, by Robotis: it is an open source design of a robotic arm of small size that you can have on your desktop. The joints use dynamixel servos. Given the small size and open source spirit, it is very well indicated for learning and teaching. It has 4 DOF and a small gripper.
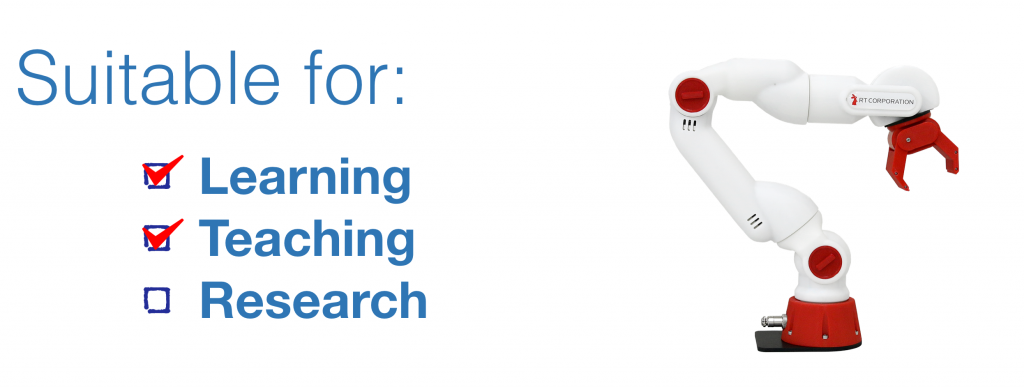
CRANE-X7, by RT-NET: another 3D printed robotic arm, but of a bigger size than the Open Manipulator. It makes part of a larger set of educational material. It comes with a gripper.
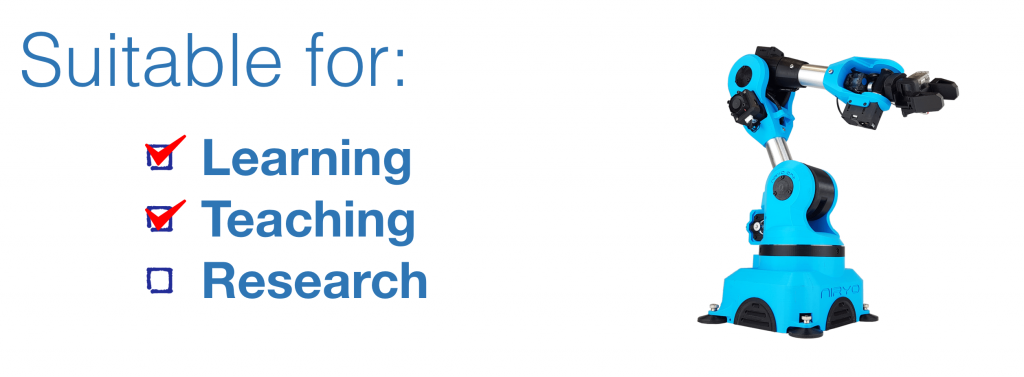
Niryo One, by Niryo: small robotics arm that also fits in your desk. It is very compact and solid and it is specially made for education. It comes with a gripper.
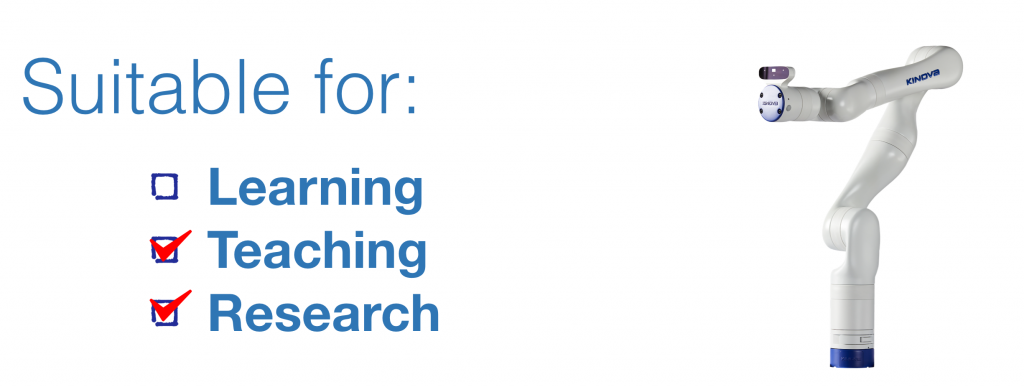
Gen3, by Kinova: the latest robotic arm by Kinova with 6 DOF and a purpose for education and research. It doesn’t contain a gripper. In case you need it, you would have to integrate from another company. What is interesting is that it comes with an integrated Intel Realsense for vision and depth.
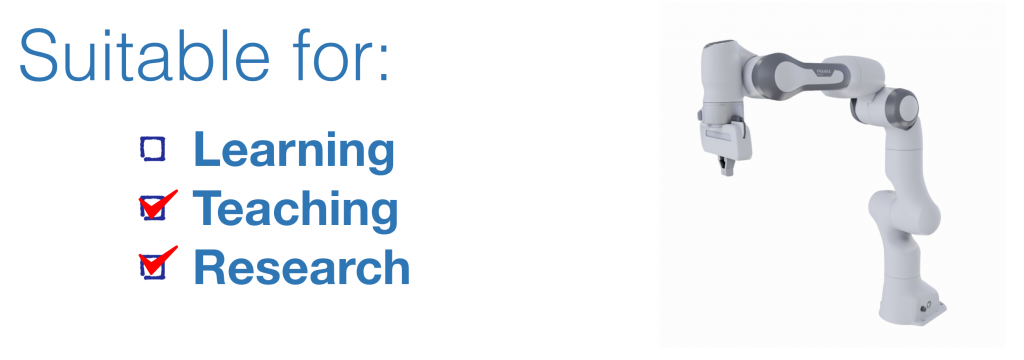
Panda, by Franka Emika: a 7 DOF with included gripper ready for teaching or research. Actually, it is ready for industry applications too.
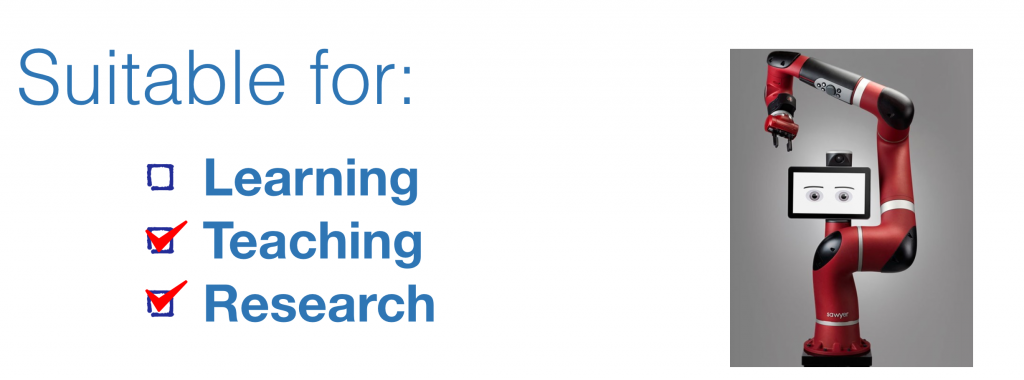
Sawyer Black, by Rethink Robotics: after the close of Rethink Robotics, the company was bought by the Hahn Group and developed this new version of Sawyer. This updated version of Baxter has 7 DOF, a gripper and cameras in its grip.
Legged Humanoids
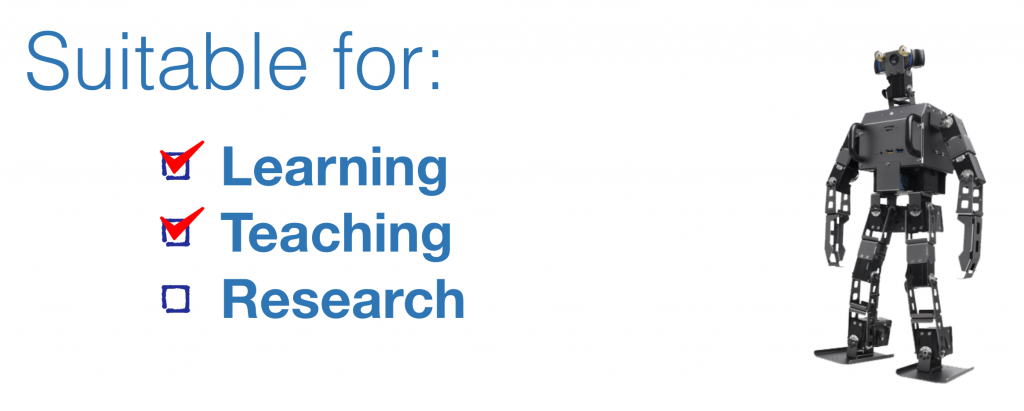
Robotis-OP3, by Robotis: small one that fits on your desktop
Other educational materials mentioned on the podcast
The world has changed in 2020. Due to the coronavirus, all our social interactions have been reduced. This has led to universities closing and students learning from home. Teaching has moved online.
You can teach almost any subject online; however, some subjects are going to be more productive online than others. For instance, you can teach medical students about all the illnesses of the lungs online. But there is a part in that teaching that is about the interaction with an actual ill person. That is very difficult to provide through online teaching.
In robotics, something similar happens. If you want to teach robotics properly, you need to use a real robot. So how can we teach robotics online and provide a full learning experience?
How far can we go with online teaching of robotics?
Before answering this question, we need to identify what do we need to teach when teaching robotics, and then see what can be covered online.
Let’s have a look at the typical robotics curriculum of some important universities:
Summarizing from the syllabi of those courses, we conclude that the following are the main subjects when teaching robotics:
Robot action and perception
Arm Kinematics
Mobile robots kinematics
Robot dynamics
Motion planning and control
Robot Navigation
Computer Vision
So what we can see here is that when we are talking about teaching robotics, we are not talking about teaching how to build a robot (that would be more related to mechatronics and electronics), but about how to understand how robots work, especially in their interaction with the world, and how to create programs that make the robots properly interact with the world. We take, hence, the physical robot for granted and concentrate on the control algorithms.
Providing robotics theory to remote students
That is the easy part of the teaching. If your online teaching is based only on slides describing the theory of the subjects above, then you are almost done. You just need to prepare your slides with the subject, and then use a meeting tool to meet your students online (Zoom, Google Meet, Skype, or any other meeting software). I’m sure you already know which one to use.
How to provide some robotics practice
If you want your students to really understand the theoretical concepts, why they are required, and what their results are in real life, you will need to provide some kind of practice.
Which kind of practice?
I propose teaching ROS at the same time that we teach robotics, and using the former throughout the whole robotics semester as a tool to build and implement the robotics subject we are teaching. The idea is that we use ROS to allow the students to actually practice what they are learning. For instance, if we are talking about the different algorithms of obstacle avoidance, we can provide a simulated robot and make the student create a ROS program that actually implements the algorithm for that robot. By following this approach, the learning of the student is not only theoretical, but includes the practice of what is being taught.
Teaching ROS alongside the robotics teaching also has the benefit that what the students learn will be extremely beneficial for their careers because ROS is becoming the standard in robotics worldwide.
If you like this approach, then you will have to provide your students with an environment for practicing with ROS. Now that they are online and not at your labs, you will have to rely on the students’ computers for that.
How to provide a practice environment to remote robotics students
You have two options here:
Provide a robot simulations-based environment
Provide a real robot-based environment
Simulation-based environment for students
The goal is to set a ROS-based simulation environment in the student’s computer that is ready for practicing. That is not an easy task, especially when the students are remote. Here are four ways to do it.
Students install ROS on their computer. Students will need to follow the instructions here. This is a risky option if your students do not already have Linux on their computers (because that implies having to install Linux first and do a dual boot in their computers).
Students install a provided Virtual Machine with ROS. This option skips the step of installing Linux and a dual boot. Still, students will need to install the VM software and the actual VM image containing Linux and ROS. I haven’t found any VM ready to download with a modern ROS Distro, so you will need to build it yourself and then provide it to your students. Follow these instructions to build a ROS VM image with the latest ROS Distro.
Students use a ROS-based docker. This is a similar approach to the previous one, more modern, but a little bit more complex for the students because they need to understand the usage of dockers. Follow the instructions here to download a ROS docker: https://hub.docker.com/_/ros/.
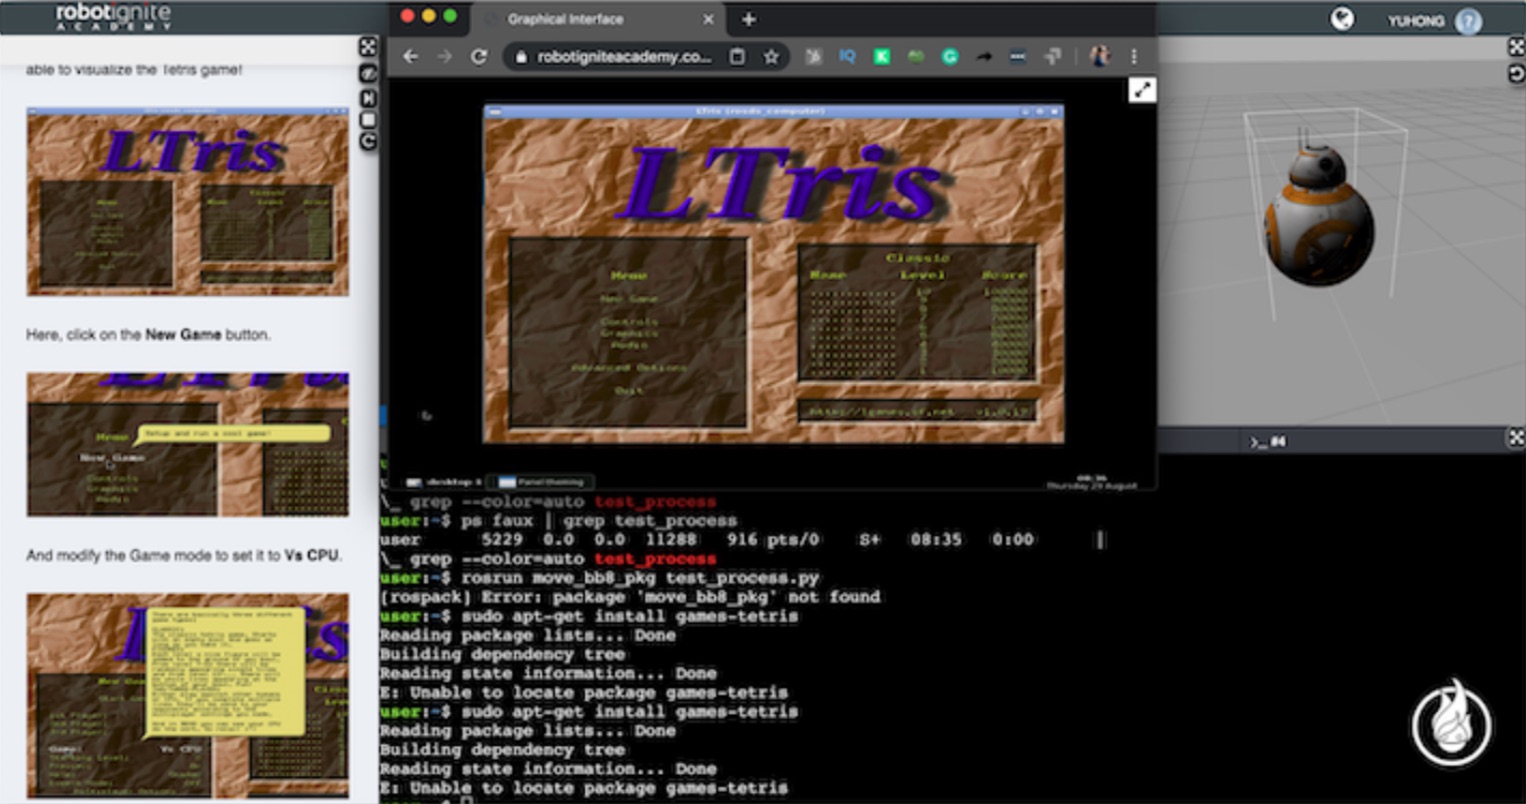
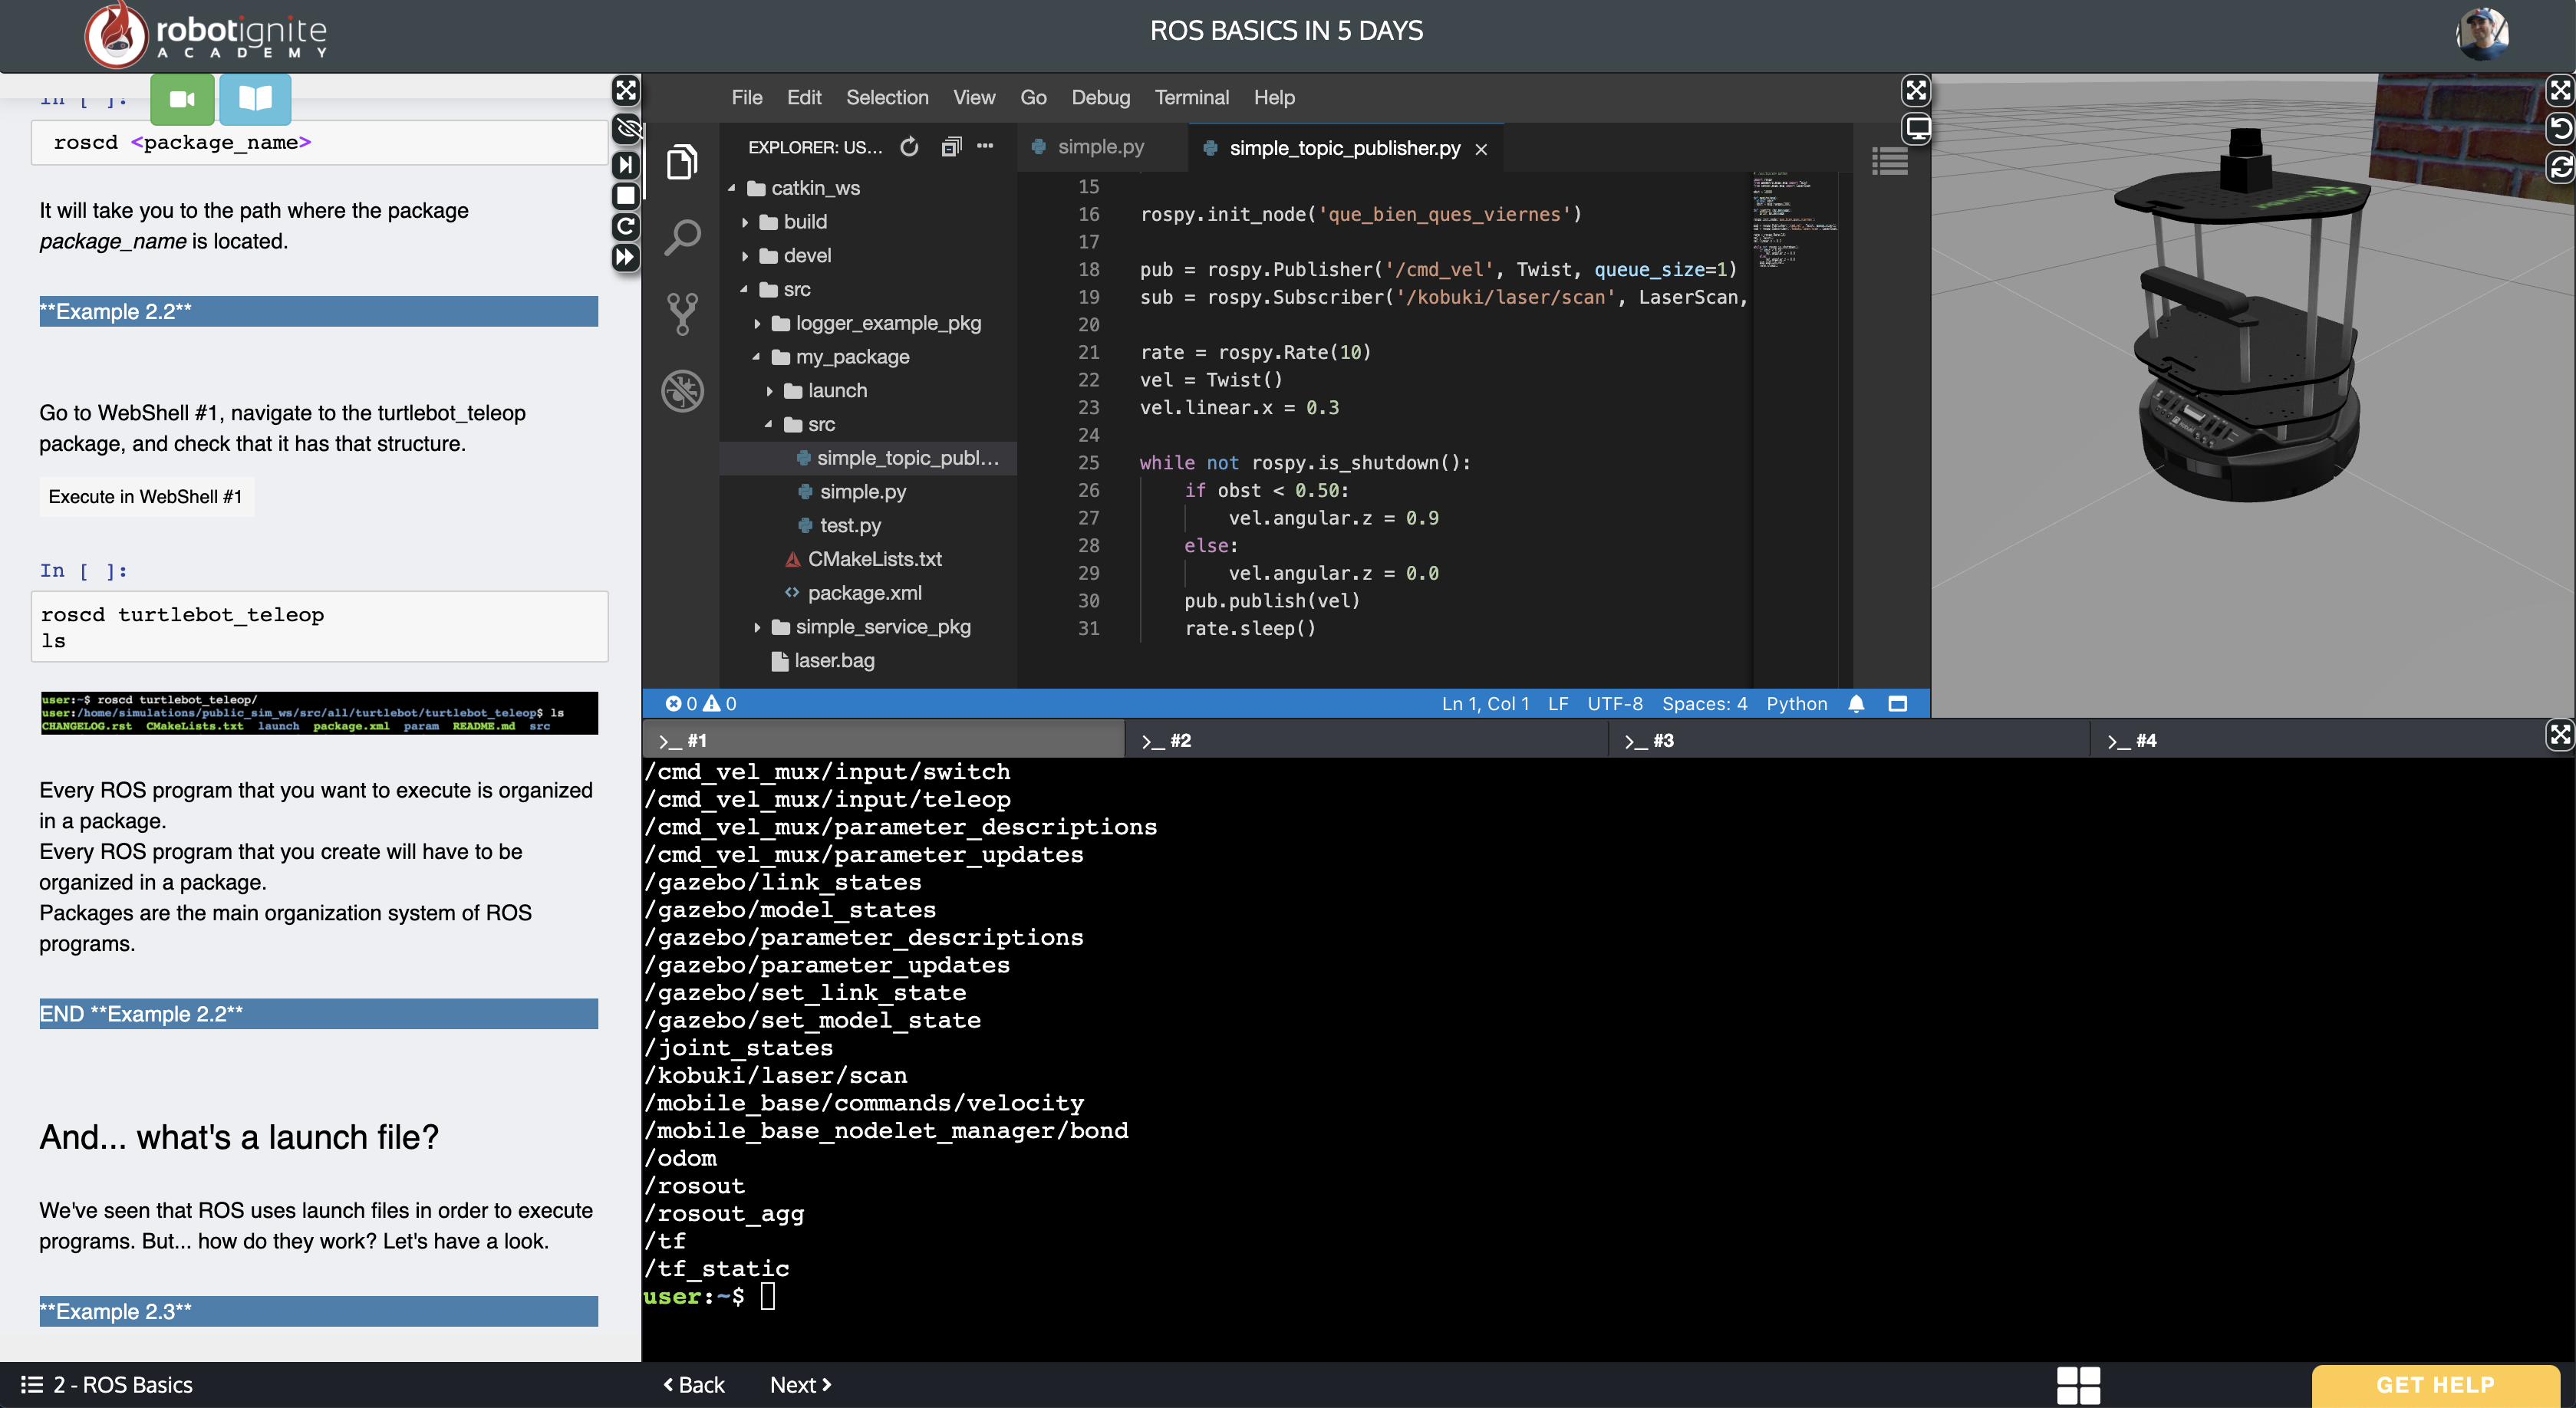
Students use the Robot Ignite Academy web-based environment. We have developed this platform at The Construct, which is a web-based ROS environment, where students do not have to install anything on their computers, and works with any type of computer. It provides the lessons, exercises, forum, and exams ready-to-use. Everything is ready for the teacher to apply his magic as a teacher!
With any of those options, your students will have a running ROS environment that will allow them to create ROS programs and test them on simulated robots. That is definitely a step forward in the quality of the robotics teachings, and I would say that is 100% necessary for a proper robotics education.
But you can still move further in terms of quality.
Real robot-based environment for students
If you really want to provide your remote students a robotics experience, then you need to provide real robot testing and interactions. That is a tricky thing in remote situations, but I found two ways of providing this (after all, that is my job, both as a university teacher and as CEO of The Construct):
In case you are teaching basic robotics stuff, you may include in your students’ package a real robot building kit. For around $200, you can buy a small real robot kit delivered to your home. So if the money is not a problem and the subject of robotics you are teaching goes along with the robot, then that would be an optimal solution. Get one of those robots delivered to the home of each of your students (or ask the students to buy it). This is one of the kits we at The Construct have bought, which even allows the use of deep learning algorithms:
In case you need some more complex robots for practice, or in case you cannot afford to get a robot to each one of the students’ homes, then you can allow students to remotely connect to the robots in your lab. The process to achieve that connection is quite simple and I describe it in this video.
My own experience doing real robot interaction with remote students
That last method is the one I used to teach ROS to the students of the Master of Robotics, Home Automation and Industrial Automation of University of LaSalle Barcelona during Spring 2020. What I did during the confinement was to use the Robot Ignite Academy to teach ROS. This allowed me to have an already set up environment for practicing with simulations in every student’s computer from minute one, without requiring installation in the students’ computers.
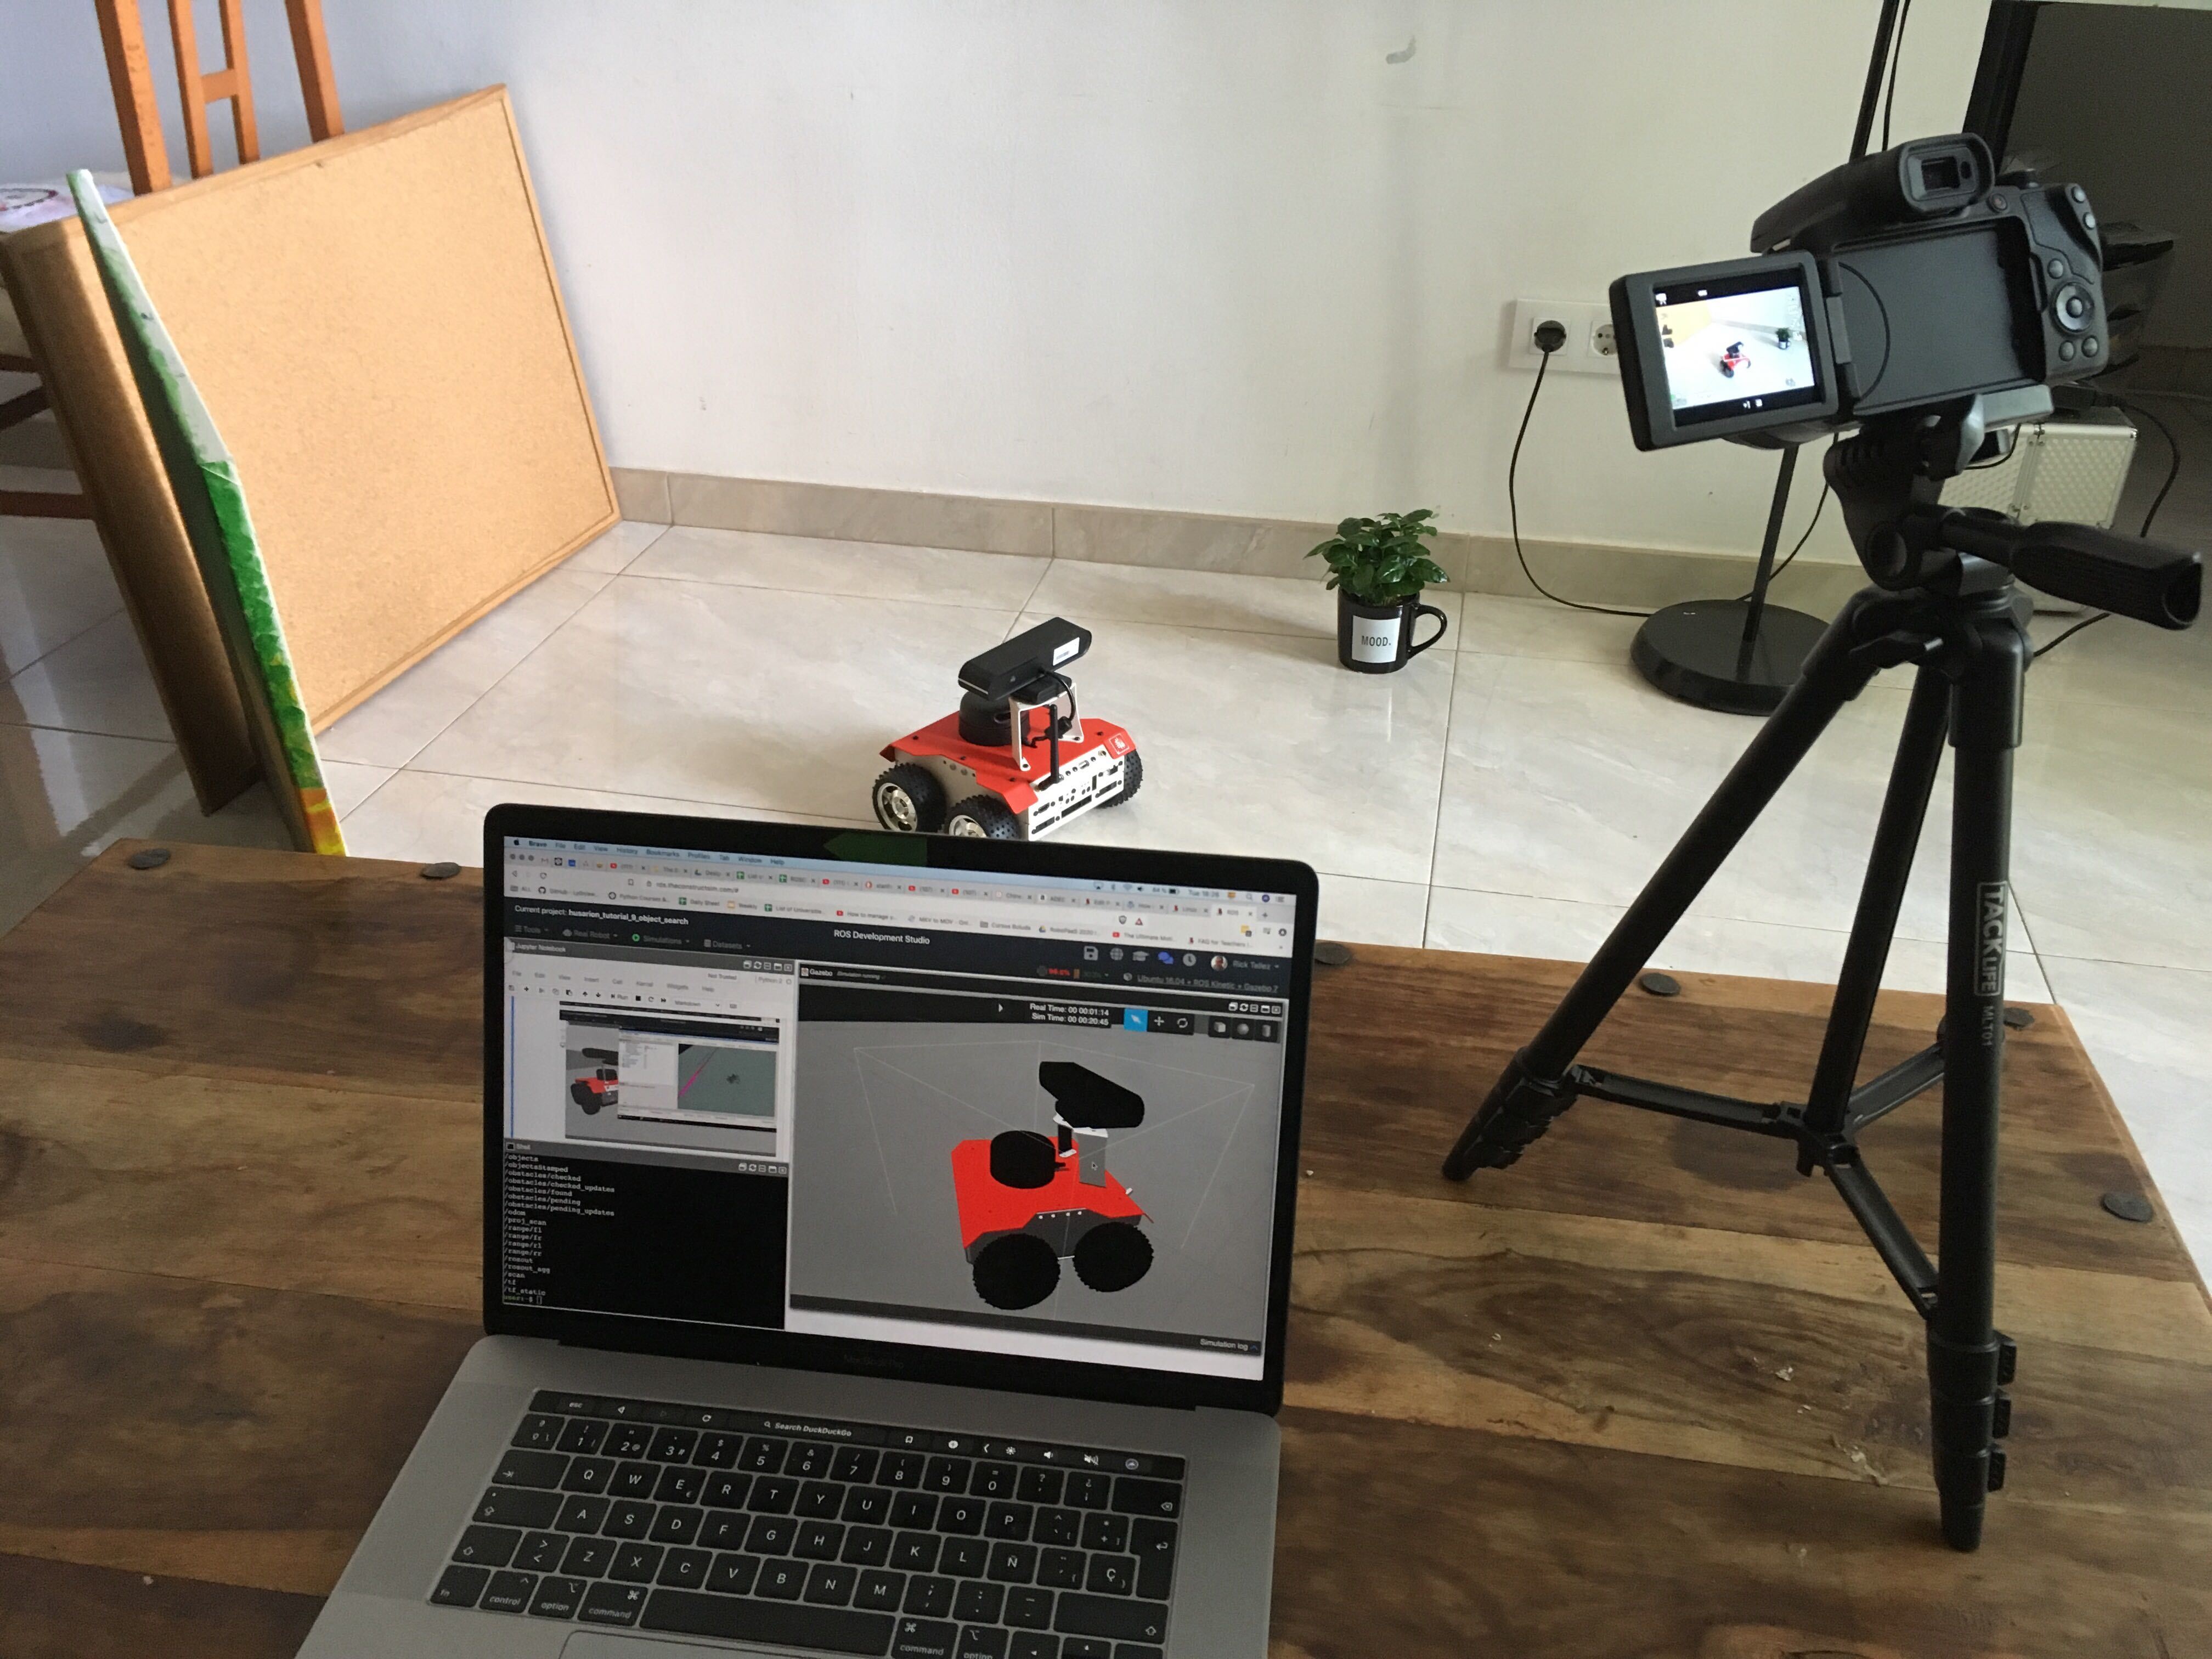
Then, I also brought home a ROSbot robot (excellent robot for teaching, made by Husarion) ready to be connected through the Robot Ignite Academy interface. Hence, by using the Robot Ignite Academy interface, each student was connecting in turns to the real robot at my home from their home locations, and able to test their ROS programs on the real robot.
For this setup, I also added an external camera so students could see on the live streaming what was actually happening with the robot while running their programs.
I used the video conference software provided by the university to chat and explain the lessons. So I got the 15 students under that platform, watching the broadcast on their screens. When doing the theory part, I shared my screen with the Robot Ignite Academy lesson, and all the students opened the same lesson on their own computers. This also allowed us to do several exercises in the included simulations. Then, at some point in time, after we had done some exercises on the simulation, the students would connect in turn to my real robot and test their program on it.
The benefits I got applying the remote lab solution were very clear:
There is a clean transition between one student and another. It is not possible for two students to connect at the same time and interfere with each other.
No student needs to install any of their programs in the robot, so you do not end up with a broken robot system full of rubbish.
Students prepare their programs and get them ready by testing them in the simulator while waiting for their turn to connect to the real robot.
How to answer questions after hours
It is clear that students will have questions related to your assignments. How can you have a student tutoring session where you can solve their problems?
Well, my suggestion is that you use a Forum to answer the questions of the students. This has a couple of benefits:
Answers you provide to one student can be seen by all the other students.
You can delegate answering to teacher assistants.
Answers on the Forum will also be useful for the next semester.
In case you don’t have such a forum in your university’s online tools, I recommend that you install Discourse. Following those instructions, you can have the Forum ready in under 30 minutes.
How to evaluate the students
That is an important point. Students need to be evaluated in some sense, otherwise, the teacher will not be able to asses the knowledge they have acquired.
ROS comes again to the rescue. ROS allows us to evaluate the learning of the students remotely by making them do programs that work on the exam. For that, I recommend you create practical exams based on ROS where the students need to apply what they learned to a simulated robot. Instead of doing a theory-based exam, do an application of theory on the simulated robot.
This is very important to avoid cheating. It is very difficult to copy the program of somebody else without showing they copied! It is almost impossible to build the same code, even the same structure. You will quickly notice who copied.
Additionally, in order to make the thing a little bit more difficult to copy, I indicated that for the packages, topics, messages, and files they create, they are required to attach their names at the end (for instance, if they have to create a ROS message named startup_time, I would request that each student create the message startup_time_YOUR_NAME. That makes it more difficult to copy code because everyone has to adapt (if they copy and adapt, again, they deserve to pass!).
That is the method I personally applied for my ROS classes at the University of LaSalle Barcelona. I even allowed the students to use their notes or other programs they did in the past in order to solve the exam. The subject is so complex that if you really understand how the code you did in class fits in the exam, then that means that you deserve to pass the exam and that you understood the subject.
In my case, the exams were provided by the Robot Ignite Academy itself, and were also auto corrected using the autocorrection system of the academy. That is a lot of work that I saved myself!
Conclusions
My impression is that online teaching is going to become more and more important in the near future. First, because we do not have any other option (everything is closed). Second, because people will see that doing things online has a huge advantage in terms of efficiency and cost (more money for both sides: students will have to pay less, universities will get more students from many different locations in the world). Third, I suspect that many people will not want to come back to the previous way once they taste this new way of learning.
Let me finish by saying that in case you want to get your students up to date quickly on Linux and Python, ask them to do the following two free online courses that provide the basics, prior to the start of your classes. They are going to need it!
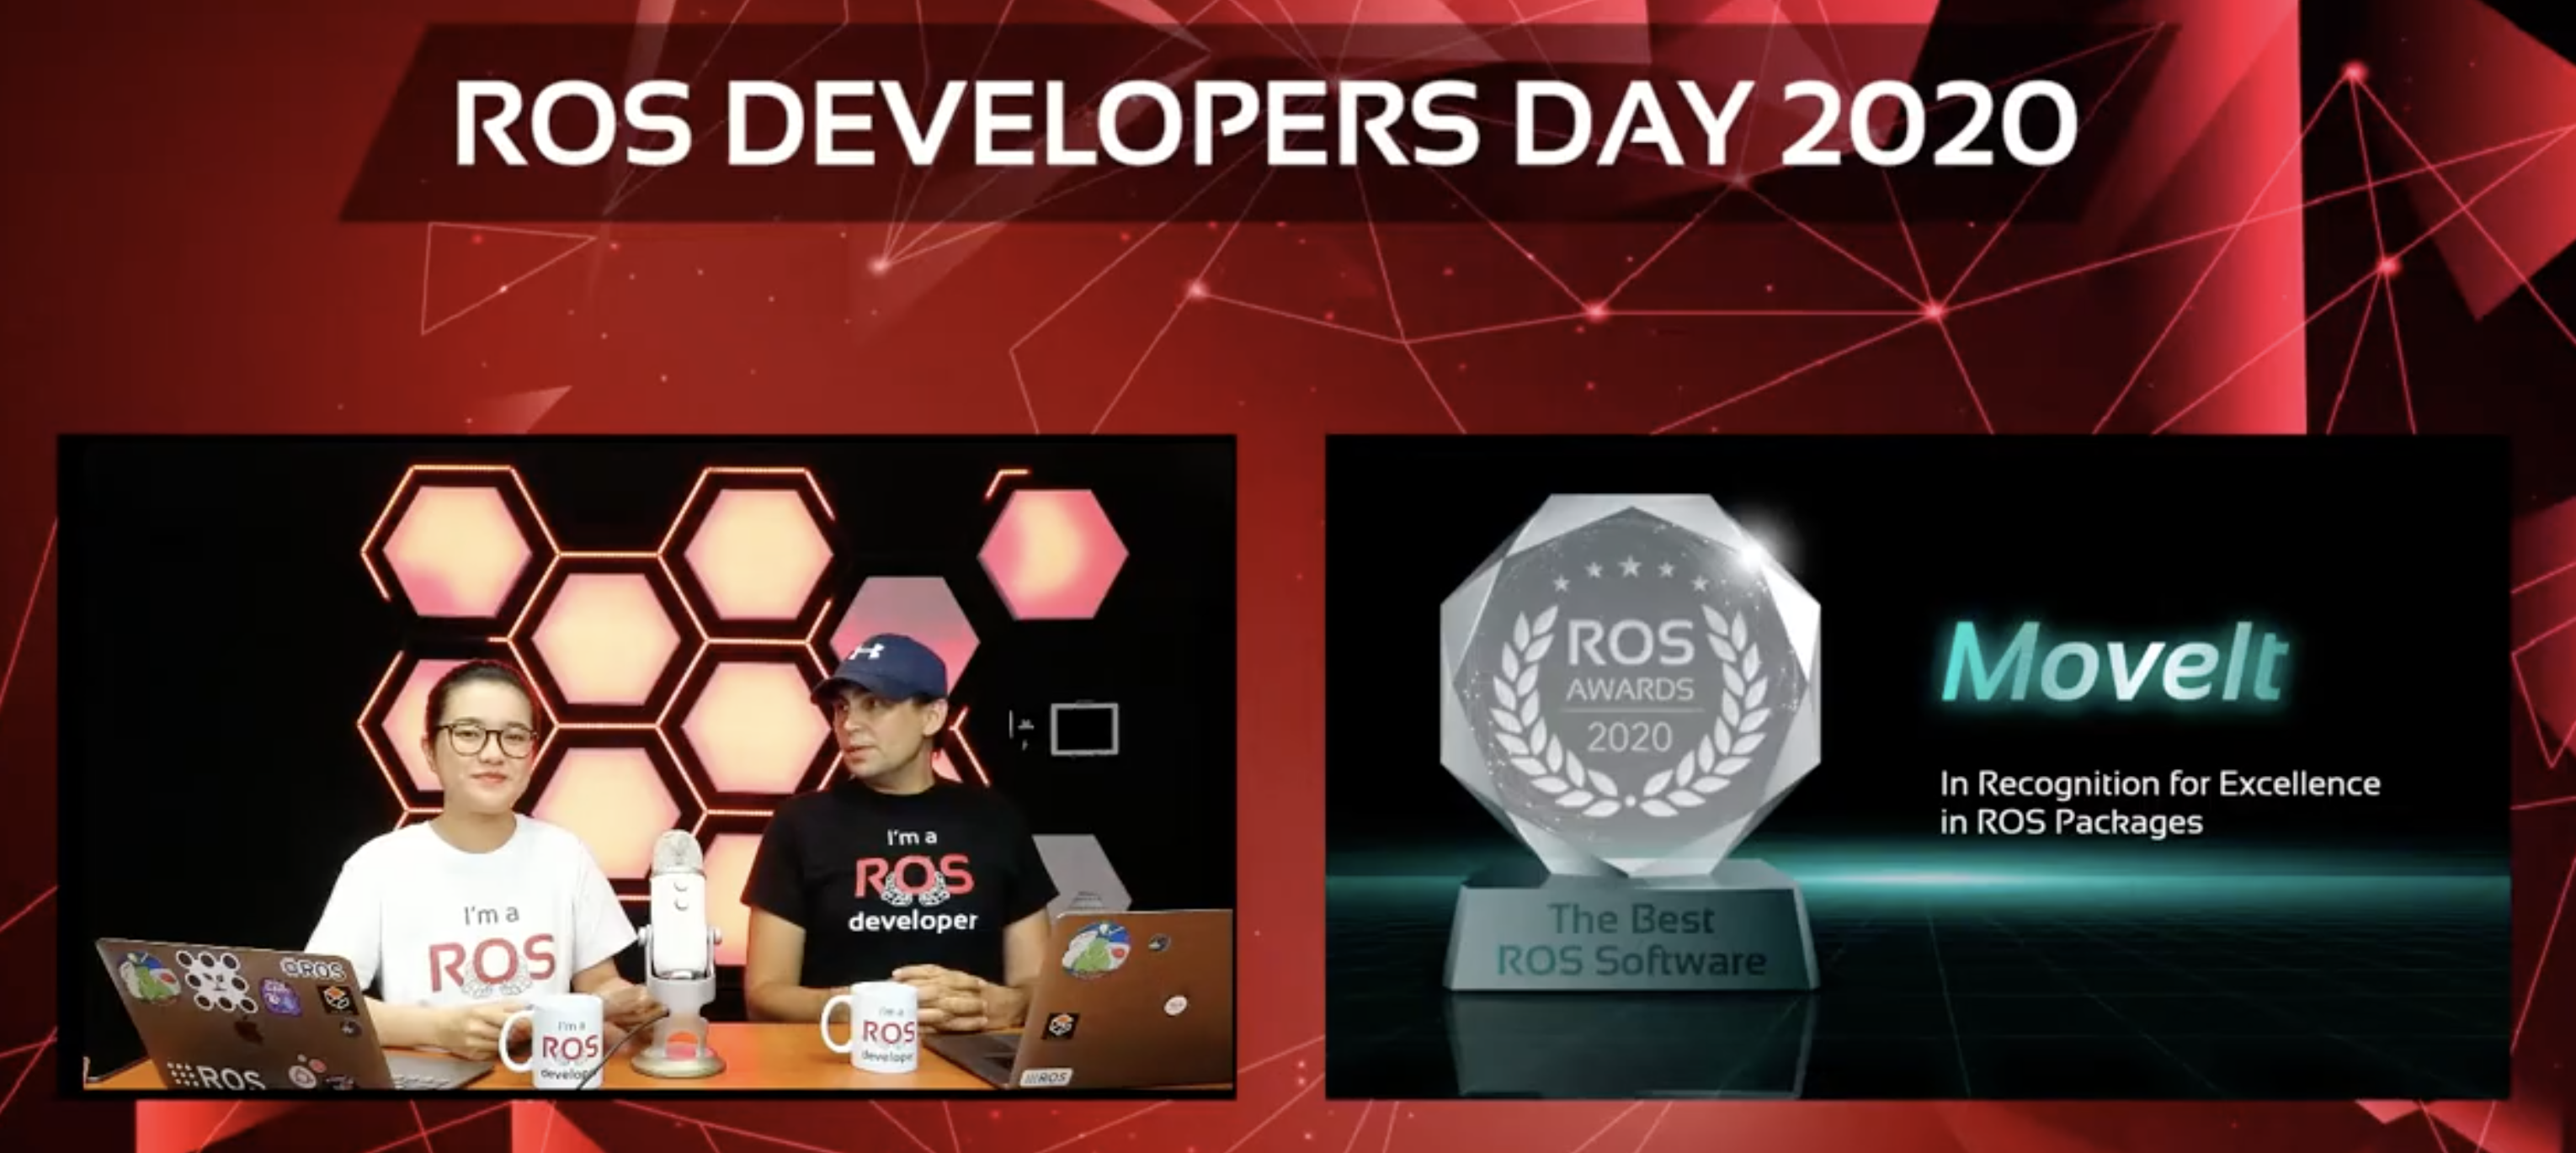
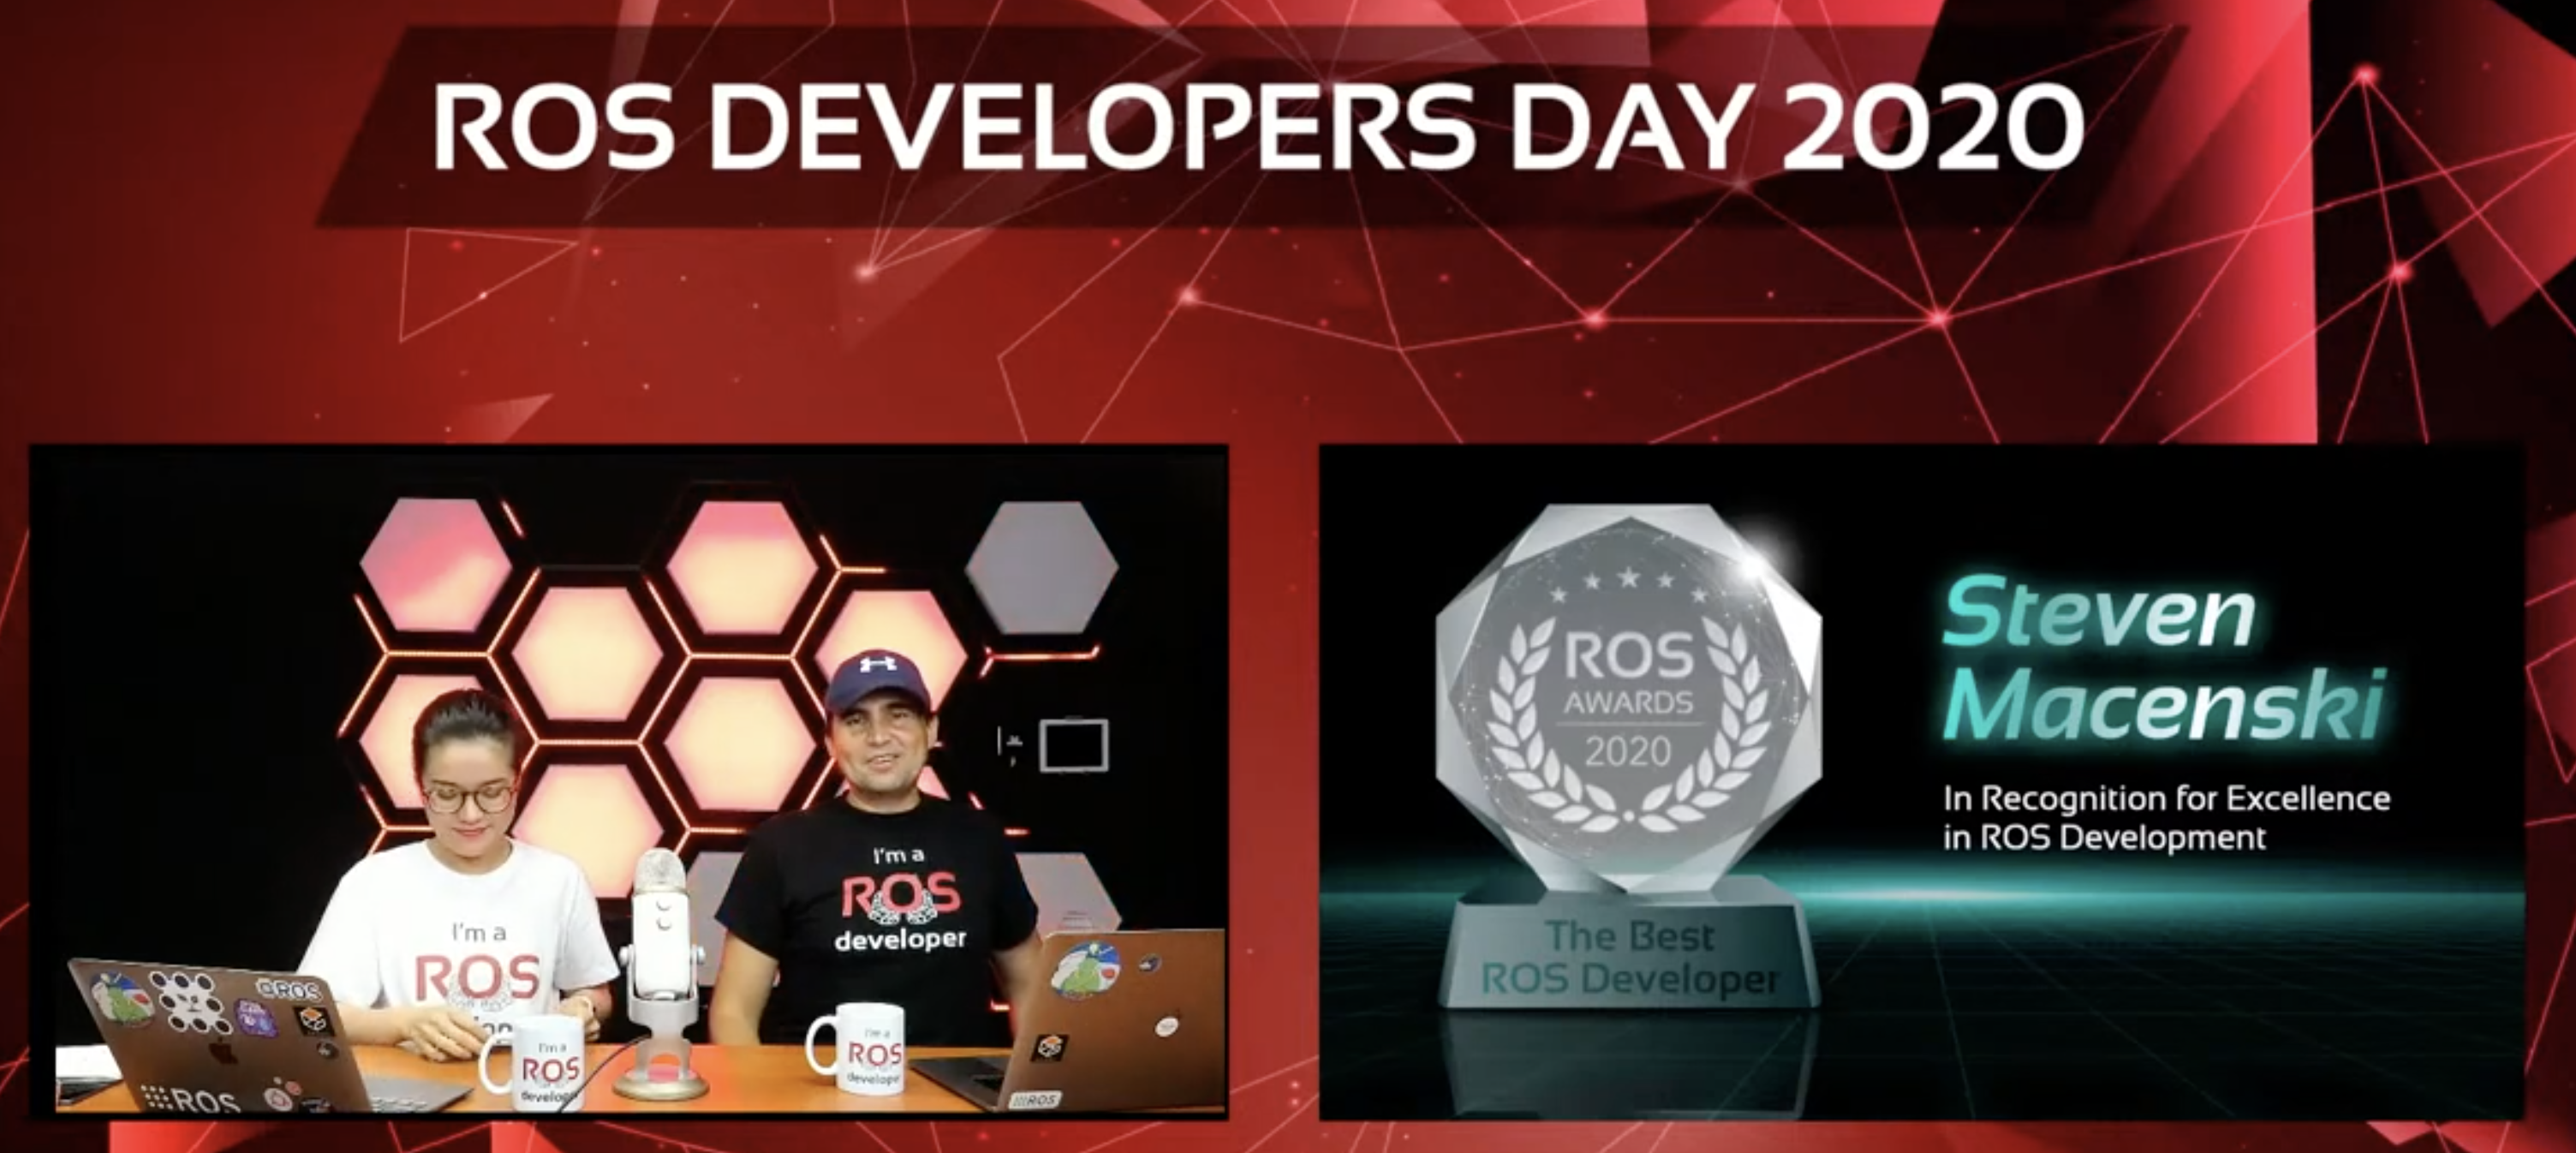
The ROS Awards aim to become the Oscars of the ROS world.
The intention of these awards is to express recognition for contributions to the ROS community and the development of the ROS-based robot industry, and to help them gain awareness.
Conditions
Selection of the winners is made by anonymous online voting in a period of 3 months.
Anybody on the ROS community can vote.
In order to prevent influencing the voting from the poll, voting for each category is completely open, so the voter can write whatever he wants (no options provided). It is required that you provide as many details as possible so there is no confusion with other votes.
Since the Awards are organized by The Construct none of its products or developers can be voted.
Voting is closed 1 week before the conference, and 3 finalist per category announced on the same day.
Voting
The vote can only be done once from the same device and IP address
You cannot change your answers once you have submitted your vote
Measures have been taken to prevent as much as possible batch voting from a single person.
Categories
The awards can be awarded on the following categories:
Best ROS Software
This category includes any software that runs with ROS. It can be a package published on the ROS.org repo of just a software that uses ROS libraries to produce an input. Open Source and closed source are both valid.
Examples: the ROS navigation stack, Rviz, OpenVino,…
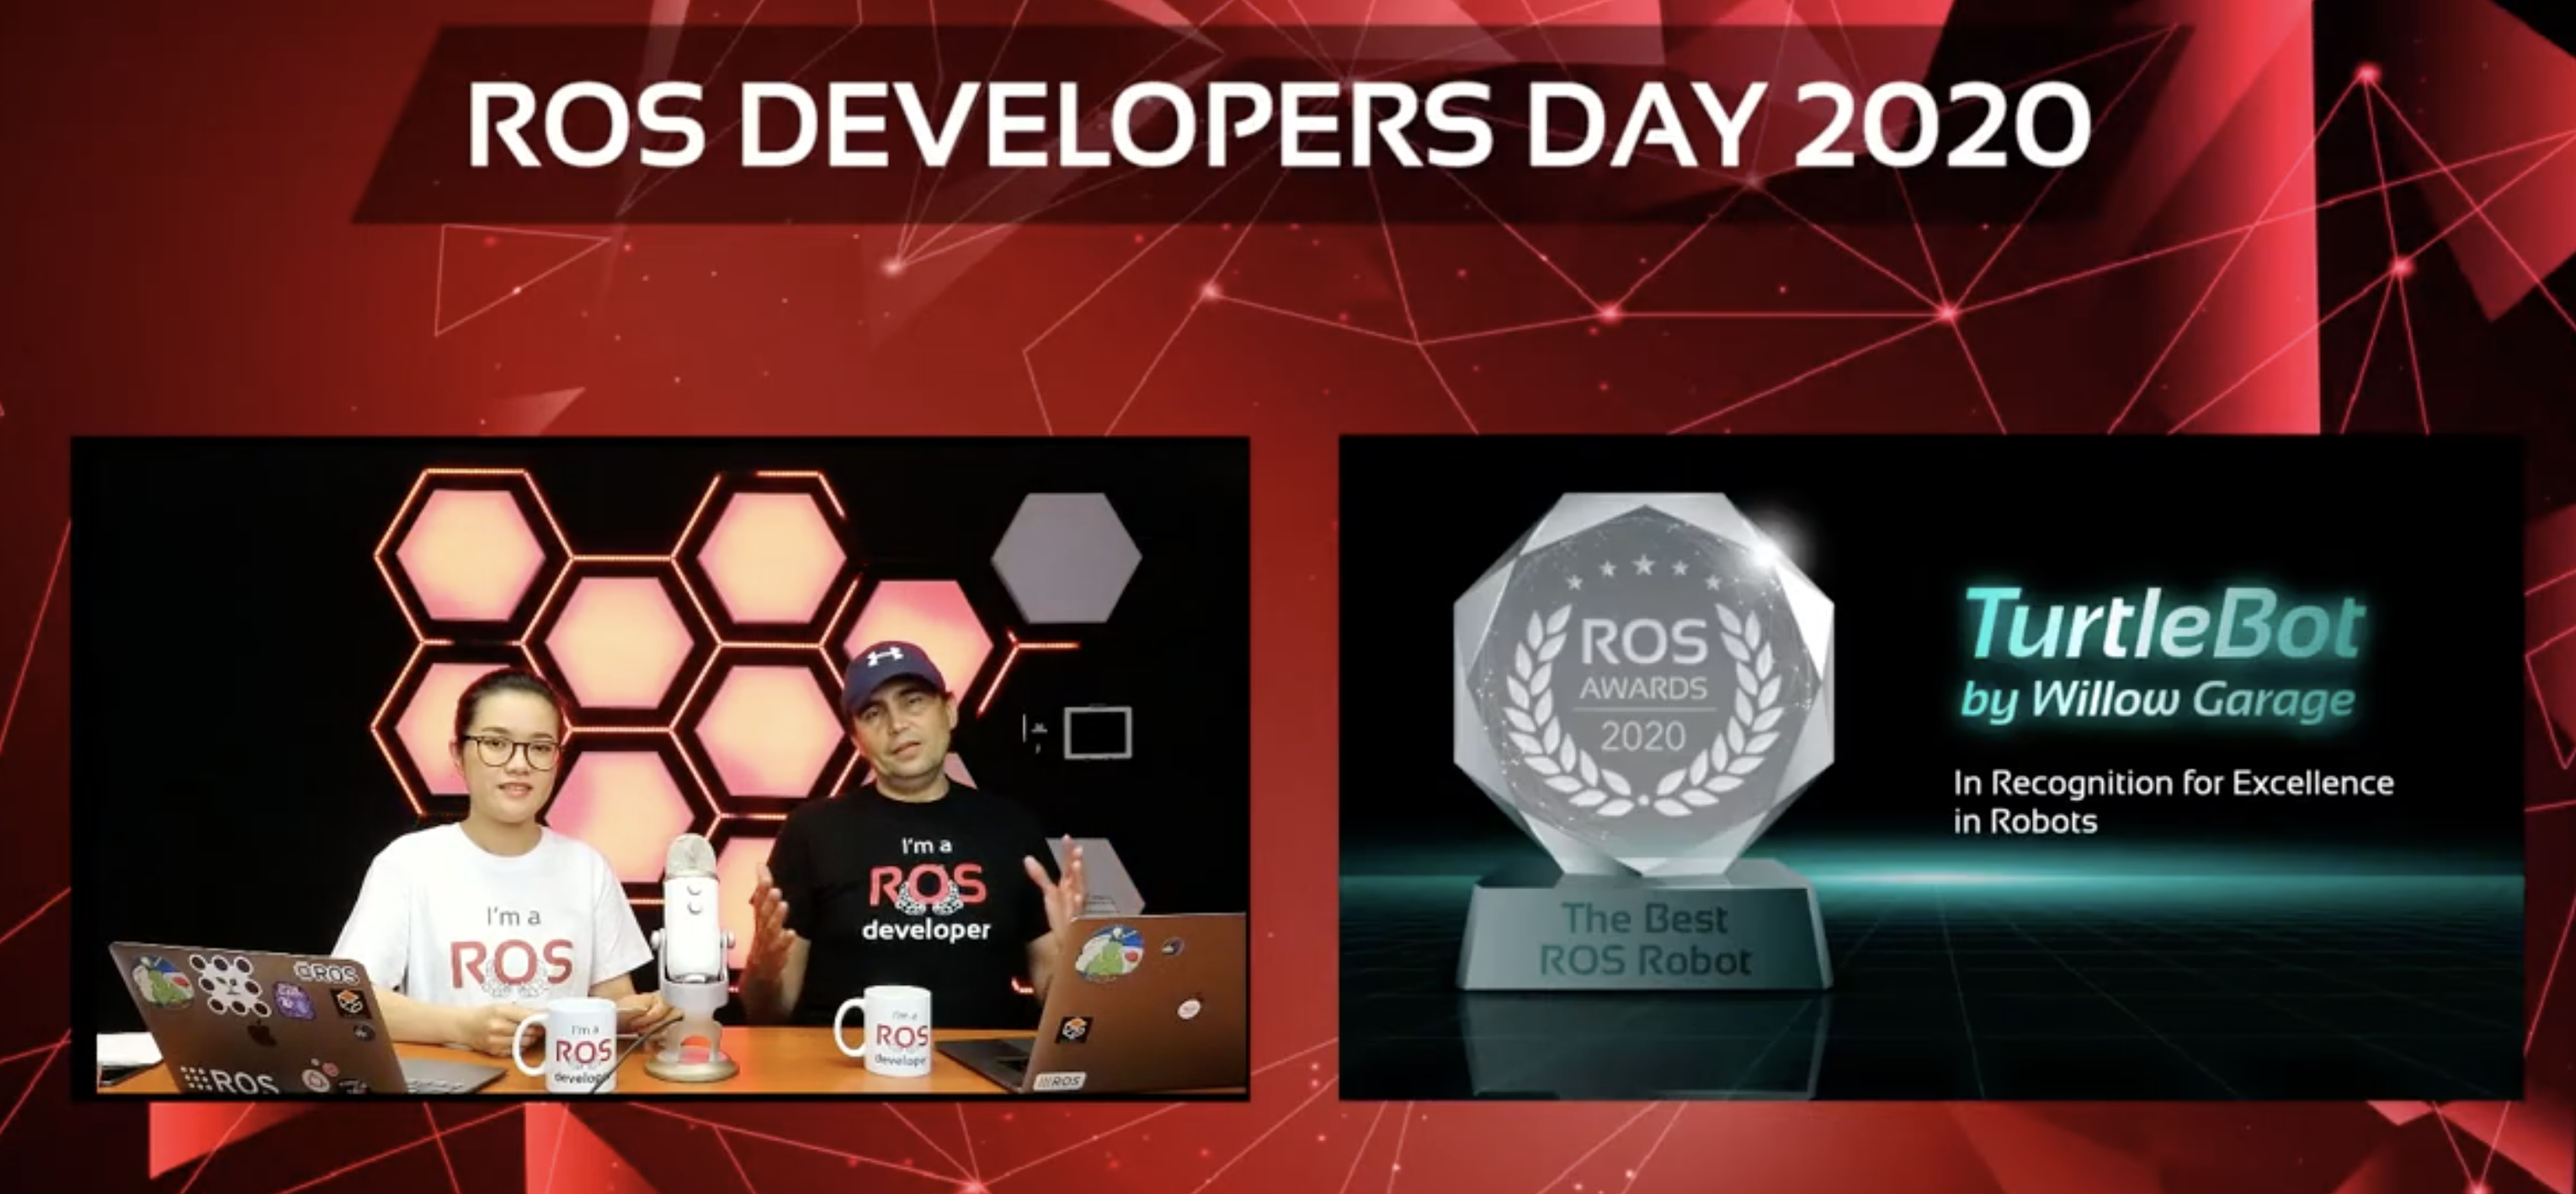
Best ROS Based Robot
This category includes any robot that runs ROS on its inside and is not part of a product. Those robots are used to be programmed by developers to do tasks. The robots do not perform any specific task out of the shelf, they just run ROS and are waiting for a developer to be used in a specific task.
This category only allows for robots that run ROS off-the-shelf and require no extra work from the developer to run ROS (robots that can run ROS if you download such and such packages substituting the robot default system cannot be voted).
Examples: Turtlebot, Summit XL, Tiago…
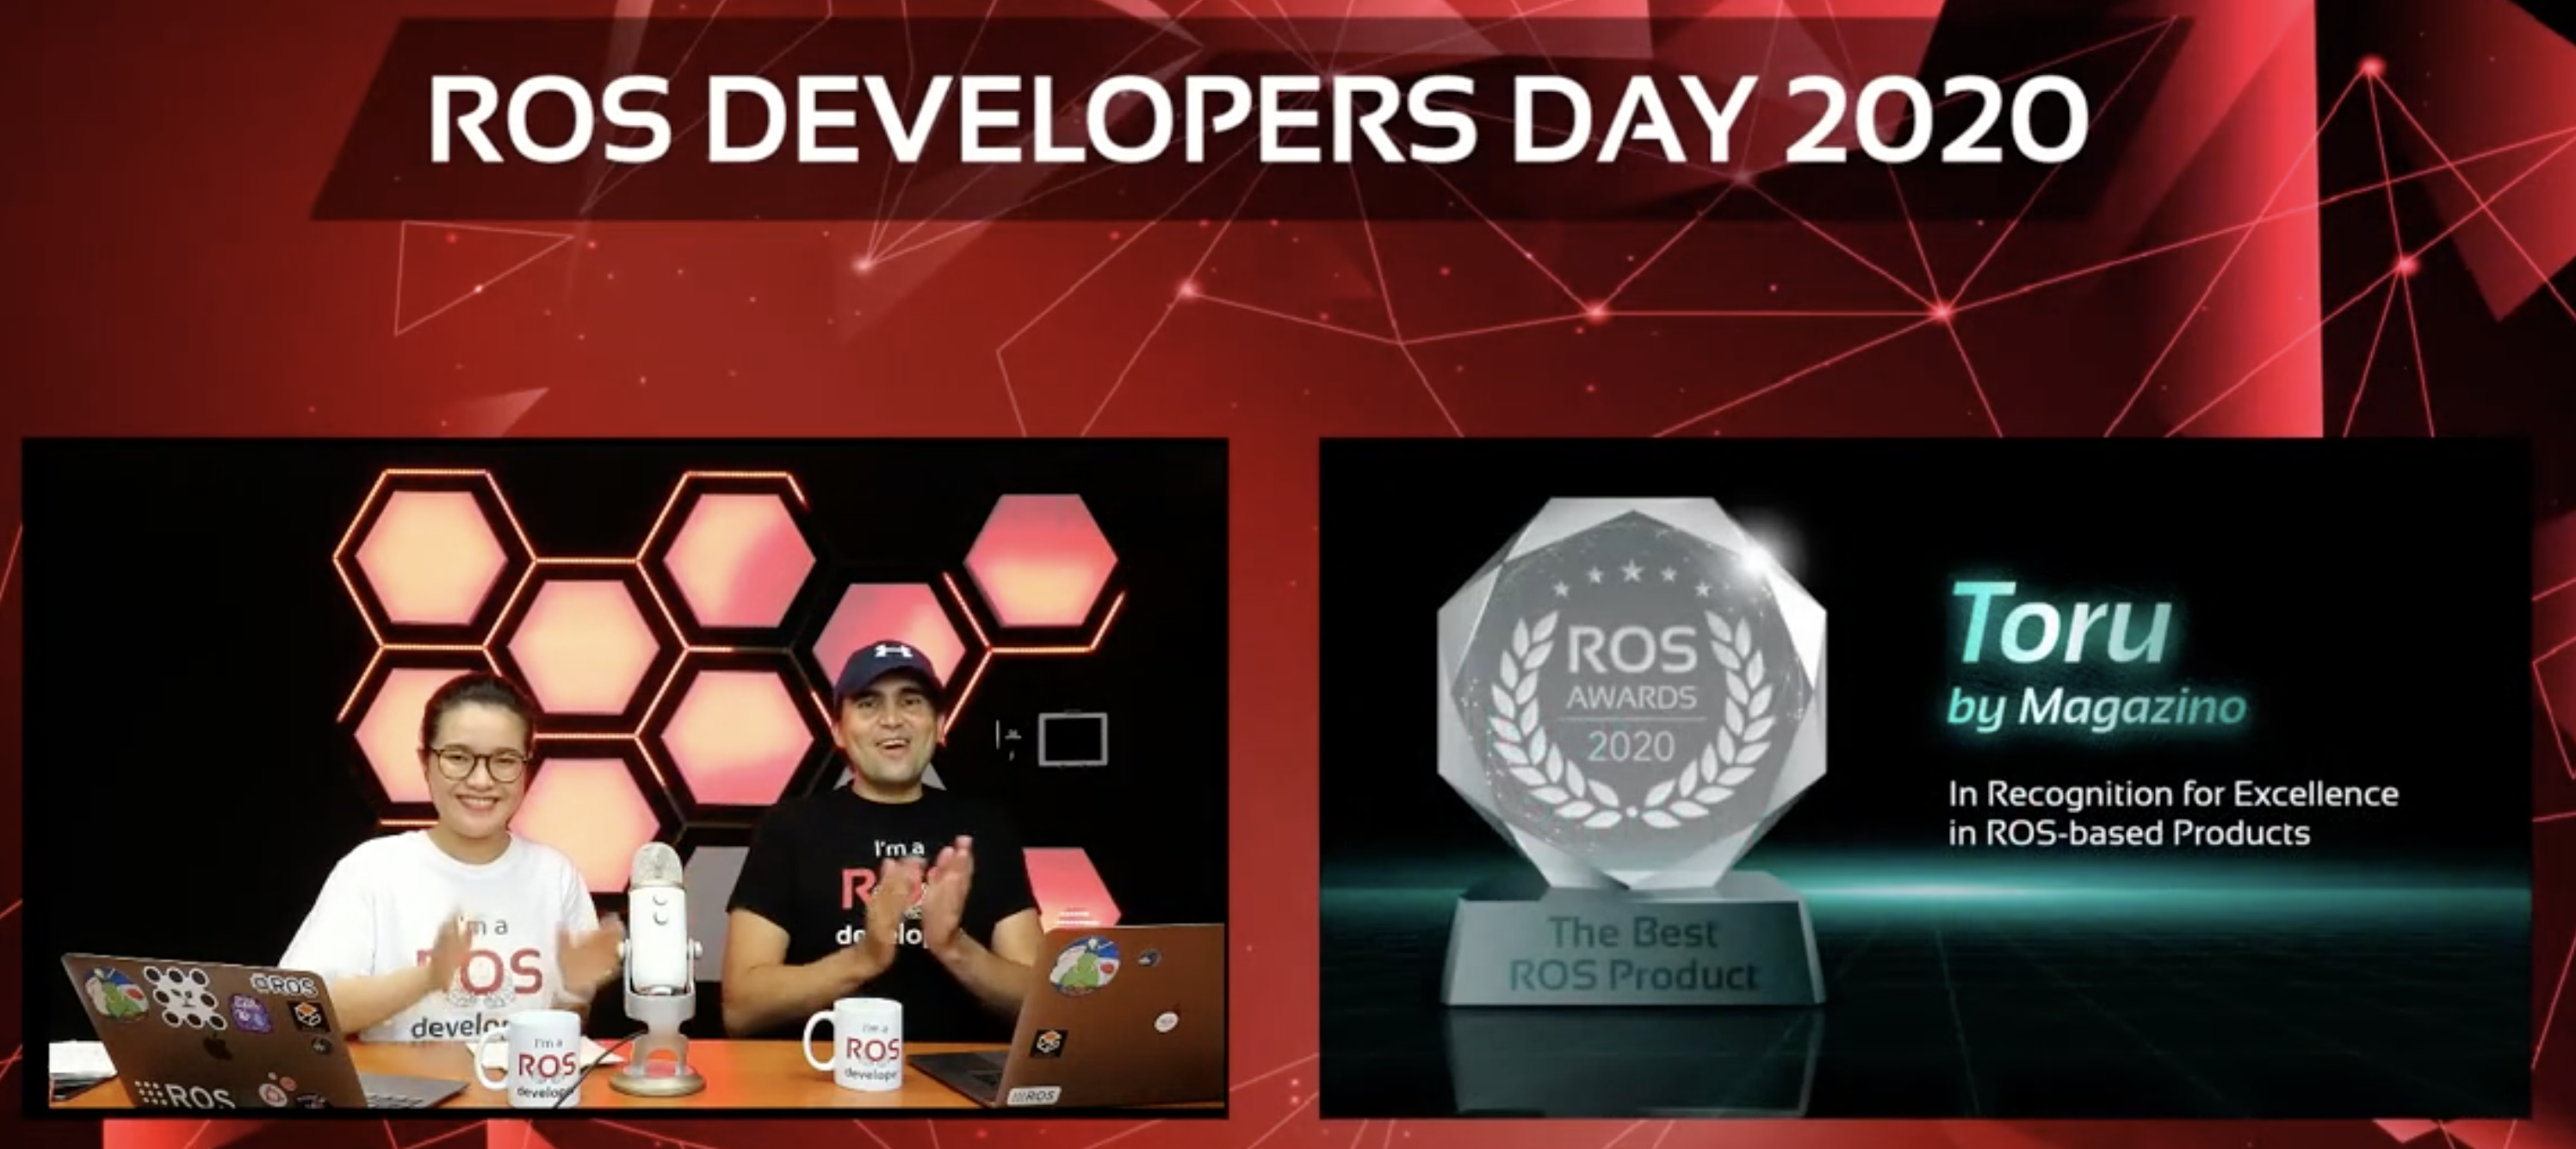
Best ROS Based Product
This category includes products that are at present being sold and that run ROS in their internals. This category is different from the ROS Based Robot in the sense that the product is something closed that is provided as is, without requiring any modification from the buyer. Products include software or hardware products.
Examples: a robot to show ads around a faire, a software that manages fleets of robots,…
Best ROS Developer
Developers are the ones that create the ROS software that we love. Here you can vote for any developer who has contributed to ROS development in one sense or another.
People doesn’t get what is the difference between Best ROS Robot and Best ROS Product. We had to discard many votes because people were voting incorrectly (very common mistake was to vote for a ROS Robot in the Robotics Product category and viceversa). Just to clarify, a ROS Robot is a robot that runs ROS and we can buy as is for doing experiments on it on build a robotics product on top of it. The robot by itself does nothing useful after you buy it, it is just a platform. You need to put a lot of effort on it to build the application for that robot. On the other side, a ROS Product is some robotics product (it could be a robot, a software, an electronic board…) that you buy and it can performa its task off-the-shelf.
Examples: Aibo robot by Sony is a ROS Product. Turtlebot 3 robot by Robotis is a ROS Robot. Apex.OS by Apex.AI is a ROS Product. ROSbot by Husarion is a ROS Robot.
Additionally, Anki Vector had several votes as product. Anki vector IS a product but it is not based on ROS. It can work with ROS if you do some tricks, but it is not ROS based in the inside. Also, it is already dead.
The ROS Developer award had very few votes. People doesn’t know who are the ROS Developers that are developing ROS and its ecosystem We believe that ROS Developers deserve a lot more of credit, since they are the ones that actually build the software that all of us are using..
As ROS software, several people indicated Kinetic or Melodic. Kinetic and Melodic are very good ROS distributions is good but it is actually no package at all but the whole ROS distribution. With this award we want to reward specific packages that allow a specific functionality
We must figure out a solution for different spelling of options. It is difficult to count the utterances in different misspellings, for example MoveIt, MoveIt! or directly the git address to the package.
There have been a few attempts to try to position products that barely nobody knows as the winner of a category or that they don’t even exist yet (when you go to their webpage it is in state of coming soon). This is clearly because of the small number of votes, the team of the product can ask for votes among their relatives and friends. For the next year, we will consider the Award as cancelled if we do not receive 1000 votes or more. By adding so many votes is will be a lot more difficult to position newcomers.
There is a problem to which product to vote. Many people doesn’t know what to vote, and we as organisers, we cannot provide any suggestion so we cannot interfere in the voting. However, we must find a way to provide suggestions. May be, a listing of all the options already voted? We don’t want to provide hints in order to direct people to vote what others have already voted. Suggestions from the audience are welcomed.
We must indicate that no person or product from The Construct can participate in the Award, so all the votes provided to us or our company have been removed.
Other candidates that did not reach the finalists list, but were very close
Best ROS package
Navigation2
TF2
MRSP Serow
Gazebo
Best ROS Developer
Dave Coleman
Dirk Thomas
Roman Navarro
Best ROS Robot
Turtlebot 3
PR2
Talos
UR5
Jackal
Franka Panda
Tiago
Best ROS Robot
Apex.OS
Stockbot, by Pal Robotics
Otto motors
Conclusions
The ROS Awards have started in 2020 with a first edition where the winners are some of the best and well known in the ROS world. Even if the number of total votes was not high, this first edition shows that there is an interest in the community for such awards and predicts an explosion of them for the next years.
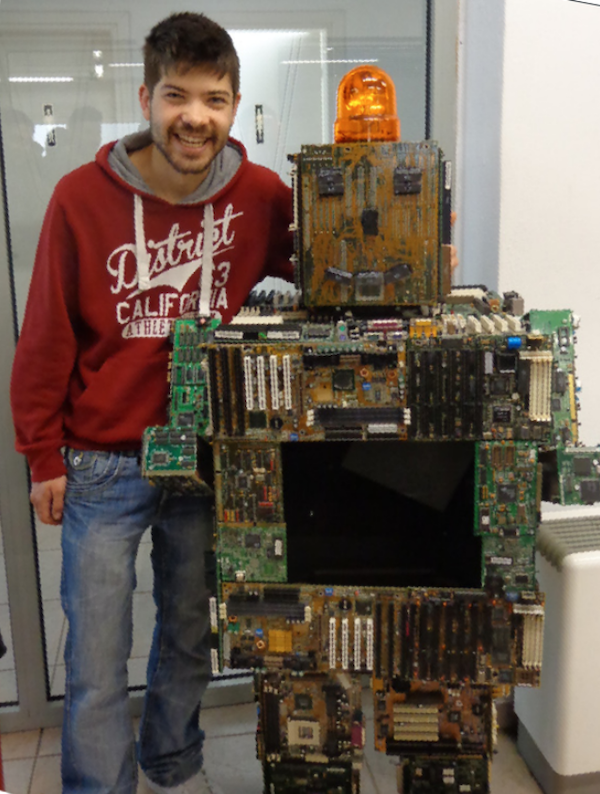
What follows is the ROS story of Paschalis Pelitaris from France. Paschalis is a ROS student at the Robot Ignite Academy, and he wanted to share his ROS engagement with all of us.
How my interest grew
From an early age, I was fascinated by the notion of autonomous machines capable of sensing their surroundings, extracting valuable information in order to better understand their environment, and finally being able to act upon it, changing its state. I believe that the advancements and changes that can derive in the socioeconomic structures from the increased integration of autonomous machines in everyday life will be tremendous. Of course, the opportunities that will arise have to be treated carefully, but let’s not delve into this philosophical subject now.
During and after my university studies for Electrical and Computer Engineering, I had the chance to work on various AI and robotics projects. But gradually, I moved closer to the “machine learning” part, with tasks like Computer Vision and NLP. Coming from a non-embodied approach to building cognition where one tries to solve intelligence with a dualistic mindset, trying to teach the brain so that the interchangeable bodies that it will occupy will eventually follow, I was intrigued by the holistic view of intelligence that “Embodied Cognition” represents. Embodied cognition is the philosophical theory that claims that the best way for the brain to understand its surroundings and thus the world in which it operates is through the body it occupies. This quickly led me to realize the importance of being able to create and work alongside a body, a robotic body. Training Neural Network models was not enough. I knew I had to become proficient in developing robots.
The first, shy, steps
It was during my years at the university. Through my engagement with the University’s Robotics Team, I first came across and later was introduced to the Robot Operating System (ROS).
ROS is a middleware, or meta-operating system, created by two Ph.D. students, Eric Berger and Keenan Wyrobek. And further developed later by Willow Garage and finally Open Robotics, in order to simplify and eventually standardize the development of software for Robots.
You see, until then every Robotics researcher and company interested in working on robotics had to create their own platform to work on. This procedure was tedious and needed a lot, if not most, of the time and resources available. Also, the philosophy of freely distributing the code of your project so that others can use, change and improve it was not that prominent as most of the software was proprietary. That was one of the big contributions of ROS in the Robotics research society. Built with a philosophy of open source and modular software development it provided the ability to reuse code from other projects and thus increasing the speed of development cycles.
Additionally, it provides integration with other open-source frameworks that extend its functionality, such as “Moveit” for kinematics control and motion planning and “Gazebo” for 3D Robot simulations. Here, I would like to point out the importance of simulation in Robotics. It provides a low cost, easily accessible environment where multiple robots can be tested, and evaluated without the need to physically own any of them. It also provides an effective way to train robots with lots of “cheap” data before deploying them into the real world.
ROS vs …
Although there are other middleware for robotics similar to ROS, nowadays ROS is the framework that is most widely used by academia, and an increasing number of enterprises for Robot software development.
Apart from the features I mentioned before, one of the reasons why that’s the case might be that it is Cross-platform and language-agnostic, meaning that it can run on all major platforms and that the code can be implemented in multiple programming languages. Furthermore, ROS is becoming the standard for robotics, and I am of the belief that this will be solidified even more with ROS2.
Alreadythe knowledge of ROS is a highly demanded skill in the robotics job market. But the main reasons why I chose ROS over the other solutions available are the following two:
Firstly, it has a large and vibrant community. Apart from the fact that the active members of its community provide new packages or updates to existing ones making development faster, they also offer great troubleshooting advice that can help quickly overcome small or larger pitfalls.
Secondly, there is a plethora of documentation, books, tutorials, videos, and MOOCs available to get you going in “relatively” no time. This is a real advantage for beginners, it lowers the learning curve and gives you positive feedback when you see something that you developed working without being stuck at each step of the way.
Becoming better at ROS
And speaking about sources that can help you get up to speed with ROS quickly and smoothly, one of them stood out for me.
Of course, ROS has its official documentation and that’s a good starting point. Even though, there have been some concerns about the approachability of ROS documentation towards beginners. Personally, I think that ros.org provides decent documentation, but I feel that it lacks the interactiveness that we all got too used to lately. This is also a weakness of the second possible source of material, books. Although, I like how much depth a book can cover and that you can always go back to it for reference as long as you have it close. Online Videos and MOOCs can solve this drawback of static text. One can ask questions about things she has difficulty understanding and get answers fairly quickly.
However, some online video tutorials luck a good structure or cover topics sparsely. The same cannot be said for the videos of The Construct YouTube channel. For example, their “ROS in 5 minutes” playlist is a good point to start, it covers most of the basic tools and ideas you need to know. But what is even better is their online teaching platform Robot Ignite Academy (RIA). There, one can find almost 30 different courses that cover different topics and applications of ROS. The courses are also organized to “Paths”, bundles of courses with similar orientation for different purposes and uses of ROS. These courses are structured for a proposed duration of 5 days and the “Paths” for a duration of 1 month, so by the end of each week, you can finish with one course, move to the next one and by the end of the month you’ve completed the Path. RIA employs the philosophy of learning by making. It is interactive, and you can start learning right away. You don’t even have to install ROS on your computer, you can access it from every device. This is made possible by ROS Development Studio (ROSDS), the Construct’s online ROS platform. The learning actually takes place inside the ROSDS. The relative theory is laid out along with the steps of each tutorial and you can also watch the corresponding class video. You can run code and see the results in a simulated environment. It also features live class sessions on a specific topic every week.
And for all that, Robot Ignite Academy has become my weapon of choice for learning ROS.
The journey has just begun…
Now, I am already on my way to complete my first “Path”, “Machine Learning for Robotics”. After a recap of the ROS basics, I will move on to how to utilize TensorFlow and OpenAI Gym to train autonomous Agents. After that “ROS for Self-driving Cars”, will follow and then the possibilities are numerous…
In this 5th post of the series, we will expand the controllers to all the joints of our manipulator! Before finishing the post, you will be able to control and calibrate the controllers using graphical tools such as RQT Publisher and RQT Reconfigure. Let’s start!
Step 0 – Introduction
We need to do the same steps we have done in the previous post, but for many joints. Instead of repeating ourselves, let’s take advantage on xacro resources. We are going to use the MACRO we created before to configure the controllers!
Step 1 – Configuring controllers on MACRO
We have to change just a single MACRO, the one called m_joint, in order to apply controllers to all our robots. It is the necessary element, transmission, we have created manually to the first two joints in the previous post. The MACRO will look like below:
Almost there.. we need to configure the new controllers. At this point, we are basically repeating the same processes for the first 2 joints. (No MACROs here)
Run an empty simulation, like we did before, and spawn the robot using a terminal:
roslaunch mrm_description spawn.launch
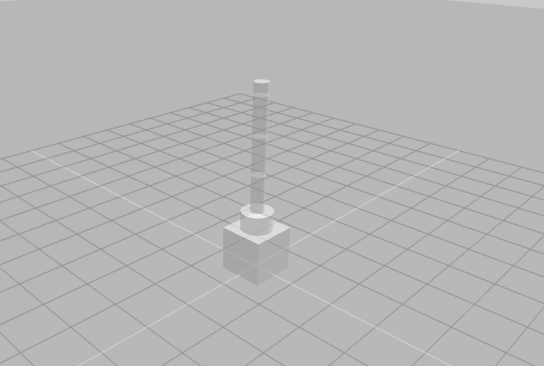
You must have the full robot just performing “freeze!”.
Open the Graphical Tools. Let’s check what we have there.
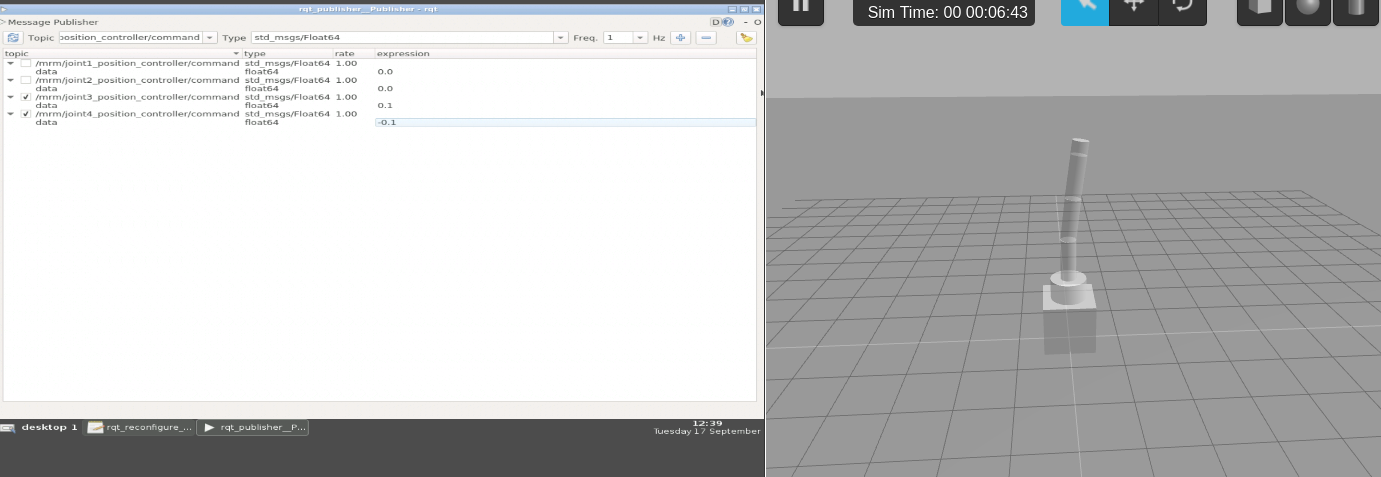
There you can check RQT Publisher. Add some topics and change the values, in order to see the robot moving!
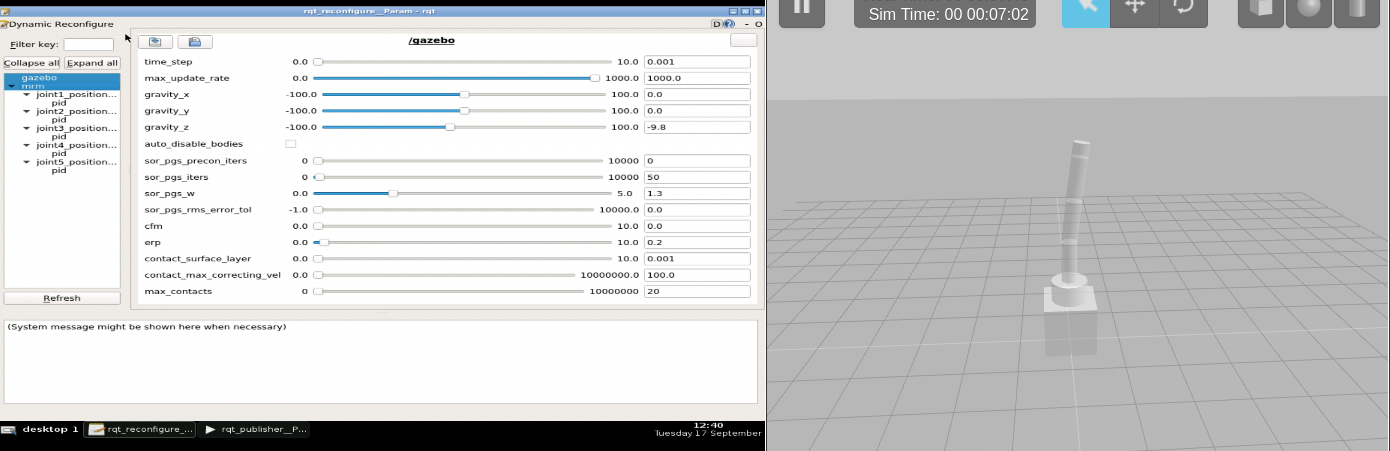
The other window is the RQT Reconfigure, where you can change/tune the PID parameters of the controller!
Step 4 – Conclusion
We have finished the controllers for our robot. We didn’t include (yet) a tuning process in order to have a good performance on the movement of the robot.