This is a quick guide on how to get your Raspberry Pi up and running to start your first steps into robotics with ROS (Kinetic).
This guide is a compilation of methods described by other people so please do check out the links if you need more detailed explanations.
In this guide you are going to learn how to:
Prepare a MicroSD card with Ubuntu Mate Operation System for Raspberry Pi 2 or 3.
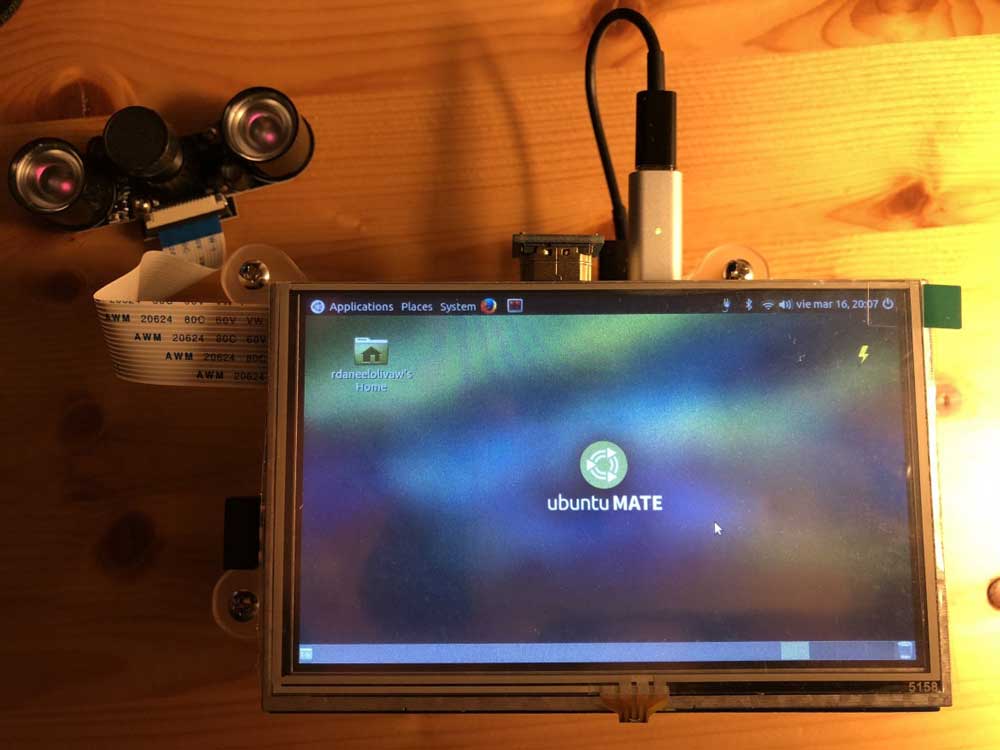
Get the LCD screen up and running
Install Full ROS Kinetic
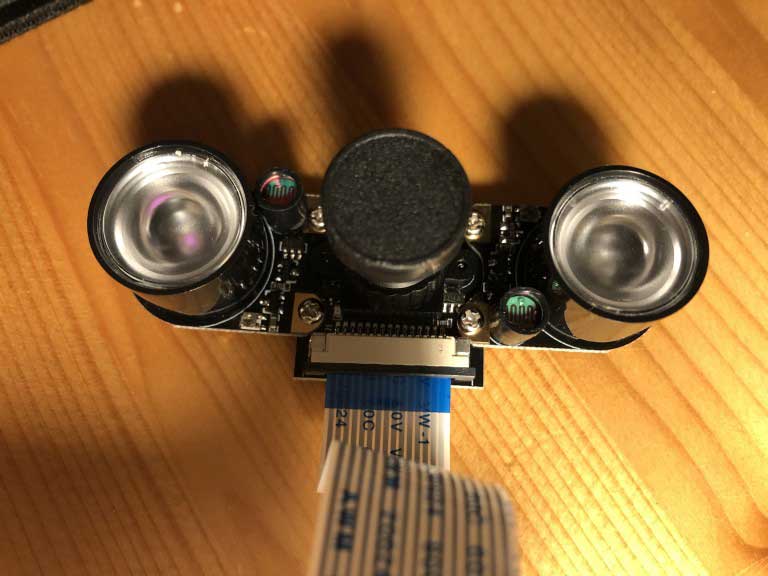
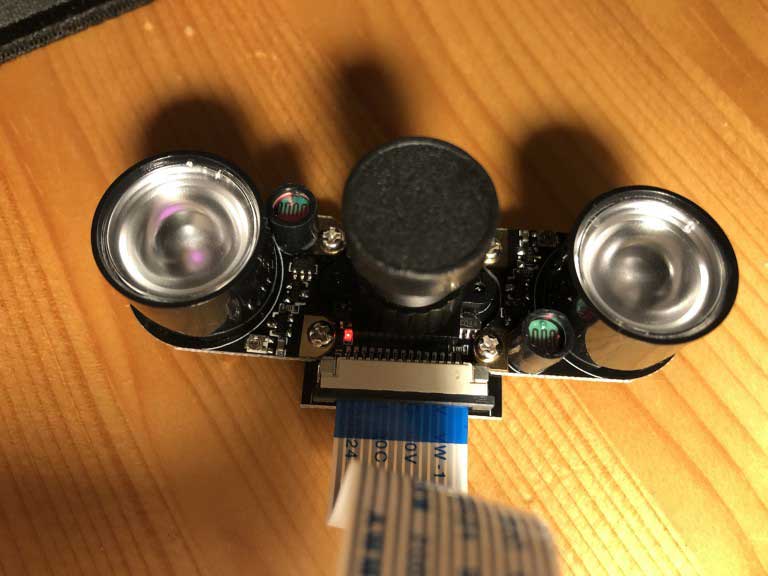
Setup your Raspberry Pi camera
Publish Image Stream into ROS Topics
What to do after this
Apendix-1: Bill of Materials
Apendix-2: Reference Links
You can find all the Bill of materials at the bottom of the post just in case you want the exact same setup.
So let’s get to it, shall we?
Install Ubuntu Mate Operation System in Raspberry Pi
From now on, this post supposes that you have all the material used in this example. If not please refer to the Bill of Materials. So normally you will have already an OS installed in your starter kit MicroSD card with NOOBS. But we want to have the full Ubuntu experience, which will make installing ROS Kinetic much easier.
For this part, we will use an Ubuntu machine, but the process will be slightly different for Windows or Mac-OS.
Now just plug your Raspberry Pi to your outlet and to a monitor through HDMI and … There you have it!
Get the LCD screen up and running
Now that you have your Raspberry Pi with Ubuntu-Mate just type in a terminal in your Raspberry Pi ( just connect the HDMI cable to your closest monitor):
Ok, you have now Ubuntu with a cute LCD screen. Now to install Full ROS Kinetic, with gazebo simulator, RVIZ and everything you need for robotics projects. Go to a terminal in your Raspberry Pi and type:
Now open the file /boot/config.txt and add the following two lines at the bottom of the file:
start_x=1
gpu_mem=128
And then just reboot the Raspberry Pi:
sudo reboot
Then to test that everything went ok and works, just execute this tiny python script. If you get the image, then the camera is working perfectly:
import picamera
camera = picamera.PiCamera()
camera.capture('mytest_image.jpg')
camera.close()
Publish Image Stream into ROS Topics
But we need to publish our camera images into ROS, so that we can then use the thousands of ROS packages to do all the nice robotics stuff that we love!
For that we are going to use a ROS package created for this purpose: Publish Raspberry Pi Camera images into an image rostopic. Go to a terminal in your Raspberry Pi and type:
cd ~/catkin_ws/src
git clone https://github.com/dganbold/raspicam_node.git
cd ~/catkin_ws/
catkin_make --pkg raspicam_node
If the compilation went Ok, you now can use it. For this, you have to first start the node with all the services for the camera.
cd ~/catkin_ws/
source devel/setup.bash
roslaunch raspicam_node camera_module_v2_640x480_30fps.launch
Then on another terminal, start the Camera service, which will activate the camera and start publishing. You can see that it worked because when started a red LED will light up on the camera.
rosservice call /raspicam_node/start_capture
camera_on
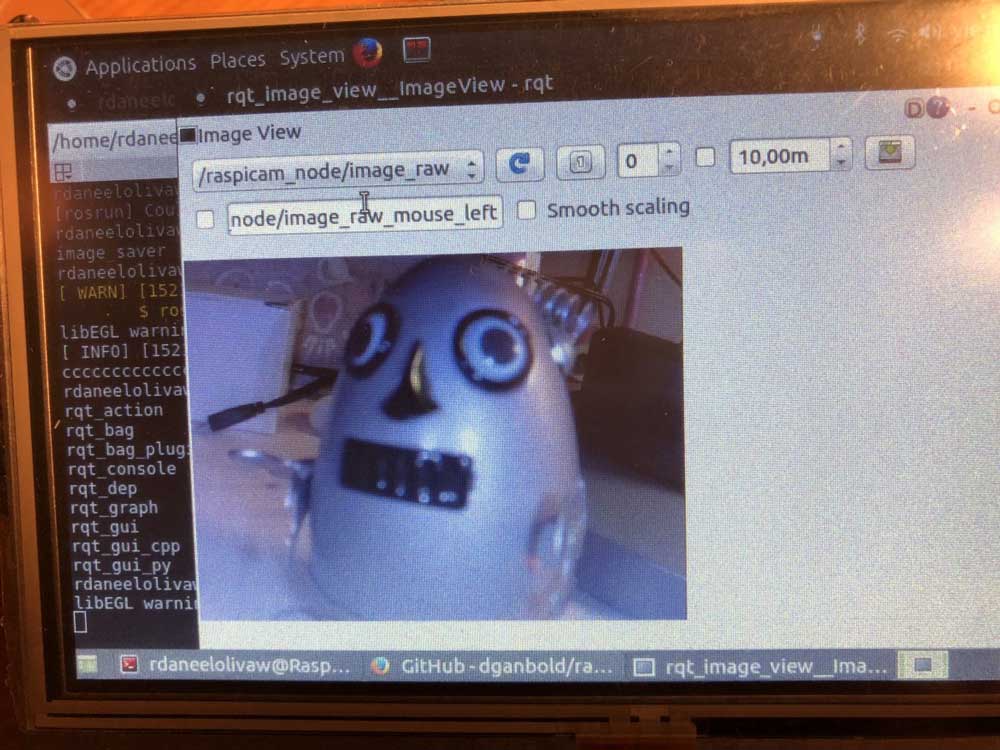
And now you are ready to view the images and use them in ROS. You can use rqt_image_view, for example, to connect to the image published in a topic and see it. here are two options to see the video stream:
Well, you should learn how to use ROS Kinetic and harness all its power! Try this ROS in 5 days Course.
Object Recognition, Perception, Person Detection/Recognition, create a simulation of your future robot that will be controlled by your ROS Raspberry Pi…
The best place to do it FAST and EASY is in RobotIgniteAcademy. There you will learn this and much more.
ROS Development Studio (ROSDS)
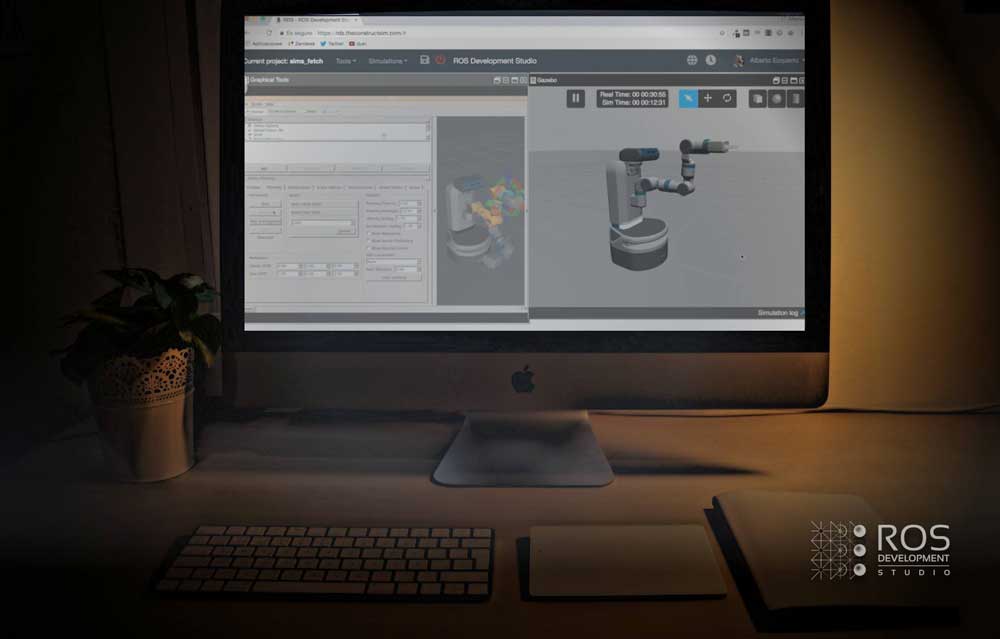
Want to practice freely, try ROSDevelopment Studio, here you will be able to test all your programs first in simulation and when they are ready, deploy them into your ROS Raspberry Pi without any conversion.
[irp posts=”12183″ name=” How to build the Structure of a ROS Raspberry Pi Robot #Ep.1″]
Apendix-1: BOM
Here you have a list of all the materials used for this tutorial of ROS Raspberry Pi:
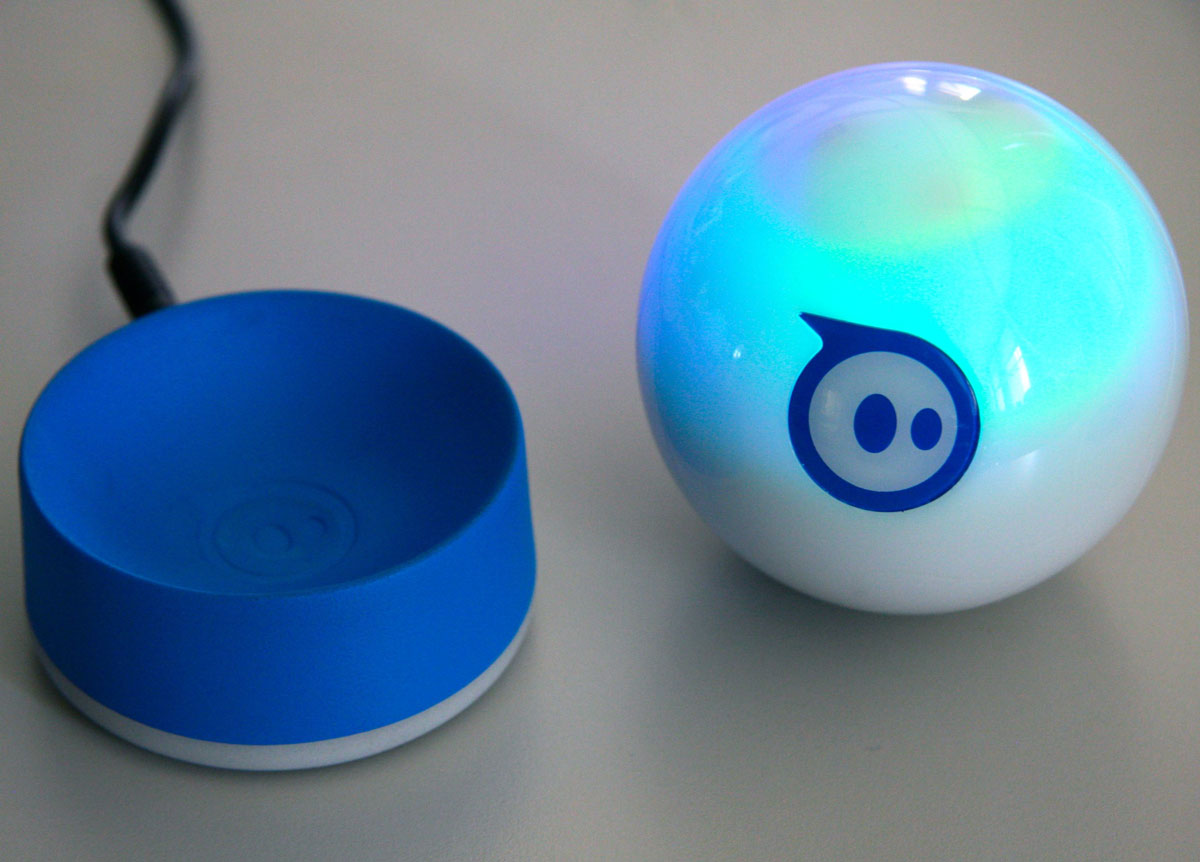
You probably know the Sphero robot. It is a small robot with the shape of a ball.
In case that you have one, you must know that it is possible to control it using ROS, by installing in your computer the Sphero ROS packages developed by Melonee Wise and connecting to the robot using the bluetooth of the computer.
Now, you can use the ROS Development Studio to create ROS control programs for that robot, testing as you go by using the integrated simulation. Let’s see how to do that.
First step, develop your Sphero program in the simulation environment
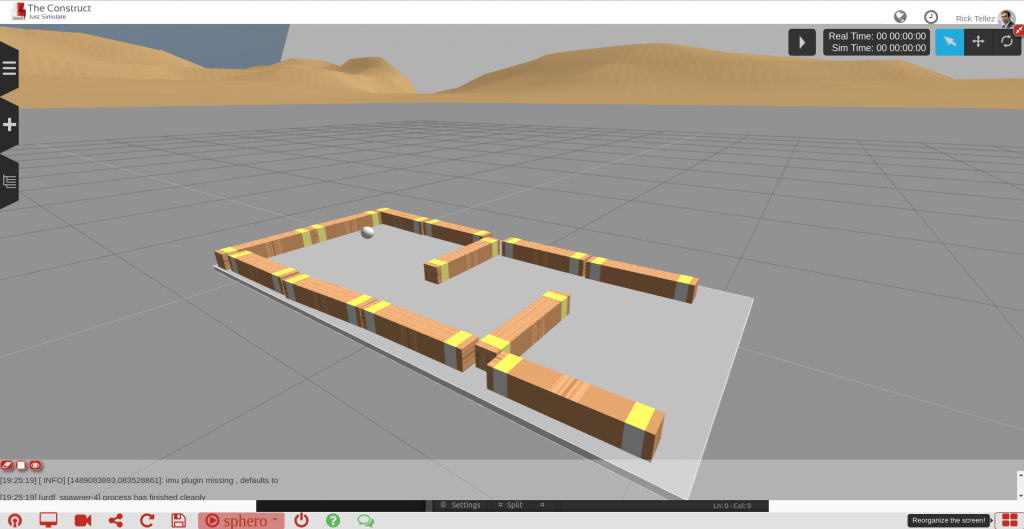
The ROS Development Studio (RDS) provides off-the-shelf a simulation of Sphero within a maze environment. The simulation provides the same interface as the ROS module created by Melonee, so you can test your programs on the environment, and once working properly, transfer it to the real robot.
We created the simulation to teach ROS to the students of the Robot Ignite Academy. They have to learn ROS enough to make the Sphero get out of the maze by using odometry and IMU. What follows applies to both the development of Sphero control programs using the Robot Ignite Academy, or the development using the ROS Development Studio.
Using the simulation
To use the Sphero simulation in the Robot Ignite Academy, go to the ROS in 5 days course and select the Sphero Course Project. The Sphero simulation must appear on the screen.
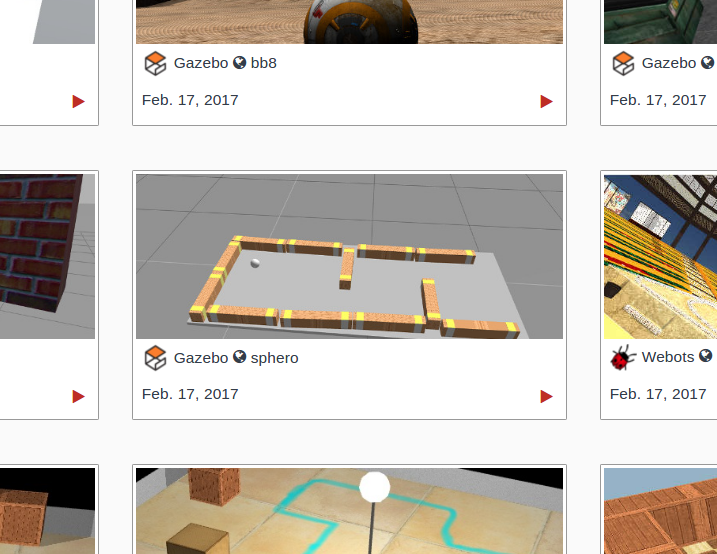
To use the Sphero simulation on RDS go to rds.theconstructsim.com and sign in. If you select the Public simulations, you will quickly identify the Sphero simulation.
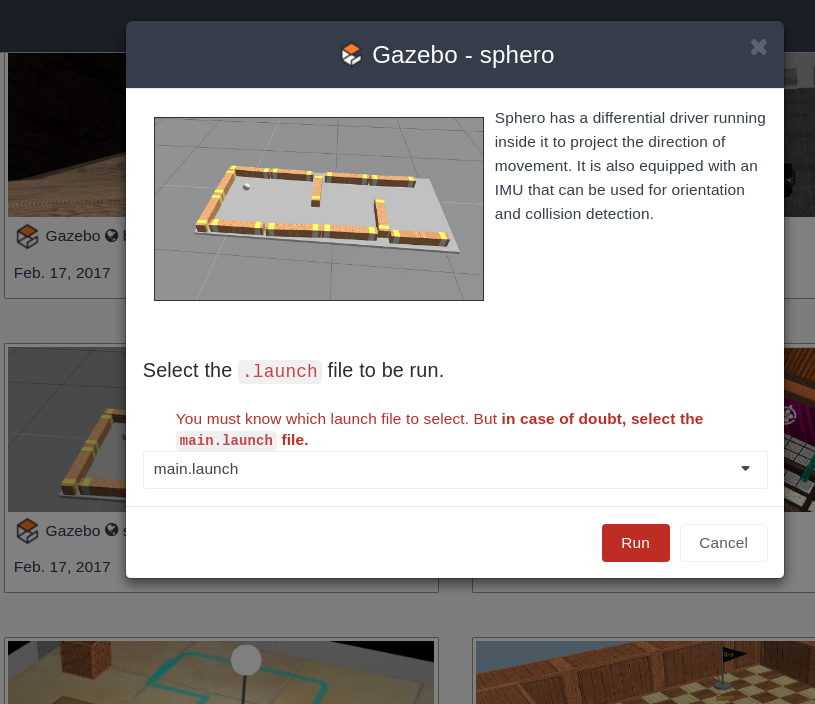
Press the red Play button. A new screen will appear giving you details about the simulation and asking you which launch file you want to launch. The main.launch selected by default is the correct one, so just press Run.
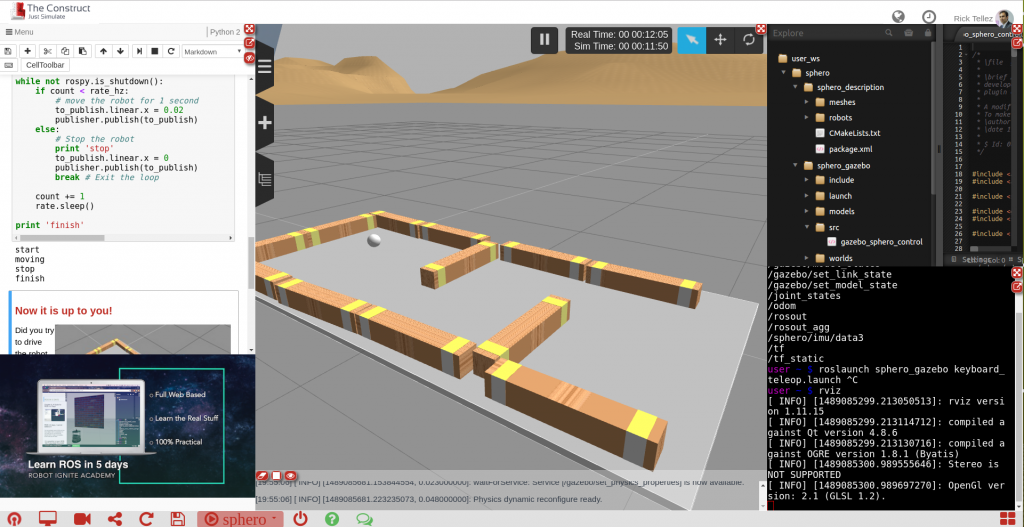
In either case, after a few seconds the simulation will appear together with the development environment for creating the programs for Sphero and testing them.
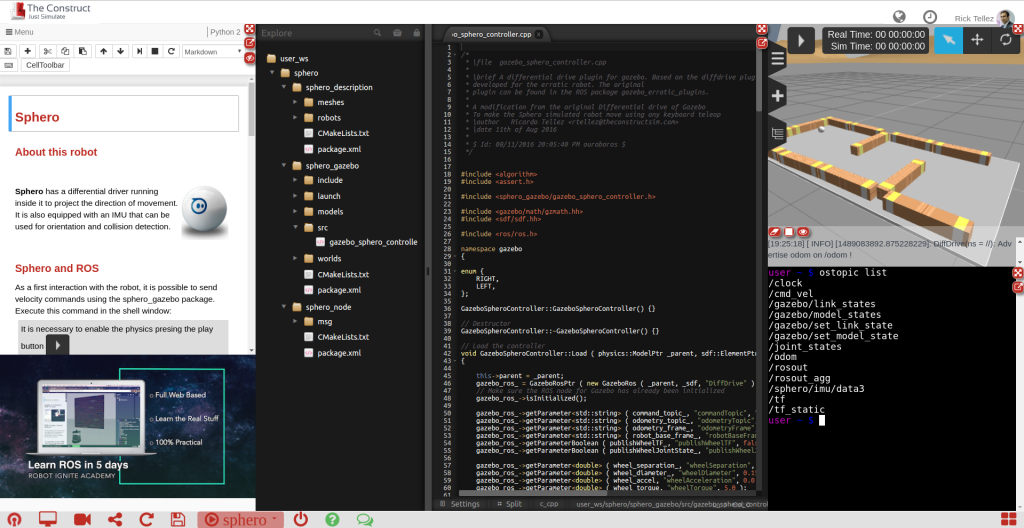
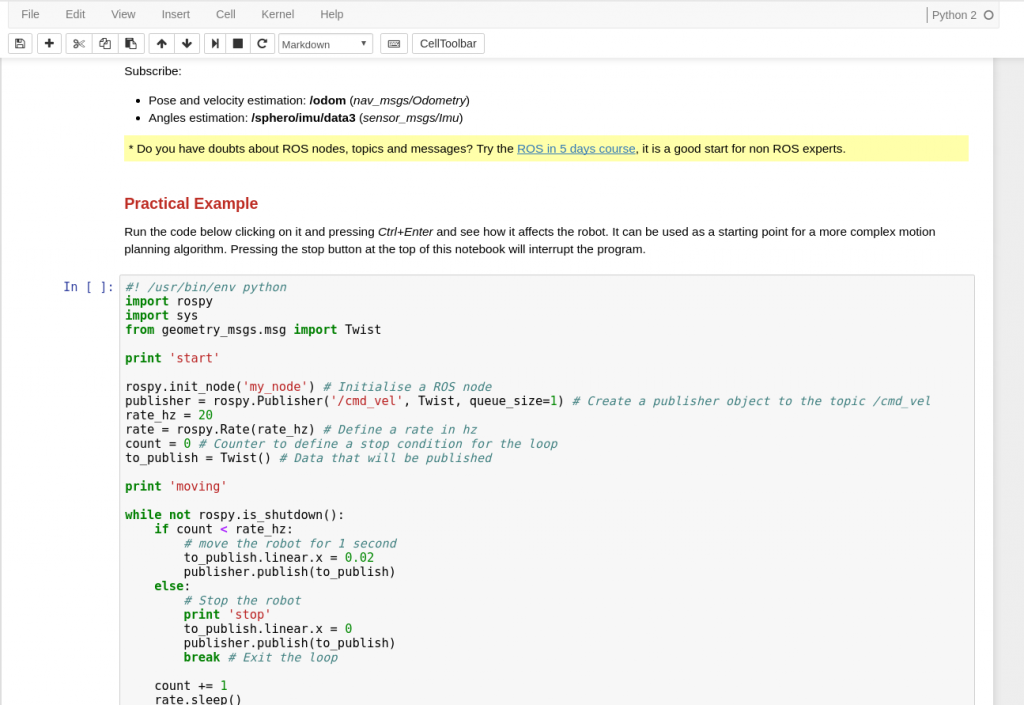
On the left hand side you have a notebook containing information about the robot and how to program it with ROS. This notebook contains just some examples, but it can be completed and/or modified at your will. As you can see it is an iPython notebook and follows its standard. So it is up to you to modify it, add new information or else. Remember that any change you do to the notebook will be saved in a simulation in your private area of RDS, so you can come back later and launch it with your modifications.
You must know that the code included in the notebook is directly executable by selecting the cell of the code (do a single click on it) and pressing the small play button at the top of the notebook. This means that, once you press that button, the code will be executed and start controlling the Sphero simulated robot for a few time-steps (remember to have the simulation activated (Play button of the simulation activated) to see the robot move).
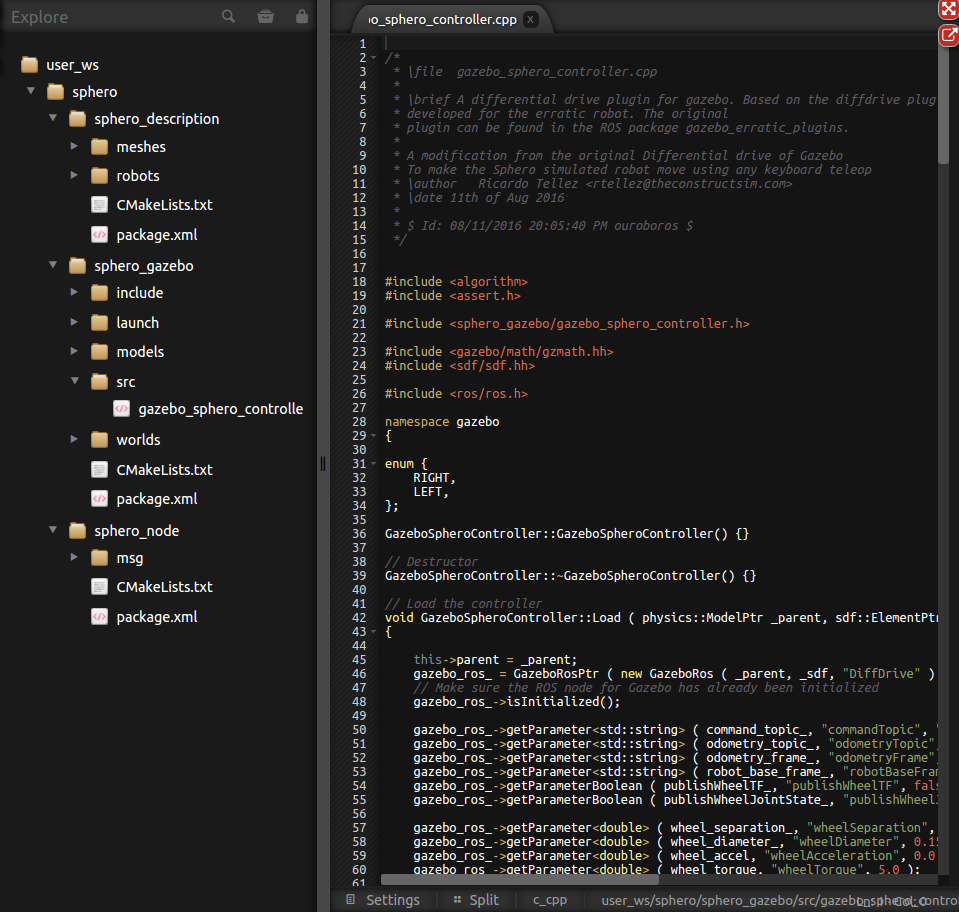
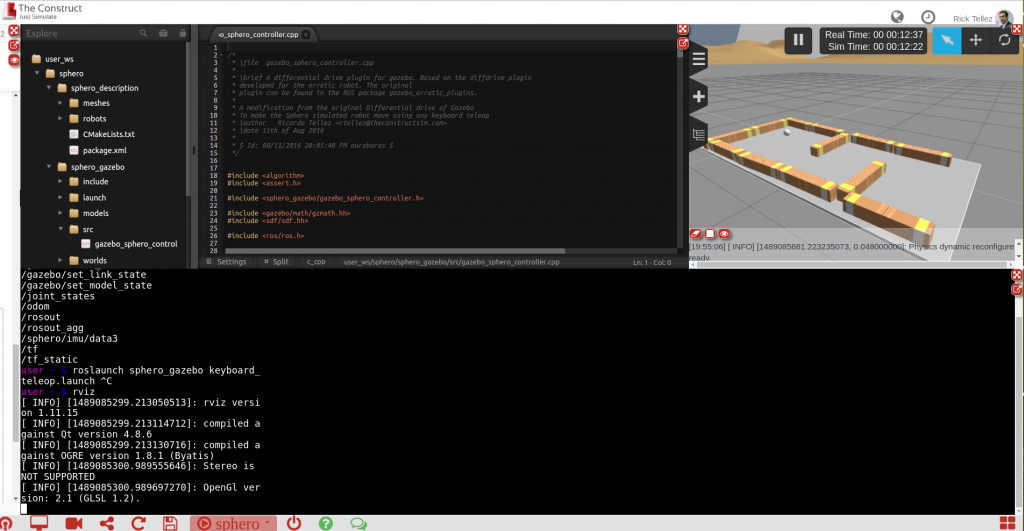
On the center area, you can see the IDE. It is the development environment for developing the code. You can browse there all the packages related to the simulation or any other packages that you may create.
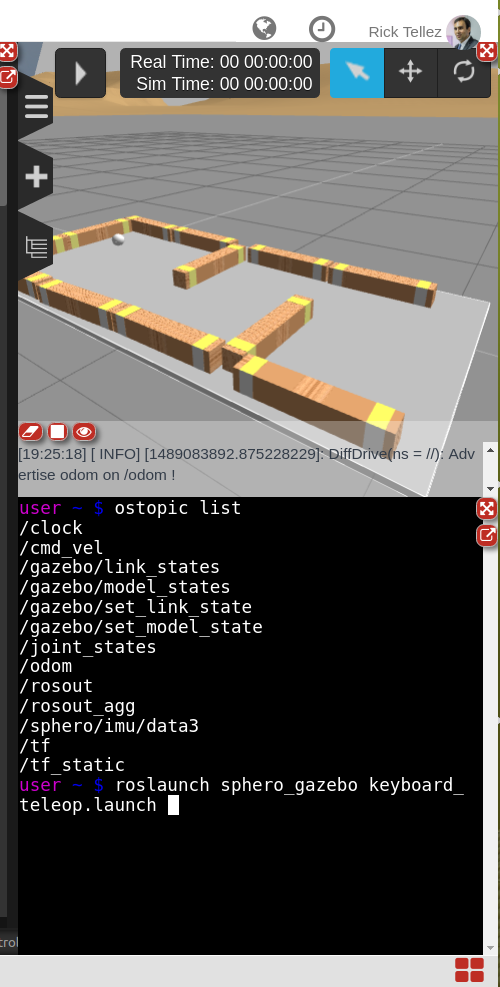
On the right hand side, you can see the simulation and beneath it, the shell. The simulation shows the Sphero robot as well as the environment of the maze. On the shell, you can issue commands in the computer that contains the simulation of the robot. For instance, you can use the shell to launch the keyboard controller and move the Sphero around. Try typing the following:
$ roslaunch sphero_gazebo keyboard_teleop.launch
Now you must be able to move the robot around the maze by pressing some keys of the keyboard (instructions provided on the screen).
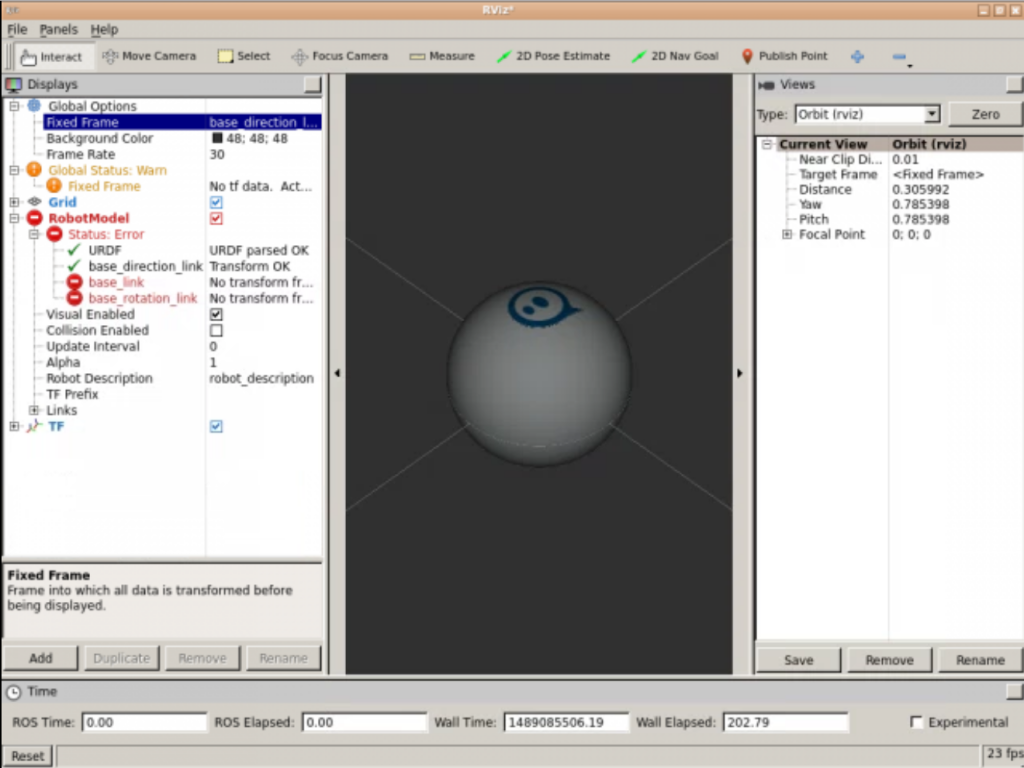
You can also launch there Rviz, and then watch the robot, the frames and any other additional information you may want of the robot. Type the following:
$ rosrun rviz rviz
Then press the Screen red icon located at the bottom-left of the screen (named the graphical tools). A new tab should appear, showing how the Rviz is loading. After a while, you can configure the Rviz to show the information you desire.
There are many ways you can configure the screen to provide more focus to what interests you the most.
Second step, transfer your program to the real robot
Once you have finished your program in the simulation environment, it is time to test it with the real robot. For that, you will need several steps:
Install the Sphero ROS node in your local computer
Finally, try to control the Sphero real robot from your computer by sending some commands to it and making it move. You will find some examples about how to do it here.
At this point, you should have a local computer that has ROS installed on it, that can also communicate with the Sphero. Now it is time to get your programs developed in the simulation environment and execute them in the local computer controlling the real Sphero.
Download your Sphero program to the local computer
Once you have your Linux computer connected to the Sphero robot, you can test your Sphero program. For that, first you need to download the code you did on the simulator to your local computer:
On your local computer, create a catkin_ws. You can find instructions about how to do it here.
Go to the IDE of the simulation environment and select the ROS packages that contain your Sphero code. Then press right click and select Download option. Download the packages to the catkin_ws/src directory of your local machine.
Uncompress the packages in that directory.
Then compile the packages. For that do the following:
cd ~/catkin_ws
catkin_make
Now you are ready to launch your ROS code and make it work with the real robot! Launch your code the same way you did in the simulation environment
Do not expect that your code will work in the real robot exactly as in the simulation. There are usually differences between simulation and real robots. You will have to discover them by practicing. So if something goes wrong just repeat the loop of design of the programs and test.
Conclusions
We have shown here how you can reproduce the professional way of developing software for robots, by using simulations first to create and test the programs, and then, transfer the running programs to the real robot.
There exists an easier way to run the programs developed at the RDS which consists of stablishing a connection between the RDS and the real robot. This option is only available to paying users of RDS.
Video: showing how The Construct instructs about ROS and performs tests in simulation and real Sphero transfer with the students: