How to send a message using Topic Publisher and Subscriber using Python
To ensure stability, I’ll guide you through ROS2 Foxy on Ubuntu 20.04 system. I’ll be using Docker images for installation, but the process is similar to a local Ubuntu setup.
Prerequisites:
Ubuntu 20.04 installed on your computer.
We will actually create and run a ROS2 package that sends and receives messages through Publisher and Subscriber.
In this course, you’ll cover the foundational concepts needed to start working with ROS 2, as well as more advanced topics, all while engaging in hands-on practice.
In questo tutorial verrà mostrata un’implementazione di un nodo subscriber in grado di leggere messaggi di diverso tipo e provenienti da molteplici topic, gestiti attraverso una singola funzione di callback.
Nel caso non si volesse installare ROS Noetic sul proprio sistema e fare il set up dell’ambiente di sviluppo, è possibile utilizzare i Rosject offerti da The Construct per poter testare i contenuti del tutorial o per seguirlo passo passo.
Per fare ciò sarà sufficiente seguire il link indicato nelle risorse e cliccare su “Run”. In questo modo si avrà accesso a una copia del
Rosject utilizzato all’interno del tutorial.
Aprire terminal e IDE
Per aprire un nuovo terminale e avere accesso all’IDE forniti dal Rosject, sarà possibile utilizzare la console in basso a destra.
Prerequisiti
Per poter seguire il tutorial passo passo sarò necessario avere il nodo publisher, che pubblica su diversi topic, attivo e creare un package dove poter inserire il codice per il subscriber.
Per iniziare eseguiamo il nodo publisher. Sarà sufficiente aprire il terminale dalla console (vedi Risorse) e inserire i seguenti comandi nelle rispettive schede del terminale:
Terminale 1: roscore Terminale 2: cd catkin_ws
rosrun publisher publisher.py
Quindi è possibile verificare il corretto funzionamento del nodo aprendo una seconda finestra al’interno del terminale e osservando l’output del comando rostopic list.
L’output previsto è il seguente:
Terminale 3: rostopic list
/chatter0
/chatter1
/chatter2
/rosout
/rosout_agg
Procediamo quindi a creare il package per il subscriber:
Terminale 3: cd src
catkin_create_pkg multiple_subscriber rospy std_msgs
mkdir multiple_subscriber/script
Situazione di partenza
Al momento abbiamo eseguito il nodo publisher che pubblica su 3 topic messaggi di vario tipo. In particolare:
/chatter0 pubblica messaggi di tipo String
/chatter1 pubblica messaggi di tipo Float64
/chatter2 pubblica messaggi di tipo Bool
Vediamo quindi come possiamo gestire tutti e tre i topic, creando un subscriber in grado di leggere i messaggi dai chatter e di gestirli con una singola funzione di callback, differenziando il risultato di quest’ultima sfruttando l’uso di parametri.
Creazione del file multiple_sub.py
Proseguiamo creando il file necessario a definire il nostro subscriber e tutte le sue funzioni.
Terminale 3: touch multiple_sub/script/multiple_subscriber.py # Crea il file
chmod +x multiple_sub/script/multiple_subscriber.py # Garantisce i permessi di esecuzione
cd ..
catkin_make
Implementazione del subscriber
Partiamo quindi dallo specificare un interprete per il nostro codice in Python, dall’importare i moduli necessari (rospy e in questo caso std_msgs/String, std_msgs/Float64, std_msgs/Bool) e dallo scrivere un main che inizializzi il nodo e invochi rospy.spin() per poter eseguire le callback del nostro subscriber.
main
multiple_subscriber.py import rospy
from std_msgs.msg import String, Float64, Bool
if __name__=="__main__":
rospy.init_node("multiple_subscriber")
topics = {"chatter0": [String, "Argomento passato da chatter0"], "chatter1": [Float64, "Argomento passato da chatter1"], "chatter2": [Bool, "Argomento passato da chatter2"]}
multiple_subscribe()
rospy.spin()
All’interno della funzione abbiamo definito anche topics, un dizionario contenente le specifiche dei topic che vogliamo andare a leggere, seguendo la seguente struttura: {"nome_topic": [Tipo, Argomento]}
Per ogni chiave topic abbiamo quindi definito una lista contente il tipo del messaggio inviato dal topic e un argomento (in questo caso una stringa che esplicita di essere l’argomento passato per lo specifico topic) .
multiple_subscribe
La funzionemultiple_subscribe() sarà definita perché il nodo possa seguire i 3 topic e perché i messaggi pubblicati possano innescare la callback.
Il nodo segue quindi ciascuno dei topic definiti nel dizionario, aspettandosi messaggi del relativo tipo, invocando una funzione callback e passando il relativo argomento tramite il parametro callback_args.
callback
Vediamo una semplice implementazione della callback per poter gestire i tre topic.
multiple_subscriber.py def callback(data, args):
rospy.loginfo(f"Ricevuto: {data.data}")
print(args)
print('\n')
In questo caso andiamo a stampare come info di ROS il contenuto del messaggio arrivato alla callback e stampiamo l’argomento passato corrispondente. Entrambi dipenderanno da quale topic ha innescato la callback e perciò a questo livello il messaggio può essere gestito a seconda del parametro ad esso associato, potendo implementare in qualche modo un’esecuzione “su misura” della funzione di callback.
Test del subscriber
Siamo pronti per poter eseguire il nostro subscriber!
Ciò che ci aspettiamo è che vengano stampati allo stesso tempo il messaggio e l’argomento relativi alla callback innescata dall’arrivo di un messaggio dal singolo topic. L’output dovrebbe quindi essere di questo tipo:
[INFO] [***.***]: Ricevuto: Questo pubblica una stringa
Argomento passato da chatter0
[INFO] [***.***]: Ricevuto: 0.42
Argomento passato da chatter1
[INFO] [***.***]: Ricevuto: True
Argomento passato da chatter2
Possiamo osservare come gli output si alternano ogni secondo a rotazione, ma questo è dovuto alla singola implementazione del publisher (che è possibile trovare all’interno del Rosject, vedi Risorse).
In ogni caso per ogni topic viene ricevuto, gestito e stampato un messaggio specifico relativo ad esso, e l’elaborazione del relativo parametro, con diverso risultatononostante l’utilizzo della medesima funzione di callback.
ROS2 (Robot Operating System version 2) is becoming the de facto standard “framework” for programming robots.
In this post, we are going to learn how to combine a Publisher, a Subscriber, and a Service in the same ROS2 Node.
ROS Inside!
ROS Inside
Before anything else, if you want to use the logo above on your own robot or computer, feel free to download it and attach it to your robot. It is really free. Find it in the link below:
In order to follow this tutorial, we need to have ROS2 installed in our system, and ideally a ros2_ws (ROS2 Workspace). To make your life easier, we have already prepared a rosject for that: https://app.theconstructsim.com/l/5c13606c/.
Just by copying the rosject (clicking the link above), you will have a setup already prepared for you.
After the rosject has been successfully copied to your own area, you should see a Run button. Just click that button to launch the rosject (below you have a rosject example).
Combining Publisher, Subscriber & Service in ROS2 Single Node – Run rosject (example of the RUN button)
After pressing the Run button, you should have the rosject loaded. Now, let’s head to the next section to get some real practice.
Creating the required files
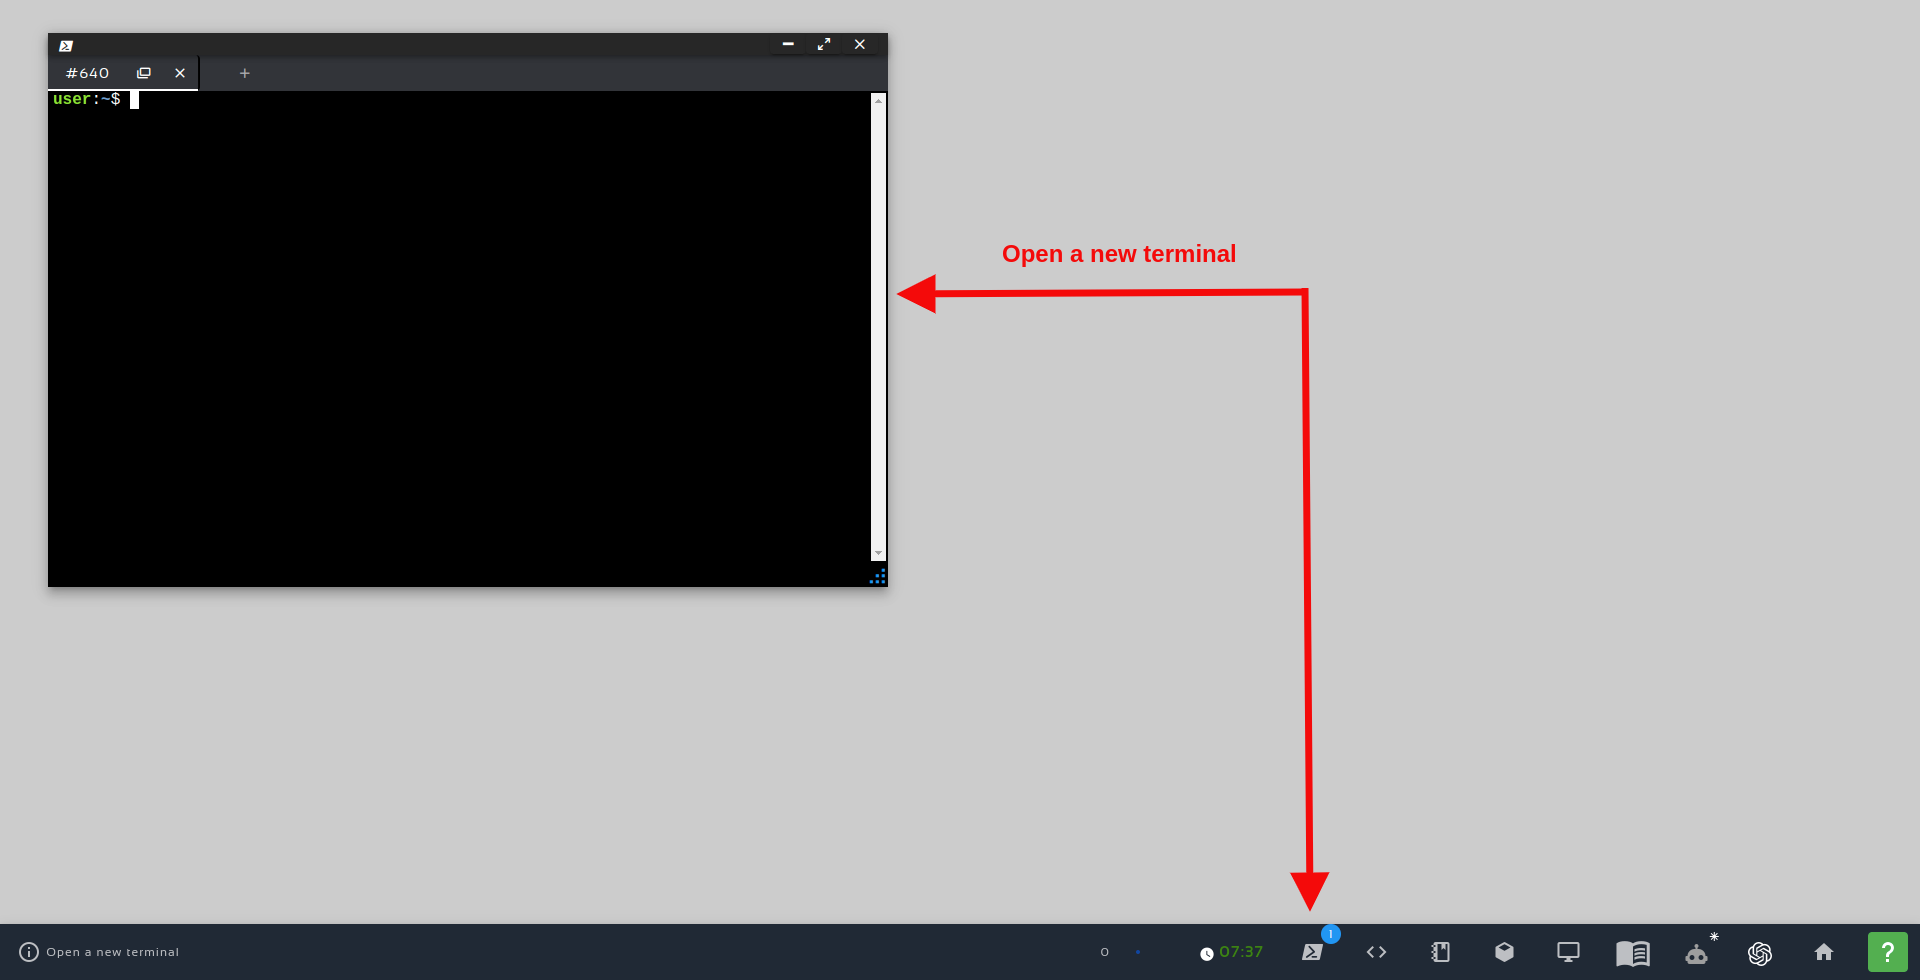
In order to interact with ROS2, we need a terminal.
Let’s open a terminal by clicking the Open a new terminal button.
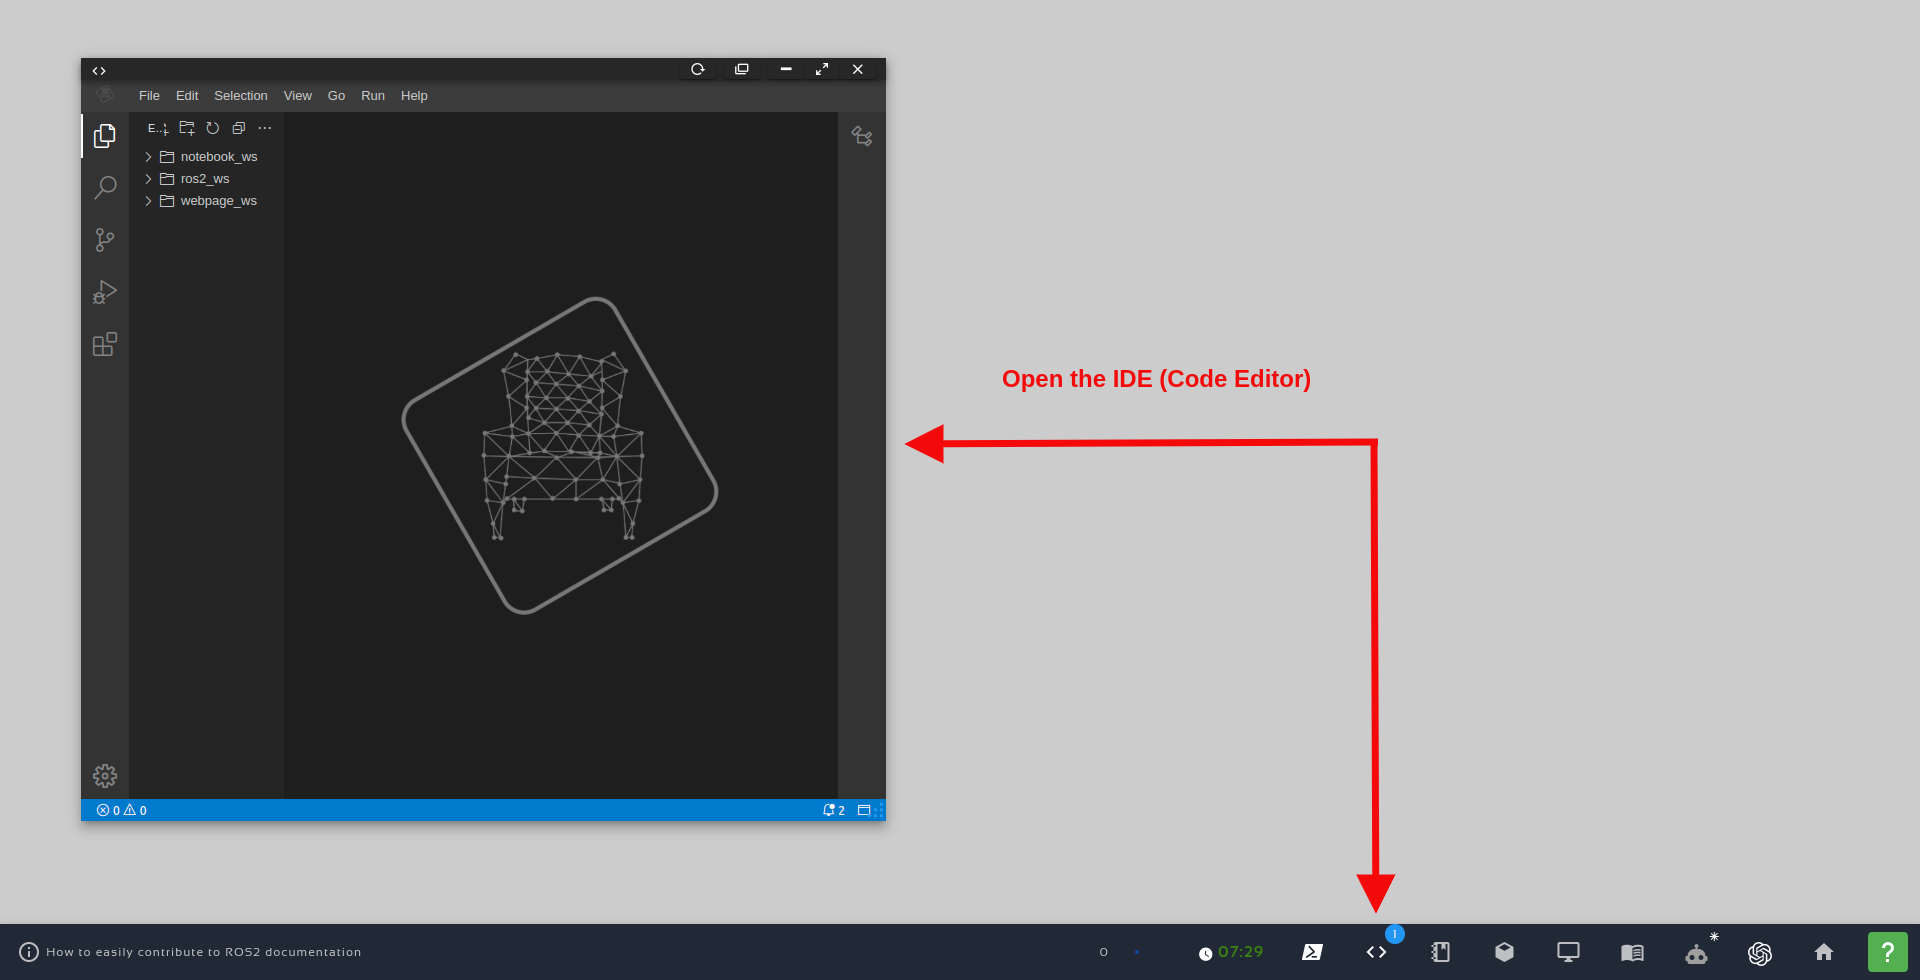
You could have created that file also using the Code Editor.
If you want to use the Code Editor, also known as IDE (Integrated Development Environment), you just have to open it as indicated in the image below:
Open the IDE – Code Editor
The following content was pasted to that file:
#! /usr/bin/env python3
import rclpy
from rclpy.node import Node
from sensor_msgs.msg import Image
from custom_interfaces.srv import StringServiceMessage
import os
import cv2
from cv_bridge import CvBridge
import ament_index_python.packages as ament_index
class CombineNode(Node):
def __init__(self, dummy=True):
super().__init__('combine_node')
self._dummy= dummy
self.pkg_path = self.get_package_path("pub_sub_srv_ros2_pkg_example")
self.scripts_path = os.path.join(self.pkg_path,"scripts")
cascade_file_path = os.path.join(self.scripts_path,'haarbanana.xml')
self.banana_cascade = cv2.CascadeClassifier(cascade_file_path)
self.bridge = CvBridge()
self.publisher = self.create_publisher(Image, 'image_detected_fruit', 10)
self.subscription = self.create_subscription(
Image, '/box_bot_1/box_bot_1_camera/image_raw', self.image_callback, 10)
self.string_service = self.create_service(
StringServiceMessage, 'detect_fruit_service', self.string_service_callback)
self.get_logger().info(f'READY CombineNode')
def get_package_path(self, package_name):
try:
package_share_directory = ament_index.get_package_share_directory(package_name)
return package_share_directory
except Exception as e:
print(f"Error: {e}")
return None
def image_callback(self, msg):
self.get_logger().info('Received an image.')
self.current_image = msg
def string_service_callback(self, request, response):
# Handle the string service request
self.get_logger().info(f'Received string service request: {request.detect}')
if request.detect == "apple":
if self._dummy:
# Generate and publish an image related to apple detections
apple_image = self.generate_apple_detection_image()
self.publish_image(apple_image)
else:
self.detect_and_publish_apple()
elif request.detect == "banana":
if self._dummy:
# Generate and publish an image related to banana detections
banana_image = self.generate_banana_detection_image()
self.publish_image(banana_image)
else:
self.detect_and_publish_banana()
else:
# If no specific request
unknown_image = self.generate_unknown_detection_image()
self.publish_image(unknown_image)
# Respond with success and a message
response.success = True
response.message = f'Received and processed: {request.detect}'
return response
def generate_unknown_detection_image(self):
self.apple_img_path = os.path.join(self.scripts_path,'unknown.png')
self.get_logger().warning("Unknown path="+str(self.apple_img_path))
# Replace this with your actual image processing logic
# In this example, we create a simple red circle on a black image
image = cv2.imread(self.apple_img_path) # Replace with your image path
if image is None:
self.get_logger().error("Failed to load the unknown image.")
else:
self.get_logger().warning("SUCCESS to load the unknown image.")
return self.bridge.cv2_to_imgmsg(image, encoding="bgr8")
def generate_apple_detection_image(self):
self.apple_img_path = os.path.join(self.scripts_path,'apple.png')
self.get_logger().warning("Apple path="+str(self.apple_img_path))
# Replace this with your actual image processing logic
# In this example, we create a simple red circle on a black image
image = cv2.imread(self.apple_img_path) # Replace with your image path
if image is None:
self.get_logger().error("Failed to load the apple image.")
else:
self.get_logger().warning("SUCCESS to load the apple image.")
return self.bridge.cv2_to_imgmsg(image, encoding="bgr8")
def generate_banana_detection_image(self):
self.banana_img_path = os.path.join(self.scripts_path,'banana.png')
self.get_logger().warning("Banana path="+str(self.banana_img_path))
# Replace this with your actual image processing logic
# In this example, we create a simple yellow circle on a black image
image = cv2.imread(self.banana_img_path) # Replace with your image path
if image is None:
self.get_logger().error("Failed to load the banana image.")
else:
self.get_logger().warning("SUCCESS to load the banana image.")
return self.bridge.cv2_to_imgmsg(image, encoding="bgr8")
def publish_image(self, image_msg):
if image_msg is not None:
self.publisher.publish(image_msg)
def detect_and_publish_apple(self):
if self.current_image is not None:
frame = self.bridge.imgmsg_to_cv2(self.current_image, desired_encoding="bgr8")
# Your apple detection code here (from approach_2.py)
# HIGH=====
# (0.0, 238.935, 255.0)
# LOW=====
# (1.8, 255.0, 66.045)
low_apple_raw = (0.0, 80.0, 80.0)
high_apple_raw = (20.0, 255.0, 255.0)
image_hsv = cv2.cvtColor(frame, cv2.COLOR_BGR2HSV)
mask = cv2.inRange(image_hsv, low_apple_raw, high_apple_raw)
cnts, _ = cv2.findContours(mask.copy(), cv2.RETR_EXTERNAL,
cv2.CHAIN_APPROX_SIMPLE)
c_num = 0
radius = 10
for i, c in enumerate(cnts):
((x, y), r) = cv2.minEnclosingCircle(c)
if r > radius:
print("OK="+str(r))
c_num += 1
cv2.circle(frame, (int(x), int(y)), int(r), (0, 255, 0), 2)
cv2.putText(frame, "#{}".format(c_num), (int(x) - 10, int(y)),
cv2.FONT_HERSHEY_SIMPLEX, 0.6, (255, 0, 0), 2)
else:
print(r)
# Publish the detected image as a ROS 2 Image message
image_msg = self.bridge.cv2_to_imgmsg(frame, encoding="bgr8")
self.publish_image(image_msg)
else:
self.get_logger().error("Image NOT found")
def detect_and_publish_banana(self):
self.get_logger().warning("detect_and_publish_banana Start")
if self.current_image is not None:
self.get_logger().warning("Image found")
frame = self.bridge.imgmsg_to_cv2(self.current_image, desired_encoding="bgr8")
gray = cv2.cvtColor(frame, cv2.COLOR_BGR2GRAY)
bananas = self.banana_cascade.detectMultiScale(
gray, scaleFactor=1.1, minNeighbors=5, minSize=(30, 30), flags=cv2.CASCADE_SCALE_IMAGE)
for (x, y, w, h) in bananas:
cv2.rectangle(frame, (x, y), (x+w, y+h), (0, 255, 0), 3)
cv2.putText(frame, 'Banana', (x-10, y-10),
cv2.FONT_HERSHEY_SIMPLEX, 1, (0, 255, 0))
# Publish the detected image as a ROS 2 Image message
self.get_logger().warning("BananaDetection Image Publishing...")
image_msg = self.bridge.cv2_to_imgmsg(frame, encoding="bgr8")
self.publish_image(image_msg)
self.get_logger().warning("BananaDetection Image Publishing...DONE")
else:
self.get_logger().error("Image NOT found")
def main(args=None):
rclpy.init(args=args)
node = CombineNode(dummy=False)
rclpy.spin(node)
node.destroy_node()
rclpy.shutdown()
if __name__ == '__main__':

main()
After creating that Python file, we also modified the CMakeLists.txt file of the pub_sub_srv_ros2_pkg_example package:
We basically added ‘scripts/pubsubserv_example.py‘ to the list of files to be installed when we build our ros2 workspace.
In the end, the content of ~/ros2_ws/src/fruit_detector/pub_sub_srv_ros2_pkg_example/CMakeLists.txt is like this:
cmake_minimum_required(VERSION 3.8)
project(pub_sub_srv_ros2_pkg_example)

if(CMAKE_COMPILER_IS_GNUCXX OR CMAKE_CXX_COMPILER_ID MATCHES "Clang")
  add_compile_options(-Wall -Wextra -Wpedantic)
endif()

find_package(ament_cmake REQUIRED)
find_package(sensor_msgs REQUIRED)
find_package(std_srvs REQUIRED)
find_package(custom_interfaces REQUIRED)


if(BUILD_TESTING)
  find_package(ament_lint_auto REQUIRED)
  set(ament_cmake_copyright_FOUND TRUE)
  set(ament_cmake_cpplint_FOUND TRUE)
  ament_lint_auto_find_test_dependencies()
endif()

# We add it to be able to use other modules of the scripts folder
install(DIRECTORY
  scripts
  rviz
  DESTINATION share/${PROJECT_NAME}
)

install(PROGRAMS
	scripts/example1_dummy.py
  	scripts/example1.py
	scripts/example1_main.py
	scripts/pubsubserv_example.py
  DESTINATION lib/${PROJECT_NAME}
)

ament_package()
We then compiled specifically the pub_sub_srv_ros2_pkg_example package using the following command:
cd ~/ros2_ws/

source install/setup.bash
colcon build --packages-select pub_sub_srv_ros2_pkg_example
After the package is compiled, we could run that python script using the following command:
cd ~/ros2_ws

source install/setup.bash

ros2 run pub_sub_srv_ros2_pkg_example pubsubserv_example.py
After running that script you are not going to see any output because we are not printing anything.
But, let’s try to list the services in a second terminal by typing ros2 node list. If everything goes well, we should be able to see the combine_node node:
$ ros2 node list

/combine_node
Launching the simulation
So far we can’t see what our node is capable of.
Let’s launch a simulation so that we can understand our node better.
For that, let’s run the following command in a third terminal:
ros2 launch box_bot_gazebo garden_main.launch.xml
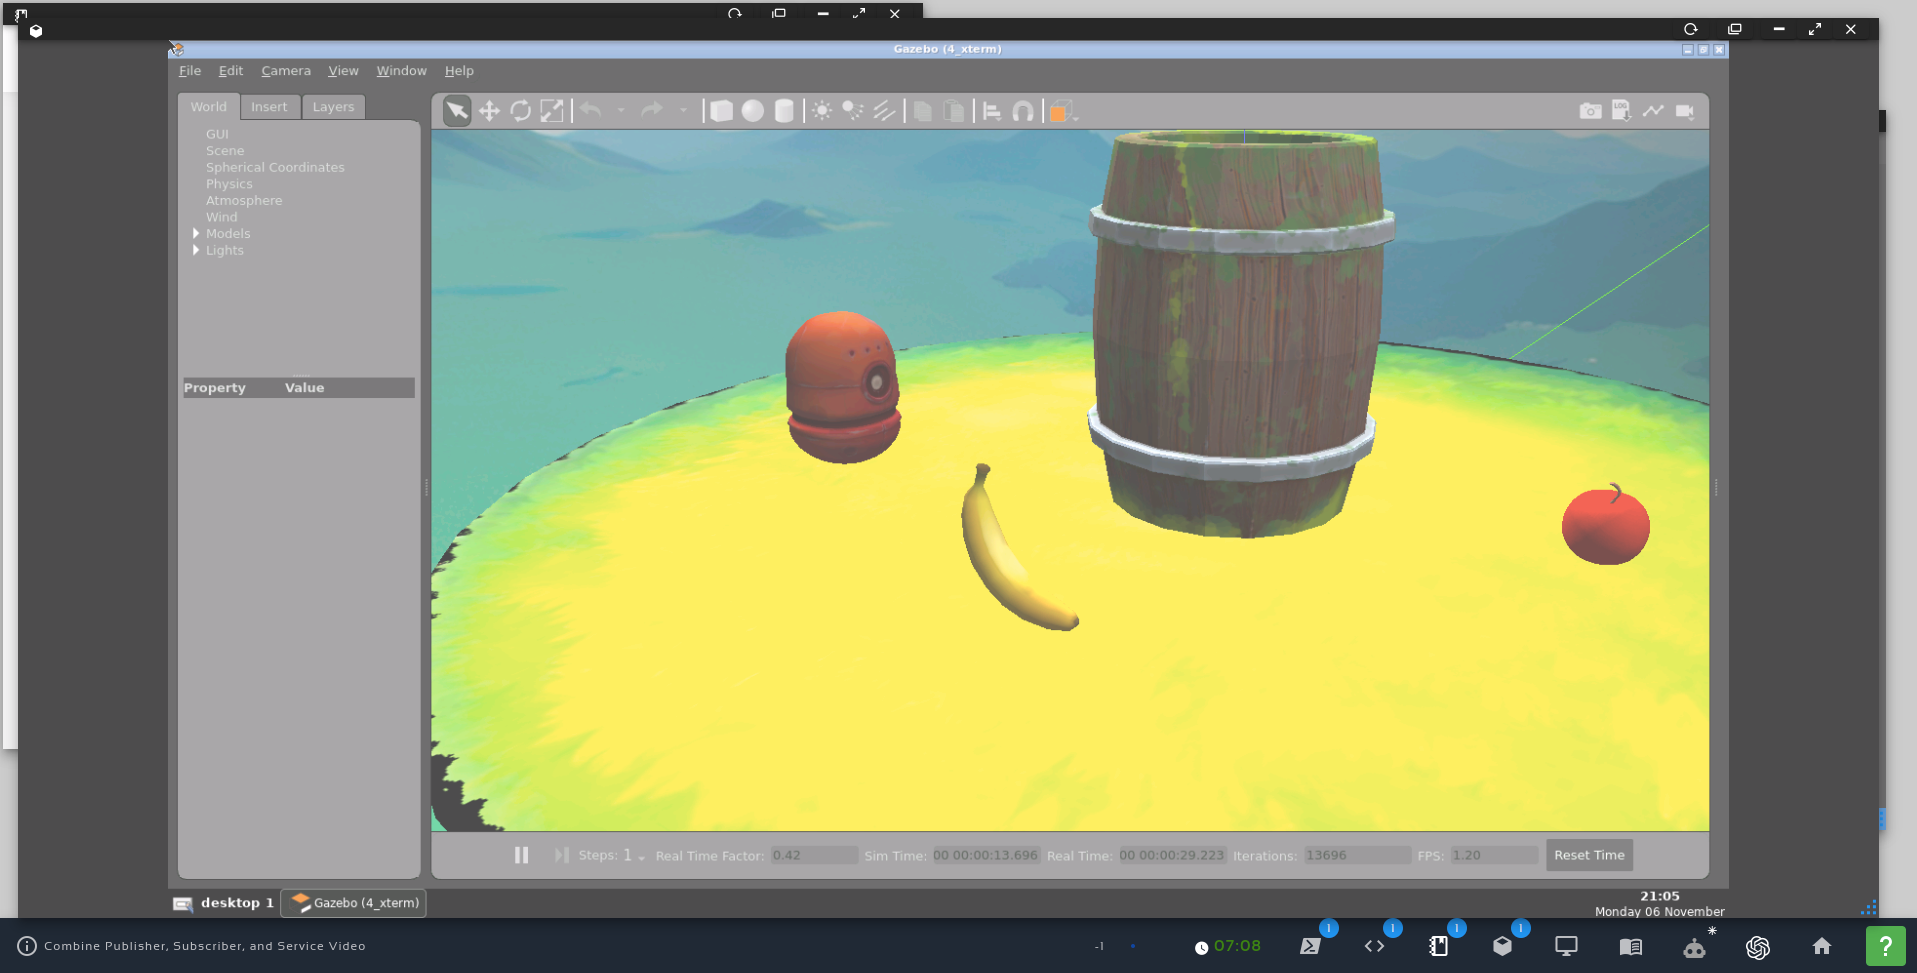
A simulation similar to the following should appear in a few seconds:
Combine Publisher, Subscriber & Service in ROS2 Single Node – Simulation
After launching the simulation, in the first terminal where we launched our node, we should start seeing messages like the following:
...
[INFO] [1699306370.709477898] [combine_node]: Received an image.
[INFO] [1699306373.374917545] [combine_node]: Received an image.
[INFO] [1699306376.390623360] [combine_node]: Received an image.
[INFO] [1699306379.277906884] [combine_node]: Received an image
...
We will soon understand what these messages mean.
See what the robot sees through rviz2
Now that the simulation is running, we can open rviz2 (ROS Visualization version 2).
To make it easier for you to see the robot model, and the robot camera, a fruit.rviz file was created at ~/ros2_ws/src/fruit_detector/pub_sub_srv_ros2_pkg_example/rviz/fruit.rviz.
You can tell rviz2 to load that config file using the following command:
A new screen should pop up in a few seconds, and you should be able to see what the robot camera sees, as well as the robot model.
The ROS2 Topic that we set for the camera was /box_bot_1/box_bot_1_camera/image_raw. You can find this topic if you list the topics in another terminal using ros2 topic list.
If you look at the topic that we subscribe to at the __init__ method of the CombineNode class, it is exactly this topic:
When a new Image message comes, the image_callback method is called. It essentially saves the image in an internal variable called current_image:
def image_callback(self, msg):
    self.get_logger().info('Received an image.')
    self.current_image = msg
At the __init__ method we also created a service for analyzing an image and detecting whether or not it contains a banana:
    def __init__(self, dummy=True):
        super().__init__('combine_node')

        # ...
        self.string_service = self.create_service(
            StringServiceMessage, 'detect_fruit_service', self.string_service_callback)

    def string_service_callback(self, request, response):
        # Handle the string service request
        self.get_logger().info(f'Received string service request: {request.detect}')


        if request.detect == "apple":
            if self._dummy:
                # Generate and publish an image related to apple detections
                apple_image = self.generate_apple_detection_image()
                self.publish_image(apple_image)
            else:
                self.detect_and_publish_apple()
        elif request.detect == "banana":
            if self._dummy:
                # Generate and publish an image related to banana detections
                banana_image = self.generate_banana_detection_image()
                self.publish_image(banana_image)
            else:
                self.detect_and_publish_banana()
        else:
            # If no specific request
            unknown_image = self.generate_unknown_detection_image()
            self.publish_image(unknown_image)

        # Respond with success and a message
        response.success = True
        response.message = f'Received and processed: {request.detect}'
        return response
By analyzing the code above, we see that when the detect_fruit_service service that we created is called, it calls the string_service_callback method that is responsible for detecting bananas and apples.
Now, going back to the messages we see in the first terminal:
...
[INFO] [1699306370.709477898] [combine_node]: Received an image.
[INFO] [1699306373.374917545] [combine_node]: Received an image.
[INFO] [1699306376.390623360] [combine_node]: Received an image.
[INFO] [1699306379.277906884] [combine_node]: Received an image
...
These messages basically say that we are correctly receiving the Image messages from the /box_bot_1/box_bot_1_camera/image_raw topic mentioned earlier.
If we list the services, we should find a service named . Let’s try it, by running the following command in a free terminal:
ros2 service list
You should see a huge number of services, and among them, you should be able to find the following one, that we created:
/detect_fruit_service
By the way, the reason why we have so many services is that the Gazebo simulator generates a lot of services, making it easier to interact with Gazebo using ROS2.
Now, let’s call that service. In order to detect an apple, a banana, and a strawberry, we could run the following commands respectively:
ros2 service call /detect_fruit_service custom_interfaces/srv/StringServiceMessage "detect: 'apple'"
ros2 service call /detect_fruit_service custom_interfaces/srv/StringServiceMessage "detect: 'banana'"
ros2 service call /detect_fruit_service custom_interfaces/srv/StringServiceMessage "detect: 'strawberry'"
Alright. After calling the service to detect a banana, we should have an output similar to the following:
requester: making request: custom_interfaces.srv.StringServiceMessage_Request(detect='banana')

response: custom_interfaces.srv.StringServiceMessage_Response(success=True, message='Received and processed: banana')
Indicating that the service correctly detected a banana.
If you check the logs in the first terminal where we launched our node, you will also see a message similar to the following:
BananaDetection Image Publishing...
So, as you can see, we have in the same ROS2 Node a Publisher, a Subscriber, and a Service.
Congratulations. Now you know how to combine different ROS2 pieces in a single node.
We hope this post was really helpful to you. If you want a live version of this post with more details, please check the video in the next section.
Youtube video
So this is the post for today. Remember that we have the live version of this post on YouTube. If you liked the content, please consider subscribing to our YouTube channel. We are publishing new content ~every day.
Keep pushing your ROS Learning.
Related Courses & Training
If you want to learn more about ROS and ROS2, we recommend the following courses: