What we are going to learn:
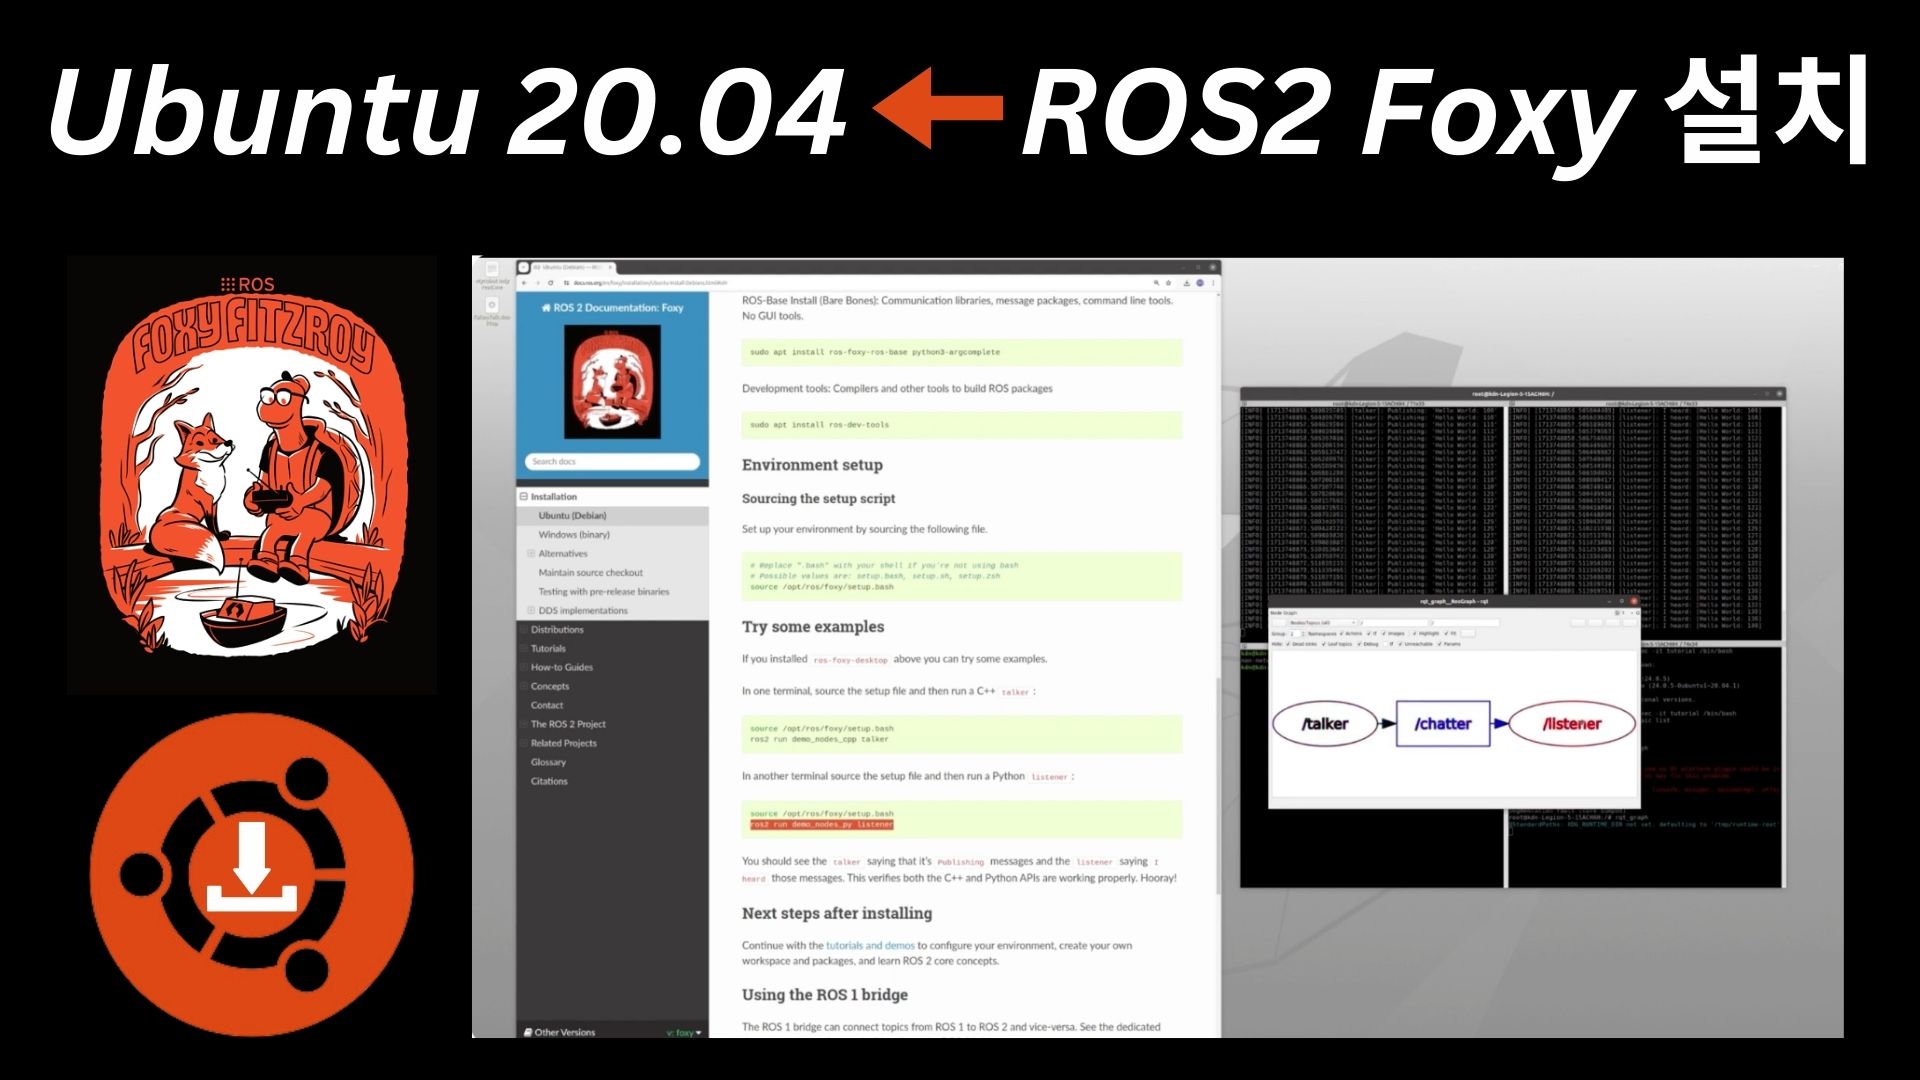
Installing ROS 2 Foxy on Ubuntu 20.04.
Prerequisites:
Ubuntu 20.04 installed on your computer.
I install ROS 2 Foxy in Docker images, but It is similar at Local Ubuntu, too
If you are using the Ubuntu 20.04 image in a Docker environment, nothing will be installed.
In this case, you can go through several steps for initial setup and then install by following the ROS2 Foxy Install Document above.
If you want to learn more about ROS 2 and dive deeper into robotics, check out the Robotics Developer Masterclass, where you’ll master robotics development from scratch and get 100% job-ready to work at robotics companies.
1. Initial Setup:
If you’re using the Ubuntu 20.04 image in a Docker environment, run the following commands for initial setup:
apt update

apt install sudo
For local installations, skip this step if sudo is already installed.
If sudo (Super User do) is installed, proceed according to the Document.
I used this link to install ros2 foxy : https://docs.ros.org/en/foxy/Installation/Ubuntu-Install-Debians.html#install-ros-2-packages
Proceeding through all steps in order is the fastest way to install without errors.
2. Setting Locale to UTF-8:
locale # check for UTF-8
sudo apt update && sudo apt install locales

sudo locale-gen en_US en_US.UTF-8

sudo update-locale LC_ALL=en_US.UTF-8 LANG=en_US.UTF-8

export LANG=en_US.UTF-8
locale # verify settings
3. After confirming UTF-8 with the locale command, proceed with environment settings.
1. Ubuntu Universe repository enable
sudo apt install software-properties-common

sudo add-apt-repository universe
2. add ROS 2 GPG key
sudo apt update && sudo apt install curl -y
sudo curl -sSL https://raw.githubusercontent.com/ros/rosdistro/master/ros.key -o /usr/share/keyrings/ros-archive-keyring.gpg
3. add repository to sources list
echo “deb [arch=$(dpkg –print-architecture) signed-by=/usr/share/keyrings/ros-archive-keyring.gpg] http://packages.ros.org/ros2/ubuntu $(. /etc/os-release && echo $UBUNTU_CODENAME) main” | sudo tee /etc/apt/sources.list.d/ros2.list > /dev/null
4. Installing ROS2 Package :
sudo apt update

sudo apt upgrade
Here is really Important step, Binary Install Ros2 foxy. This is not by Source file. I will take more than 10 minutes.
Desktop Install (Recommended): ROS, RViz, demos, tutorials.
sudo apt install ros-foxy-desktop python3-argcomplete
ROS-Base Install (Bare Bones): Communication libraries, message packages, command line tools. No GUI tools.
sudo apt install ros-foxy-ros-base python3-argcomplete
Install Development tools
sudo apt install ros-dev-tools
If you clear all the step, You can use Ros2 Foxy
use this command to check
cd /opt/ros/foxy
You can see /opt/ros/foxy folder.
If you want to check Ros2 is clearly install
4. Environment Setup:
Before Using Ros2 Foxy, You have to Environment setup.
In Document,
source /opt/ros/foxy/setup.bash
use this command, But by this way, You have to do this step all the time you close terminal.
So I recommend you write in ~/.bashrc file.
For this way, You have to install vim
sudo apt install vim
If you successfully install Vim, use this command to open ~/.bashrc
vi ~/.bashrc
You can see the file that write a lot of command, at the end of the file, Input i to change insert mode and write
source /opt/ros/foxy/setup.bash
then use :wq command, save the file.
And use this command to source ~/.bashrc file
source ~/.bashrc
Then You can use ROS2 Foxy, Without working on the source every time
5. Verification: To verify a successful installation, run an example:
Now, finally, we can check whether ROS2 is installed properly through one example.
You have to run two terminal.
At one terminal
ros2 run demo_nodes_cpp talker
another Terminal
ros2 run demo_nodes_py listener
You can see that messages are exchanged and the same result is shown. If this example runs well, you have performed a clean installation of ROS2 Foxy. Now you can freely use ROS2 Foxy.
To ensure stability, I’ll guide you through installing ROS2 Foxy on your Ubuntu 20.04 system. If you prefer watching a detailed video tutorial (in Korean), you can check this video below.


0 Comments