What you are going to learn:
- How to get the obstacle information from lidar
- Create a package for TurtleBot 3 to stop when an obstacle is detected
Introduction
In this tutorial, we’ll explore how to leverage Lidar data to implement a simple yet effective wall-avoidance mechanism for a robot, specifically the TurtleBot 3. By understanding the ‘ranges’ array from the laser scans, we can program our robot to make informed decisions and navigate around obstacles.
If you want to learn ROS 2 Python in a practical, hands-on way, check out the course ROS 2 Basics in 5 Days: https://app.theconstruct.ai/courses/132
In this course, you’ll cover the foundational concepts needed to start working with ROS 2, as well as more advanced topics, all while engaging in hands-on practice.
Understanding LiDAR Data:
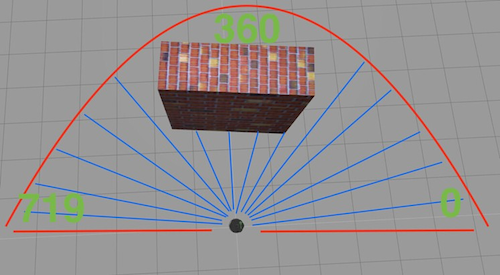
The Lidar sensor provides an array of values, with the middle values representing distances directly in front of the robot. Visualize the laser’s scope as approximately 180 degrees from right to left. Values at the array’s start and end correspond to side readings (left and right), while those in the middle relate to front readings. This spatial arrangement is crucial for determining the presence of a wall in the robot’s path.
Opening the rosject
In order to follow this tutorial, we need to have ROS 2 installed in our system, and ideally a ros2_ws (ROS2 Workspace). To make your life easier, we have already prepared a rosject for that: https://app.theconstruct.ai/l/639b9a55/
Just by copying the rosject (clicking the link above), you will have a setup already prepared for you.
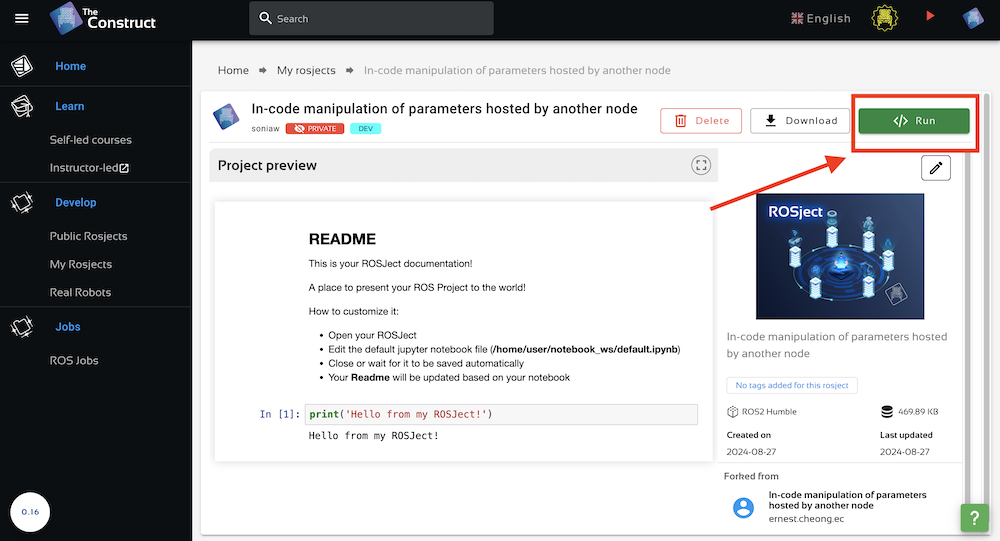
After the rosject has been successfully copied to your own area, you should see a Run button. Just click that button to launch the rosject.
After pressing the Run button, you should have the rosject loaded. Now, let’s head to the next section to get some real practice.
In order to interact with ROS2, we need a terminal.
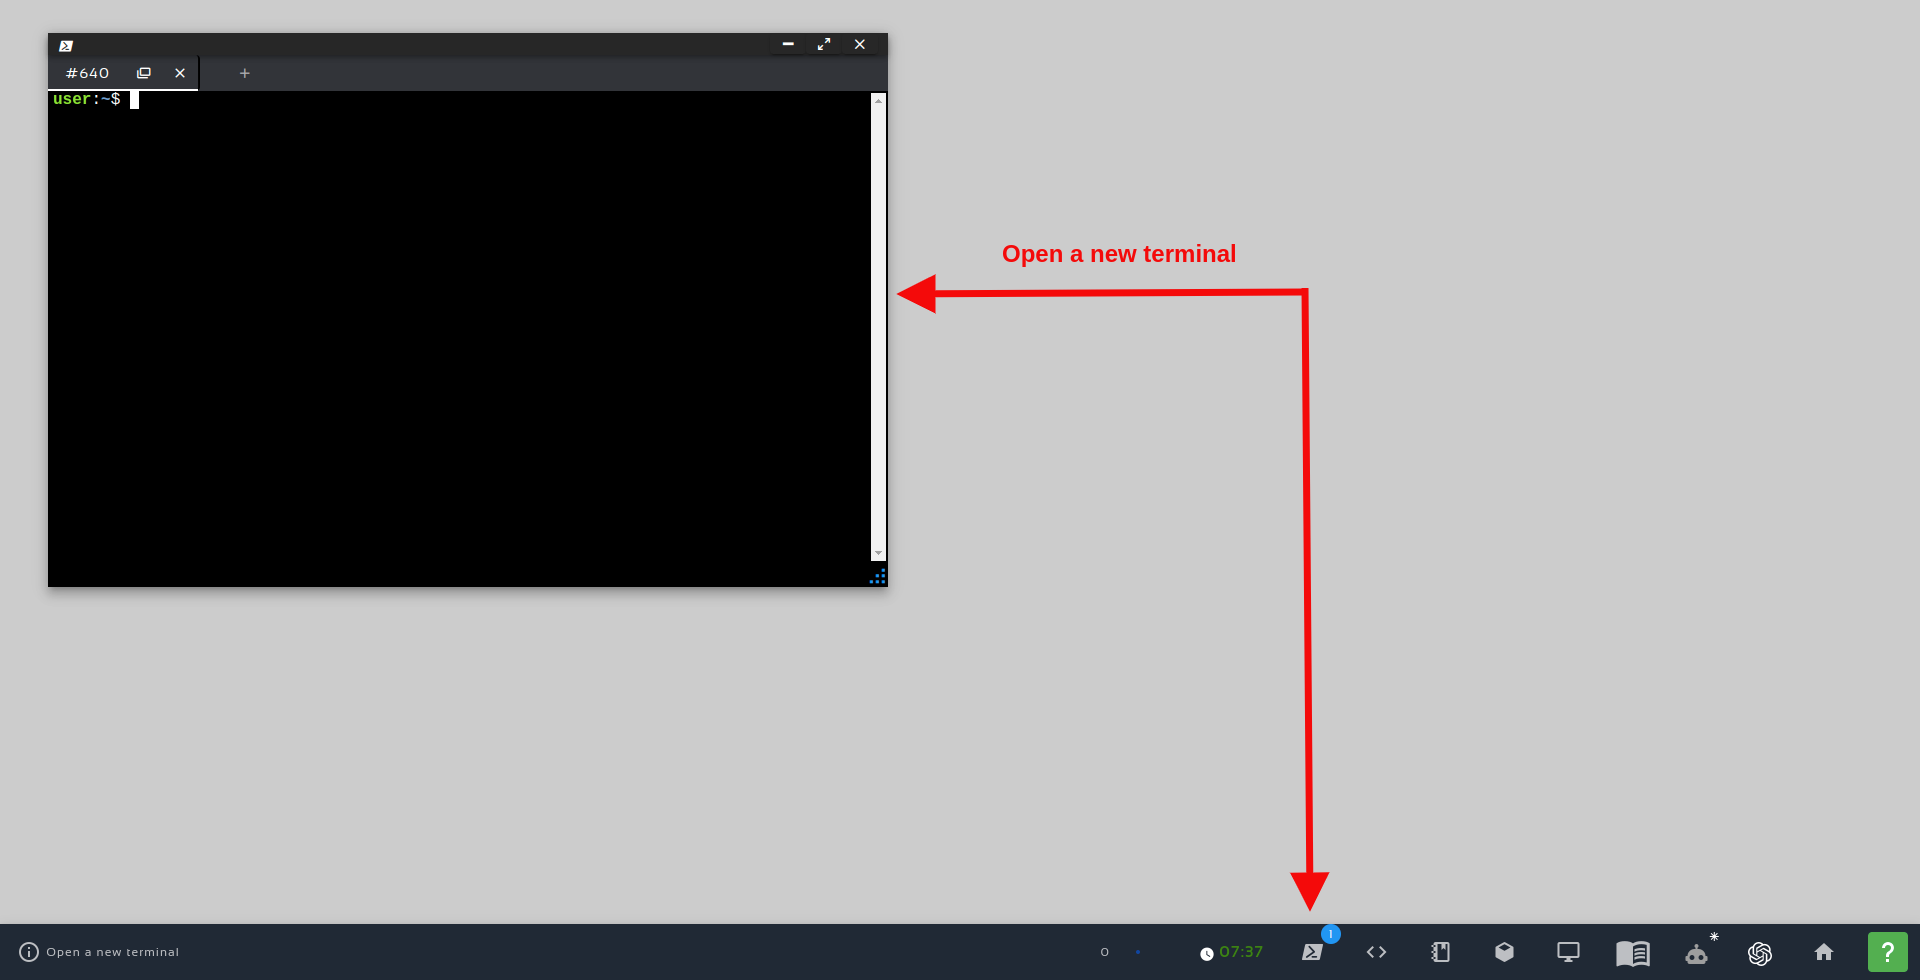
Let’s open a terminal by clicking the Open a new terminal button.
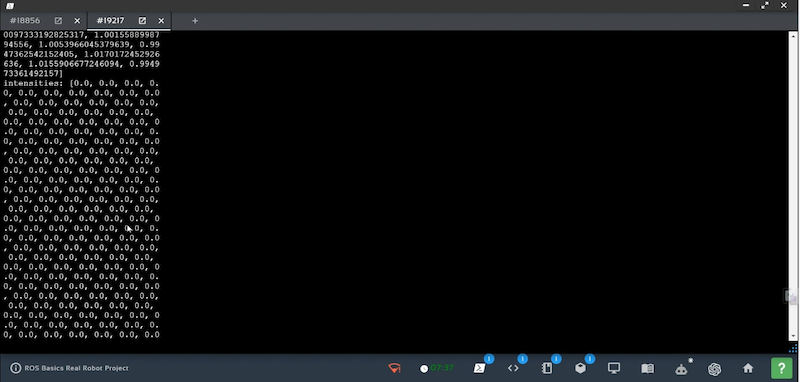
If we want to see data being published on /scan topic , we just have to write
rostopic echo /scan
So for our application, we need the value of the array at the middle (index no 360).
Create a package for obstacle avoidance using lidar
Copy the rosject from the link attached at the starting of a tutorial as it already has TurtleBot package in it and write the below commands in web shell
cd simulation_ws/src

catkin_create_pkg lidardata std_msgs rospy cd lidardata

mkdir launch mkdir src

cd launch

touch lidardata.launch cd ..

cd src

touch myscript.py chmod +x myscript.py cd

cd simulation_ws catkin_make
Logic of code
Let’s dive into the logic of our Python code. The goal is simple: if the distance directly in front of the robot is greater than 0.5 meters, it will continue moving forward; otherwise, it stops to avoid a collision.
#! /usr/bin/env python

#Importing all the required Libraries and messages import rospy

from geometry_msgs.msg import Twist

from sensor_msgs.msg import LaserScan

# Create a Twist message to control robot movement

move_robot = Twist()
move_robot.linear.x = 0.5

move_robot.angular.z = 0

#Defining a call back function for the Subcriber. def callback(msg):

#Publish the movement command Pub1.publish(move_robot)

# Check distance directly in front of the robot (at the middle if(msg.ranges[360] > 0.5):

# If the distance is greater than 0.5 meters, move forward move_robot.linear.x = 0.1

move_robot.angular.z = 0.0

elif(msg.ranges[360] < 0.5):

# If the distance is less than 0.5 meters, stop to avoid collis move_robot.linear.x = 0.0

move_robot.angular.z = 0.0

# Initialize the ROS node rospy.init_node('lidar_data_node')

# Set up the robot movement publisher

Pub1 = rospy.Publisher('/cmd_vel',Twist,queue_size = 1)

# Set up the Lidar data subscriber

Sub1 = rospy.Subscriber('/scan',LaserScan,callback)

# Keep the node running and processing Lidar data rospy.spin()
Now we have created a node named ‘lidar_data_node’ which subscribes to topic ‘/scan’ and publishes velocity data to ‘/cmd_vel’.
graph TD

lidar_data_node --> /cmd_vel

/scan --> lidar_data_node
To launch this node let’s create a launch file.
<launch>

<!-- My Package launch file -->

<node pkg="lidardata" type="my_script.py" name="lidar_data_

</node>

</launch>
Test the package
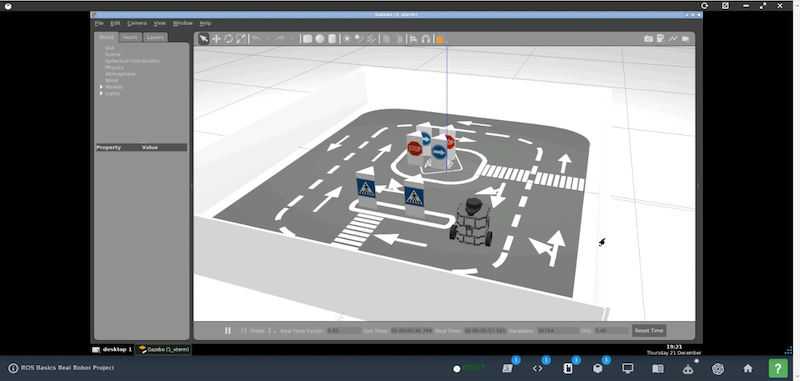
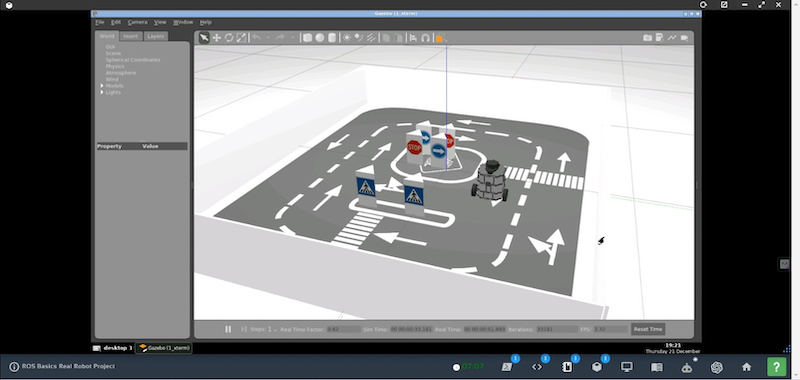
- To spawn turtle bot at origin in gazabo
roslaunch realrobotlab main.launch
2. To launch lidar data.launch
roslaunch lidardata lidardata.launch
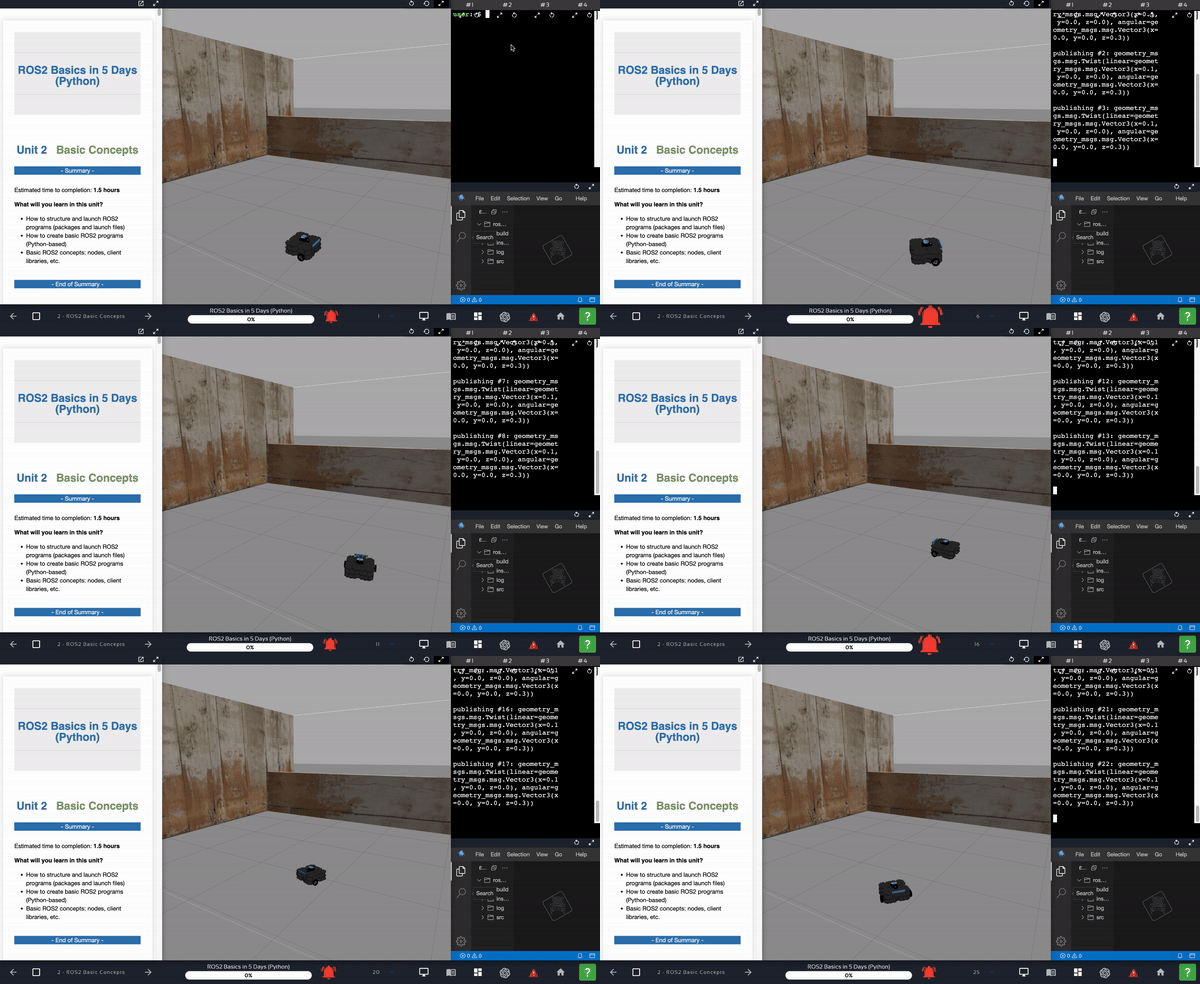
You can now see that TurtleBot moves from its origin in a straight line up until the distance in front of it is less than 0.5 m.
Congratulations. You now have a basic understanding of parameters and are familiar with creating and using services.
To learn more about ROS 2, have a look at the course below:
- ROS2 Basics in 5 Days (Python): https://app.theconstruct.ai/courses/132
We hope this tutorial was really helpful to you.
This tutorial is created by Robotics Ambassador Raunak.
Rosbotics Ambassador Program https://www.theconstruct.ai/rosbotics-ambassador/)



0 Comments