What we are going to learn
- How to start Gazebo
- How to spawn a robot to Gazebo
- How to run the Robot State Publisher node
- How to start Rviz configured
List of resources used in this post
- Use the rosject: https://app.theconstructsim.com/l/56476c77/
- The Construct: https://app.theconstructsim.com/
- ROS2 Courses –▸
- ROS2 Basics in 5 Days Humble (Python): https://app.theconstructsim.com/Course/132
- ROS2 Basics in 5 Days Humble (C++): https://app.theconstructsim.com/Course/133
Overview
While many examples demonstrate how to spawn Gazebo robots using Python launch files, in this post, we will be learning how to achieve the same result using XML launch files. Let’s get started!
ROS Inside!
Before anything else, if you want to use the logo above on your own robot or computer, feel free to download it and attach it to your robot. It is really free. Find it in the link below:
Opening the rosject
In order to follow this tutorial, we need to have ROS2 installed in our system, and ideally a ros2_ws (ROS2 Workspace). To make your life easier, we have already prepared a rosject with a simulation for that: https://app.theconstructsim.com/l/56476c77/.
You can download the rosject on your own computer if you want to work locally, but just by copying the rosject (clicking the link), you will have a setup already prepared for you.
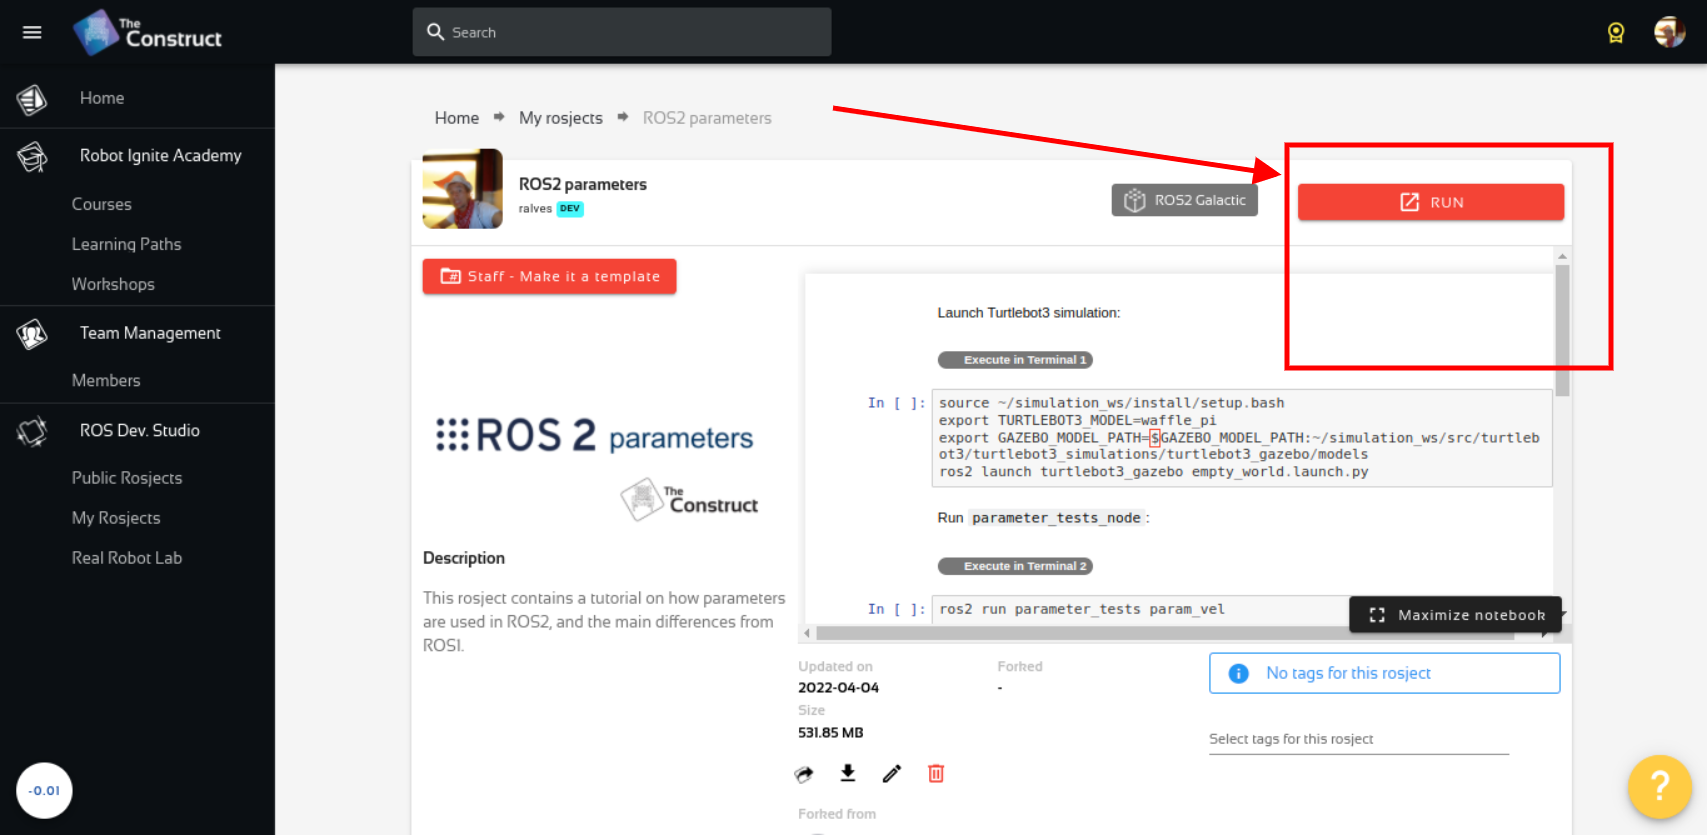
After the rosject has been successfully copied to your own area, you should see a Run button. Just click that button to launch the rosject (below you have a rosject example).
After pressing the Run button, you should have the rosject loaded. Now, let’s head to the next section to get some real practice.
Compiling the workspace
As you may already know, instead of using a real robot, we are going to use a simulation. In order to spawn that simulated robot, we need to have our workspace compiled, and for that, we need a terminal.
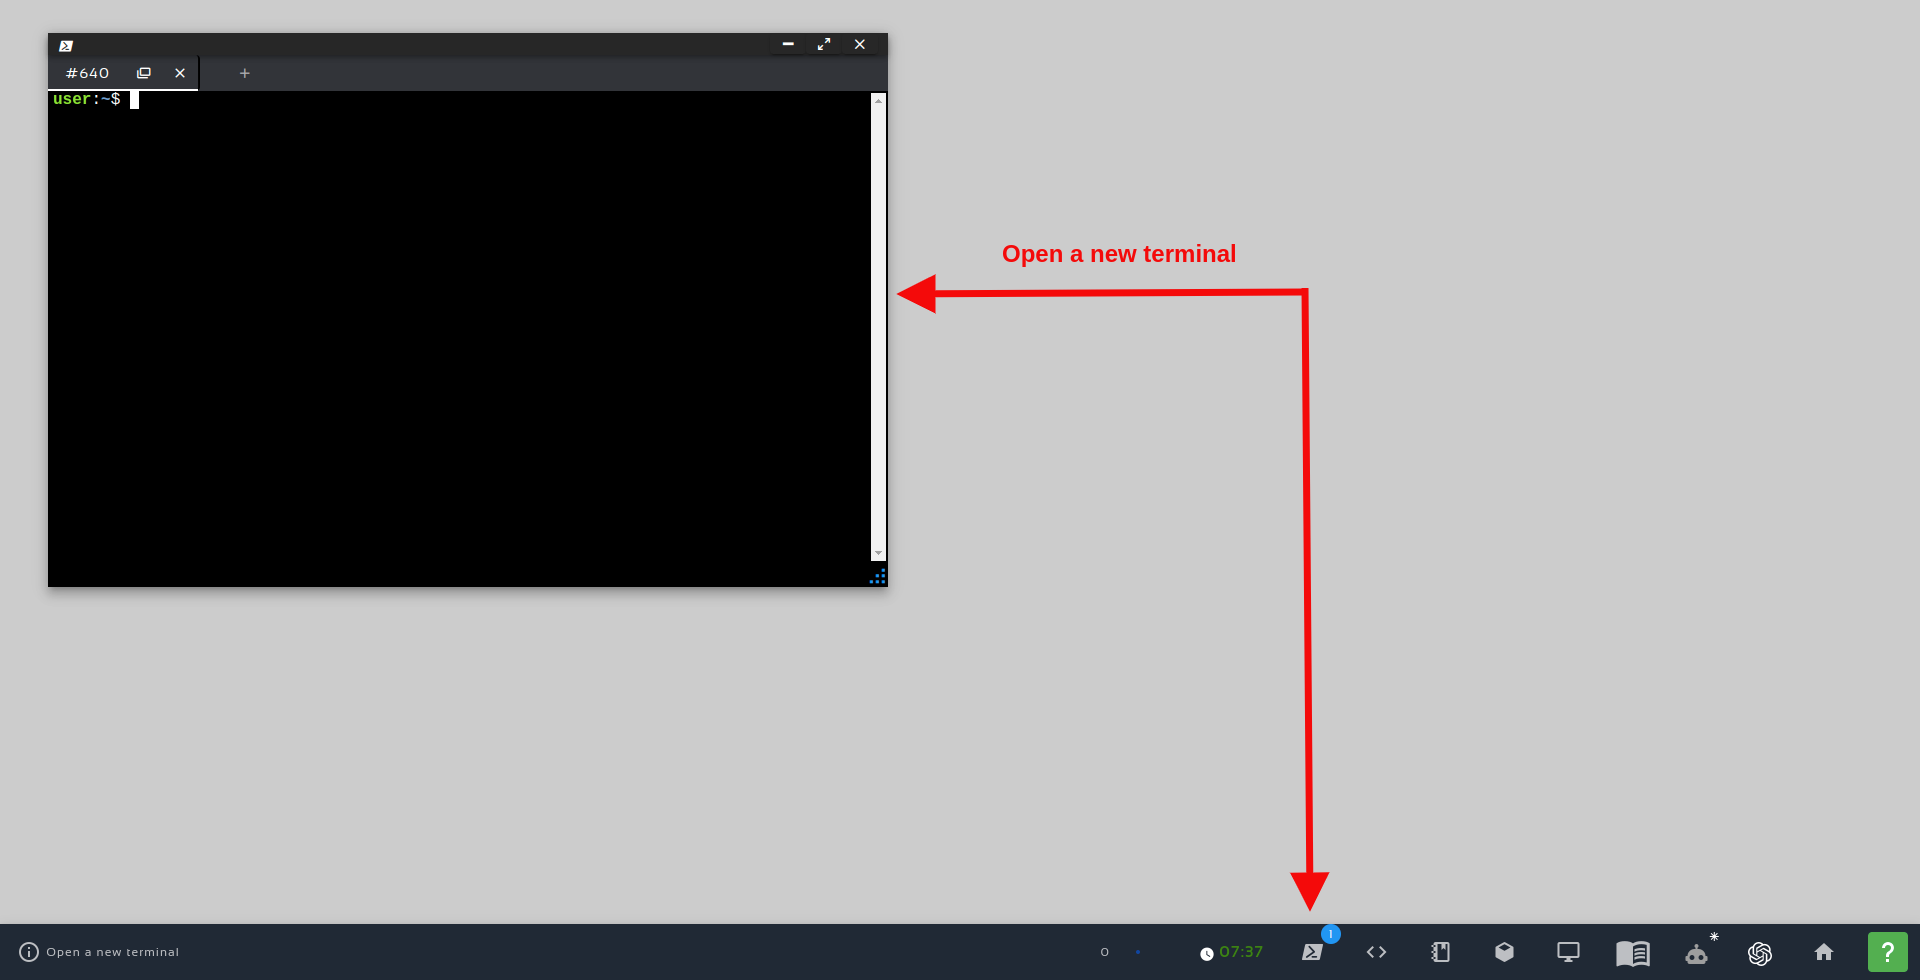
Let’s open a terminal by clicking the Open a new terminal button.
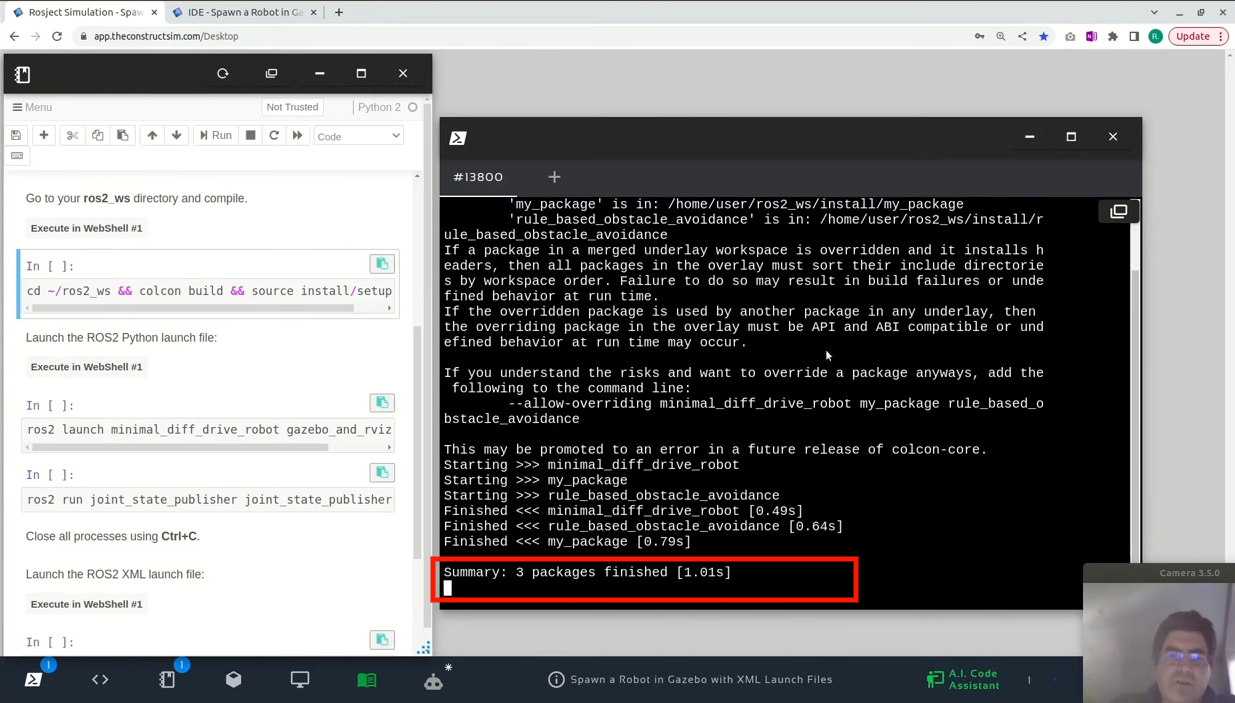
Once inside the first terminal, let’s run the commands below, to compile the workspace
cd ~/ros2_ws
colcon build
source install/setup.bash
Starting the Gazebo simulator
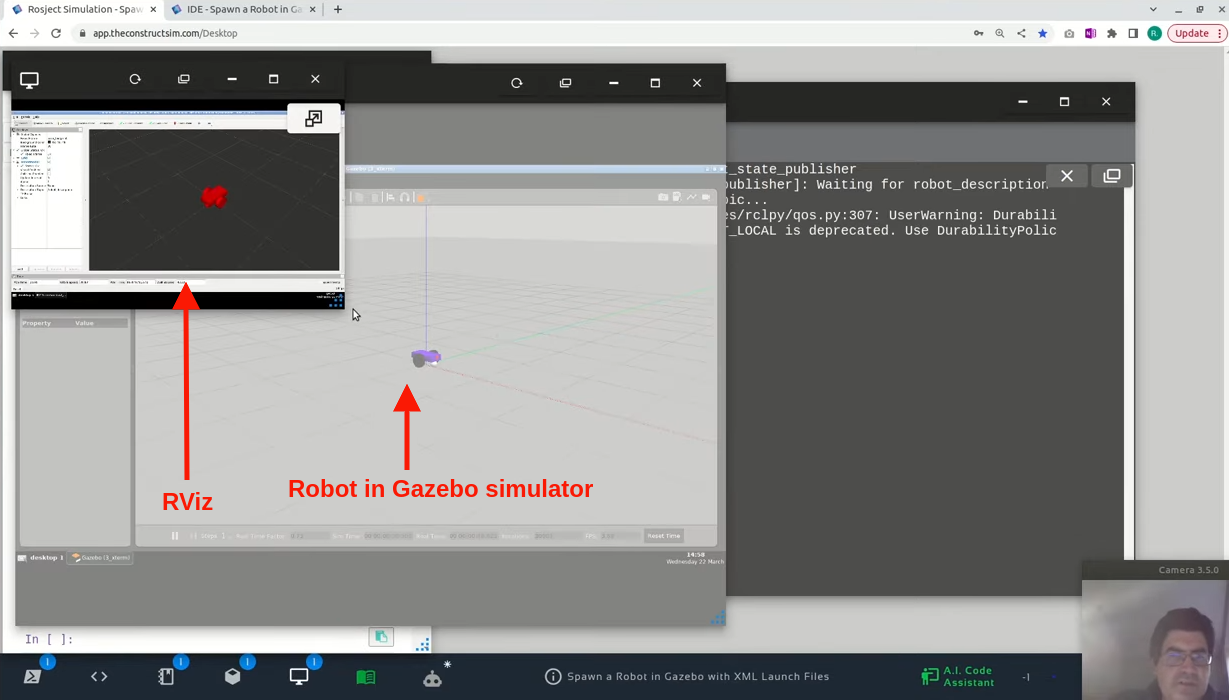
Now that our workspace is compiled, let’s run a gazebo simulation and RViz using normal python launch files.
For that, run the following command in the terminal:
ros2 launch minimal_diff_drive_robot gazebo_and_rviz.launch.py
ros2 run joint_state_publisher joint_state_publisher
In case you want to know, the content of the file used to spawn the robot can be seen with:
cat ~/ros2_ws/src/minimal_diff_drive_robot/launch/gazebo_and_rviz.launch.py
Moving the robot around
To make sure everything is working as expected so far, you can also run a new command to move the robot around using the keyboard. For that, open a third terminal, and run the following command:
ros2 run teleop_twist_keyboard teleop_twist_keyboard
Now, to move the robot around just press the keys “i“, “k“, or other keys presented in the terminal where you launched the teleop_twist_keyboard command.
The XML file for launching spawning the robot
As we mentioned earlier, the code for the python launch file can be found seen with:
cat ~/ros2_ws/src/minimal_diff_drive_robot/launch/gazebo_and_rviz.launch.py
and for the XML file? The XML file is in the exact same folder, but the file has an XML extension. The content of the file can be seen with:
cat ~/ros2_ws/src/minimal_diff_drive_robot/launch/gazebo_and_rviz.launch.xml
<?xml version="1.0"?>

<launch>
  <arg name="model" default="$(find-pkg-share minimal_diff_drive_robot)/urdf/minimal_diff_drive_robot.urdf" />

  <arg name="start_gazebo" default="true" />
  <arg name="start_rviz" default="true" />

  <!-- Start Gazebo -->
  <group if="$(var start_gazebo)">
    <include file="$(find-pkg-share gazebo_ros)/launch/gazebo.launch.py">
      <!--arg name="paused" value="true"/>
      <arg name="use_sim_time" value="true"/>
      <arg name="gui" value="true"/>
      <arg name="recording" value="false"/>
      <arg name="debug" value="false"/>
      <arg name="verbose" value="true"/-->
    </include>

    <!-- Spawn robot in Gazebo -->
    <node name="spawn_robot_urdf" pkg="gazebo_ros" exec="spawn_entity.py"
      args="-file $(var model) -x 0.0 -y 0.0 -z 0.0 -entity my_robot" output="screen" />
  </group>

  <!-- TF description -->
  <node name="robot_state_publisher" pkg="robot_state_publisher" exec="robot_state_publisher" output="screen">
    <param name="robot_description" value="$(command 'cat $(var model)')"/>
    <param name="use_sim_time" value="true" />
  </node>

  <!-- Show in Rviz   -->
  <group if="$(var start_rviz)">
    <node name="rviz" pkg="rviz2" exec="rviz2" args="-d $(find-pkg-share minimal_diff_drive_robot)/config/robot.rviz">
      <param name="use_sim_time" value="true" />
    </node>
  </group>

</launch>
If we check carefully the output above, we can see that we start launching the Gazebo simulator, and in the same <group> we spawn the robot in Gazebo by calling spawn_entity.py
Then we launch the Robot State Publisher to be able to see the robot in RViz, and finally, we launch RViz itself.
When launching RViz, we tell it to use a file named config/robot.rviz, as we can see at:
$(find-pkg-share minimal_diff_drive_robot)/config/robot.rviz
cat ~/ros2_ws/src/minimal_diff_drive_robot/config/robot.rviz
Spawning the robot in Gazebo using XML launch files
Similar to what we did with Python, you can just run the following command to spawn the robot using XML file.
Please, remember to kill the previous programs by pressing CTRL+C in the terminals where you launched the commands previously.
Assuming that now all previous programs are terminated, let’s spawn gazebo using XML in the first terminal:
ros2 launch minimal_diff_drive_robot gazebo_and_rviz.launch.xml
ros2 run joint_state_publisher joint_state_publisher
And on the third terminal, you can start the command to move the robot around:
ros2 run teleop_twist_keyboard teleop_twist_keyboard
And that is basically it
Congratulations. Now you know how to spawn a robot in Gazebo using Python and also using XML launch files.
We hope this post was really helpful to you. If you want a live version of this post with more details, please check the video in the next section.
Youtube video
So this is the post for today. Remember that we have the live version of this post on YouTube. If you liked the content, please consider subscribing to our youtube channel. We are publishing new content ~every day.
Keep pushing your ROS Learning.
Related Courses & Training
If you want to learn more about ROS and ROS2, we recommend the following courses:
-
- ROS2 Basics in 5 Days Humble (Python): https://app.theconstructsim.com/Course/132
- ROS2 Basics in 5 Days Humble (C++): https://app.theconstructsim.com/Course/133
- Open-RMF / Fleet Management Training: https://www.theconstruct.ai/robot-fleet-management-ros2-open-rmf-training/




0 Comments